Bread is one of humanity’s oldest foods. And while bread is inherently simple, it is also intimidatingly complex. It requires finesse to use yeast to transform gooey blobs of dough into fluffy pillows of bread.
We are casual bakers who have overcome our fear of yeast microorganisms. They require a bit of tender love – namely warm water + sugar. But, to make sure your bread gets the proper lift and rise, you need to learn the love language of yeast. So, let’s break it all down.
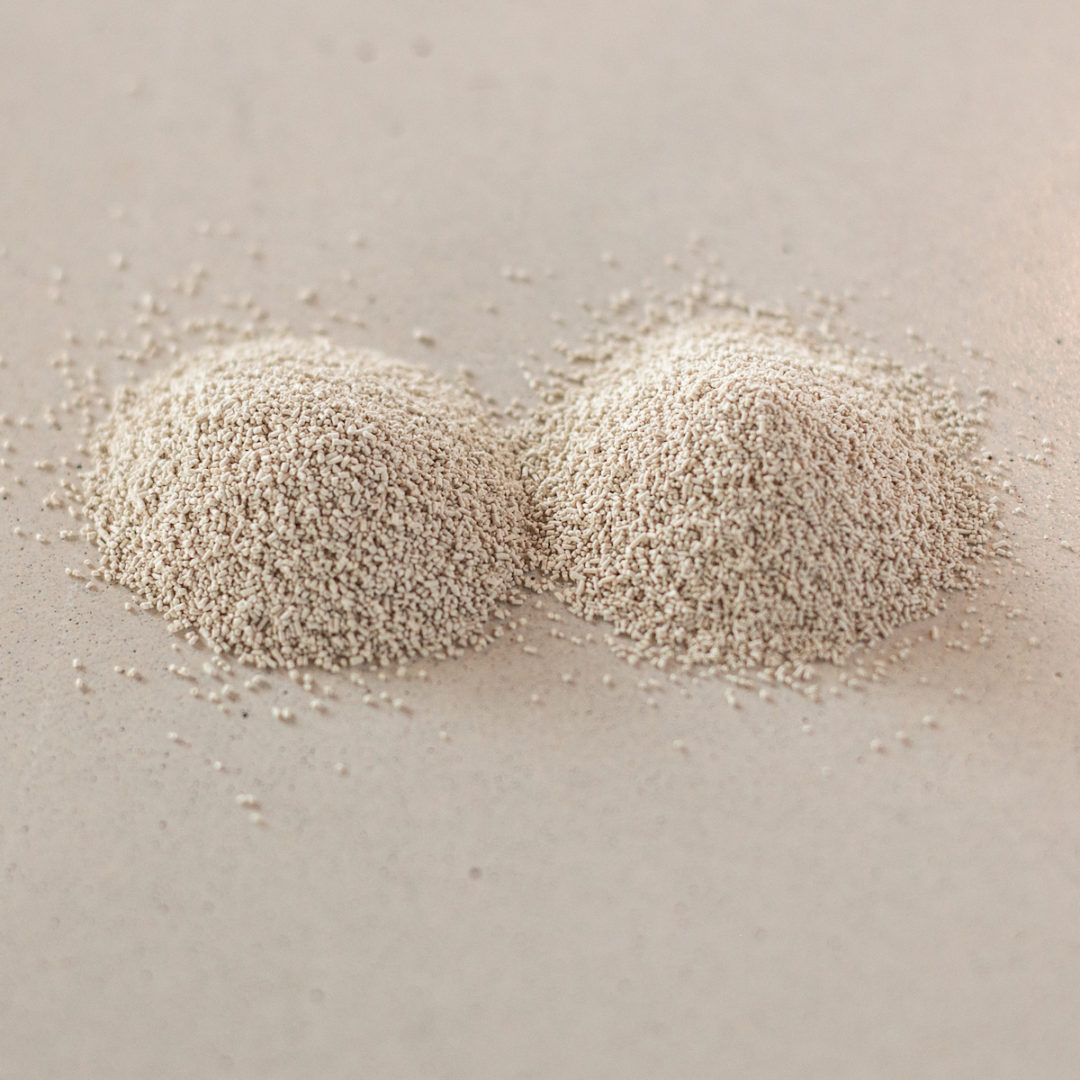
Types of Yeast
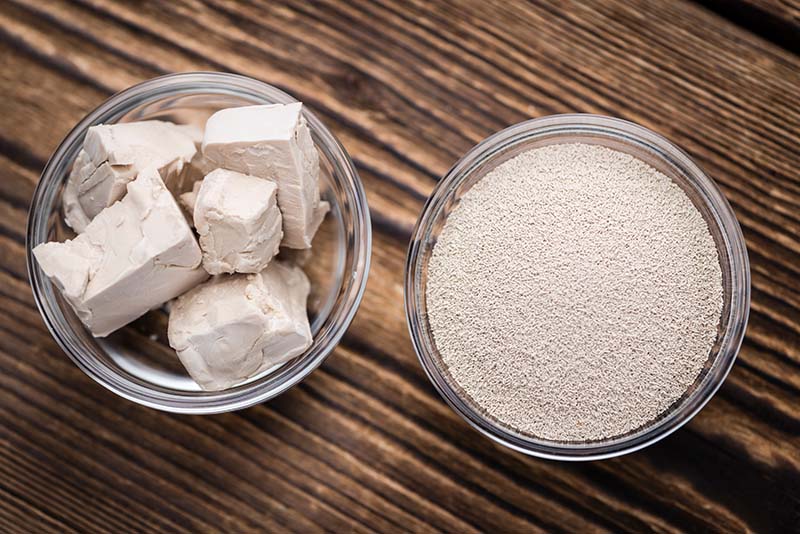
Despite the many brands of yeast on the market, there are really only three styles of yeast – fresh, active dry, and instant yeast. They are all derived from the same strain of brewers yeast known as saccharomyces cerevisiae (sugar-eating fungus). But the types of yeast are processed differently, so they need to be treated differently.
Fresh Yeast
Fresh yeast is also known as loaf, compressed, or cake yeast. It is around 70% water, which means it does not need to be rehydrated or proofed before using. Natural yeast can be added directly to flour or dissolved in water during the baking process. It is also half as potent as dried yeasts, but it has a robust flavor because it is 100% alive.
Fresh yeast is highly perishable (1 week shelf life), so it is not a common choice for most home bakers. Commercial bakeries will sometimes use fresh yeast because they are able to use an entire package before it expires.
Fresh yeast is harder to buy, but can sometimes be found in the refrigerated section of some grocery stores. To use in place of active dry yeast, double the amount and crumble it into the lukewarm liquid the recipe calls for. Then, proceed as usual. Fresh yeast is not great for multiple rising periods, nor recipes that cold proof in the fridge. And you should only buy this yeast if you’re planning to do a lot of baking in a short amount of time, because it will only last about a week in your fridge.
Active Dry Yeast
This form of yeast is made by drying natural yeast and grinding it into granules. Active dry yeast needs to be rehydrated and activated before use. This involves dissolving the yeast granules in warm (110 degrees F) water, with a bit of sugar added to feed the yeast. If the yeast is still alive, it will foam and form bubbles on the surface of the water. More on this below.
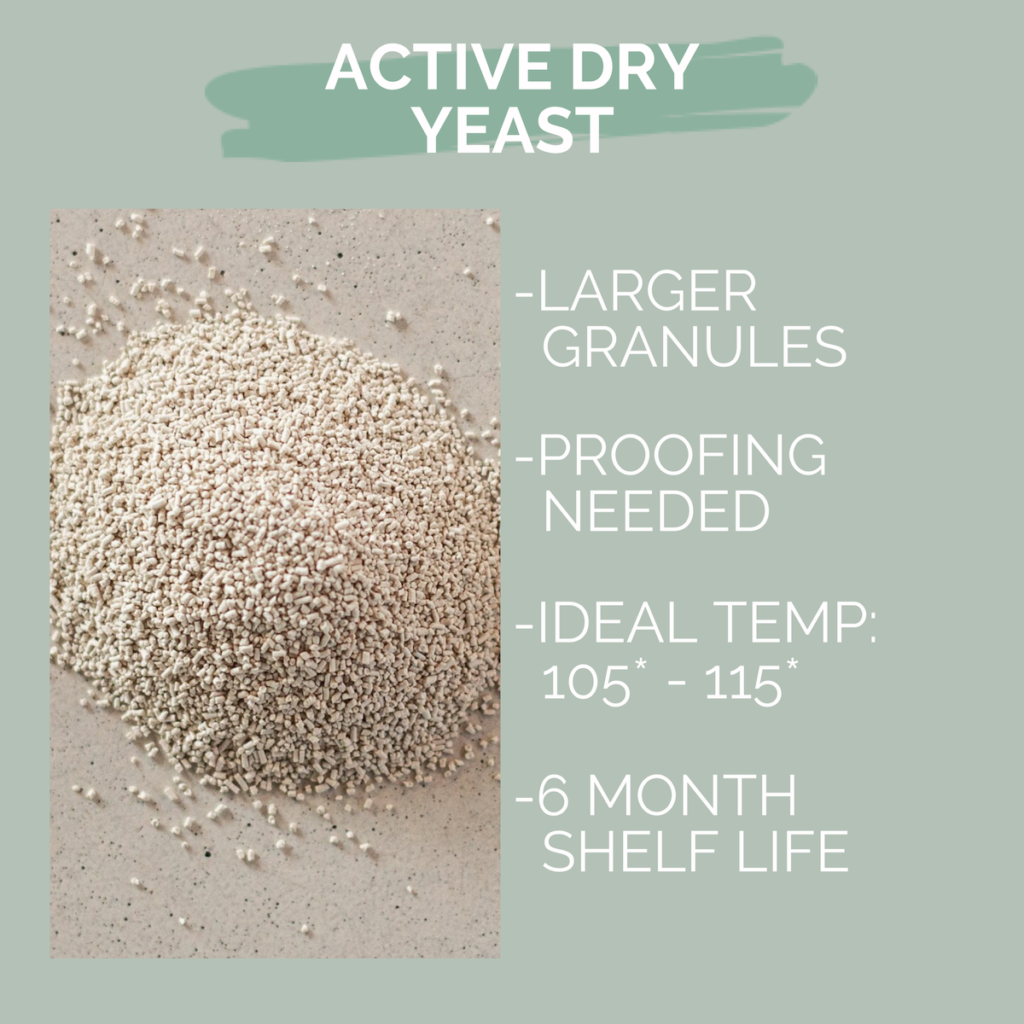
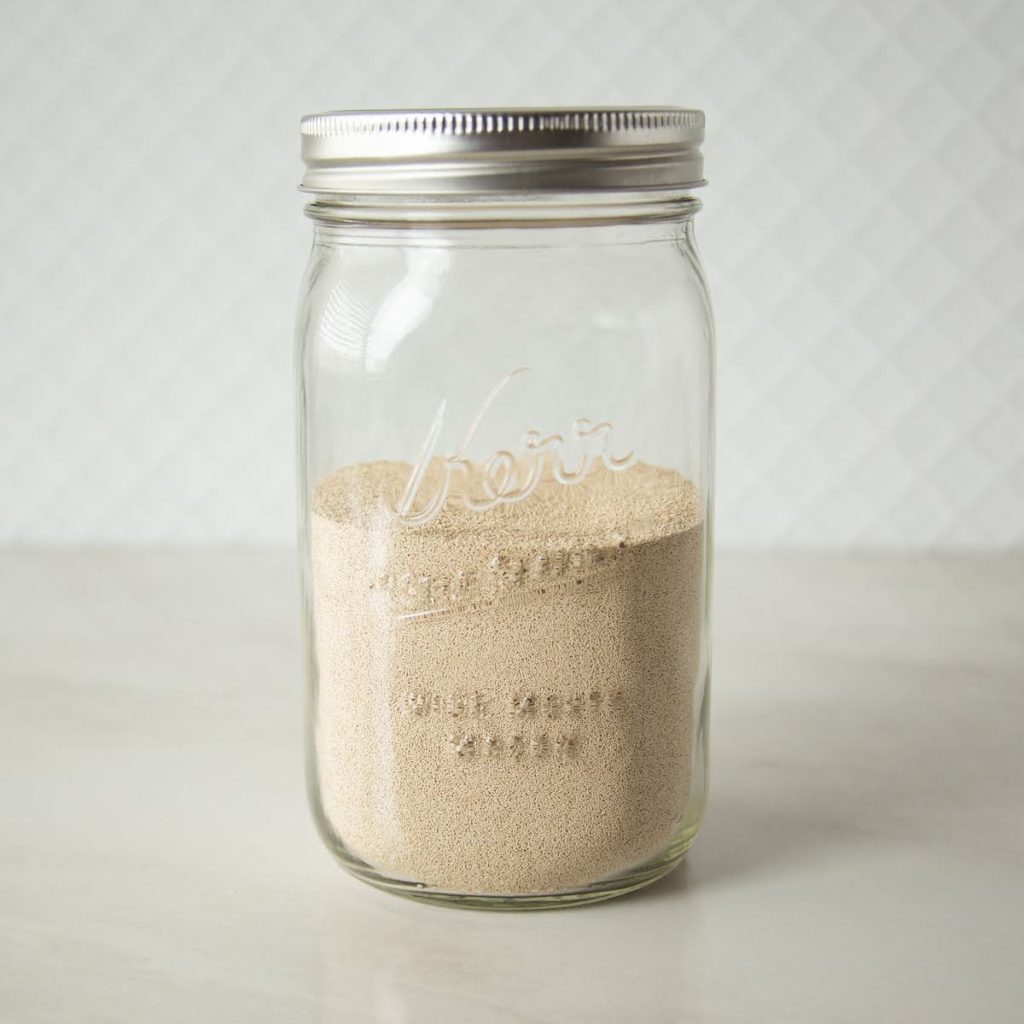
Active Dry yeast is perishable. It ages quickly, making it unreliable. As it ages, it loses potency, making it hard to predict how it will respond in your bread. Many grocery stores sell this type of yeast packaged in small paper envelopes, which exposes it to air and moisture. It is best stored in an airtight container, like a glass jar with a lid. Either way, you should always proof active dry yeast to make sure it is still active enough to use in your bread.
Active yeast is readily available and found in all grocery stores, but is rarely used in professional settings due to its inconsistent results, the added step of rehydration, and its relatively short shelf life.
Instant Yeast
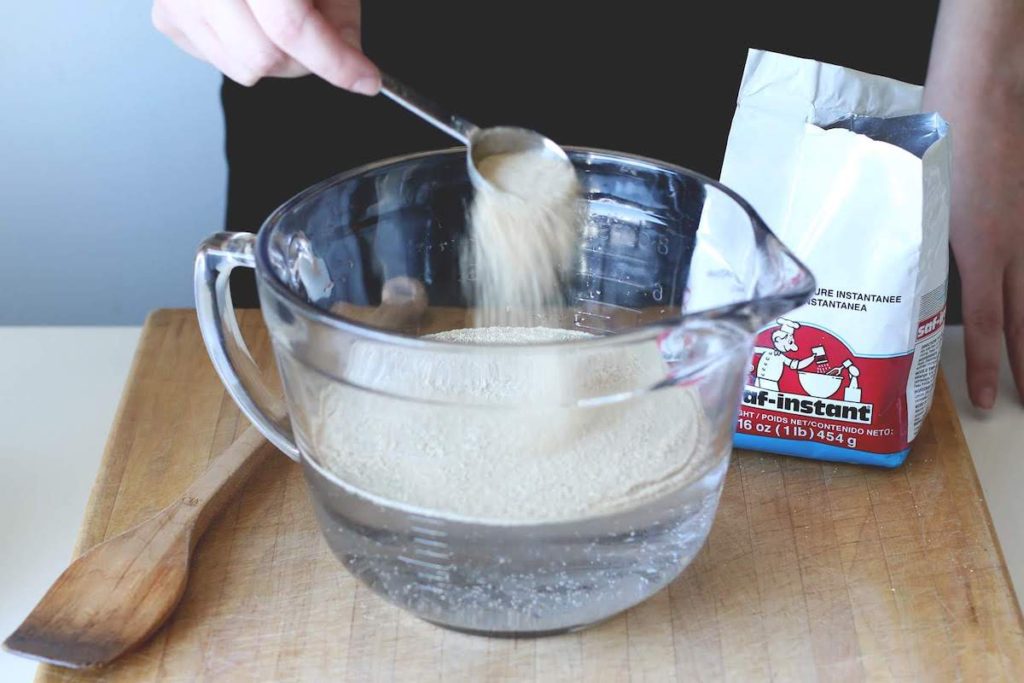
Instant yeast is dried like active yeast, but it is ground into smaller granules, so it dissolves quickly in the dough. This means it doesn’t need to be rehydrated. It is made to be ready for use, straight from the package. It can be added to the dry ingredients and will activate when the water is added. This saves a lot of time when baking in bulk, which makes instant yeast a very popular choice for professional bakeries. While it is not necessary to proof instant yeast, you can do it when the recipe indicates, or if you’re testing whether or not it is still potent.
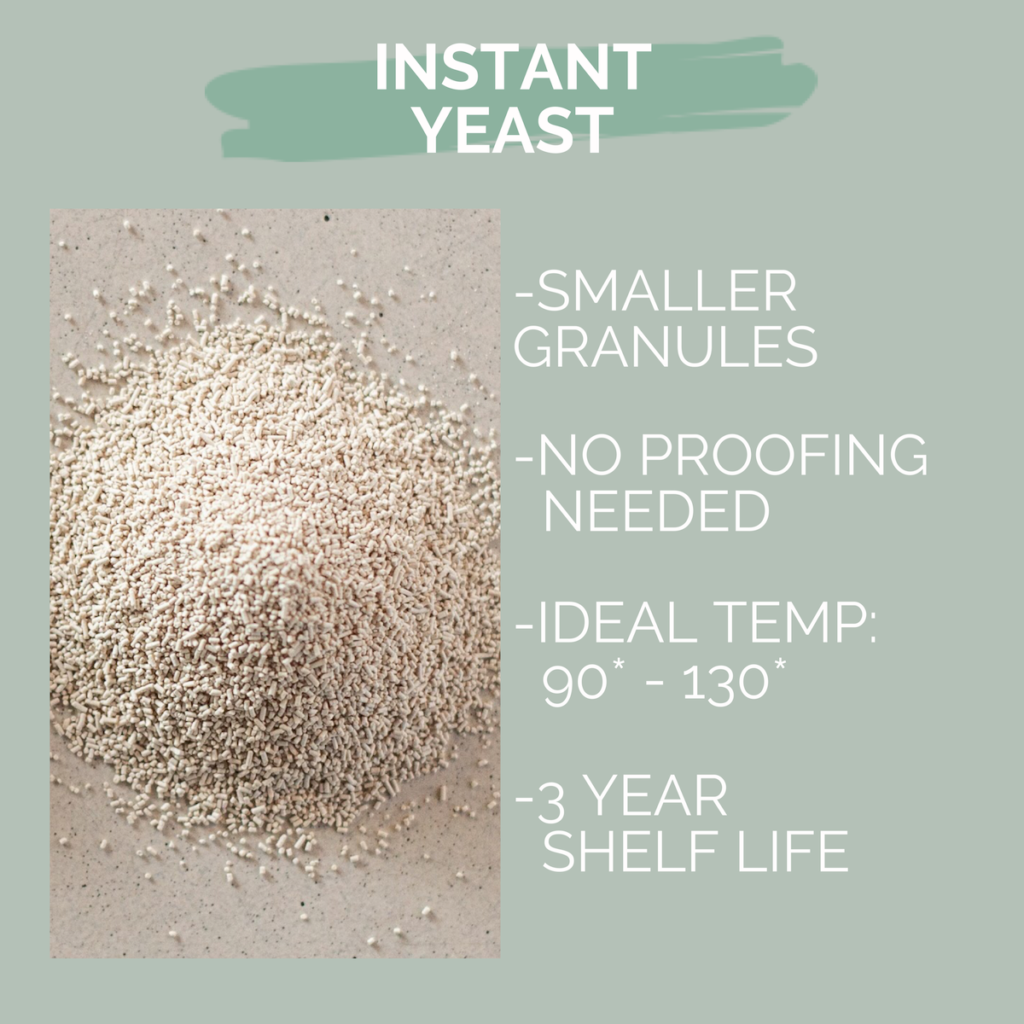
Unlike the 6 month shelf life of active dry yeast, instant yeast will last at least three years, when stored in the freezer. This makes instant yeast the most reliable choice for baking bread. You can rest assured knowing that your yeast will react similarly for years to come. You can buy instant yeast in bulk, saving on costs, too!
Instant yeast is the secret ingredient for professional bakers. But luckily it becoming more common for casual bakers, too! Its reliability, ease-of-use, and long shelf life, make it our top choice for all bread baking.
| STABILITY | TEMPERATURE OF WATER | COLD PROOFED DOUGHS | MULTIPLE RISES | USAGE | |
| NATURAL YEAST | highly perishable – 1 week | 90 – 95 degrees F | no | no | 2:1 Add to warm water. No need to proof. |
| ACTIVE DRY YEAST | perishable – about 6 months | 105-115 degrees F | yes | yes | 1:1 Proof in warm water/milk before using. |
| INSTANT YEAST | extremely stable – 2-3 years | 90-130 degrees F | yes | yes | 1:1 Add to dry ingredients. |
Which yeast should I use?
When it comes to deciding which yeast to use, we recommend making the switch to instant yeast. It is reliable, easy-to-use, and lasts indefinitely in your freezer.
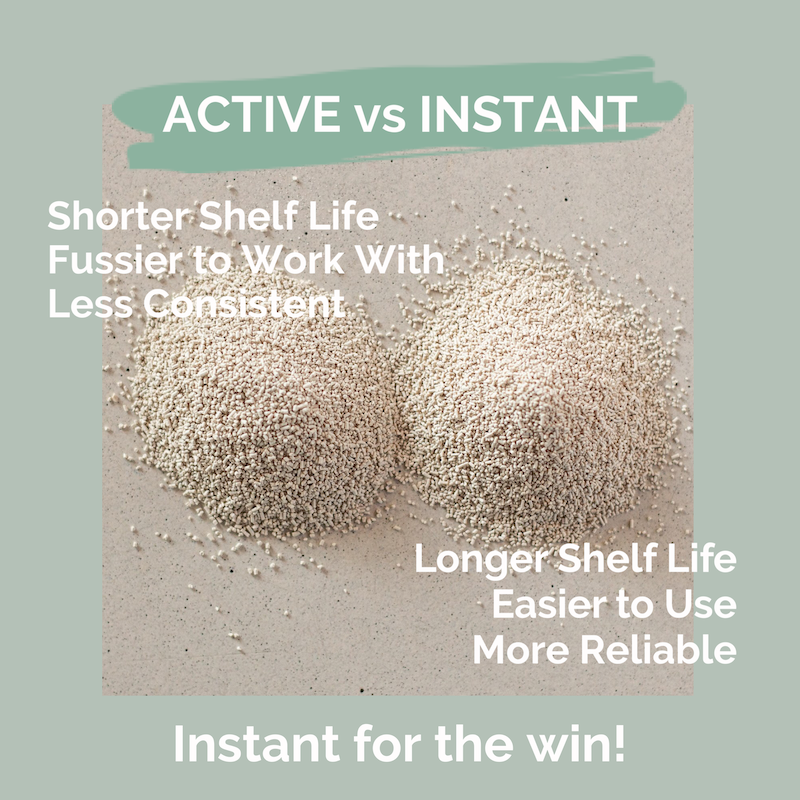
Beginning bakers love using instant yeast, because it is less finicky. Professional bakers love instant yeast because it provides consistent results and does not spoil quickly. Basically, instant is for everyone, whether you’re baking your first loaf or your 1,000th loaf.
Storing Yeast
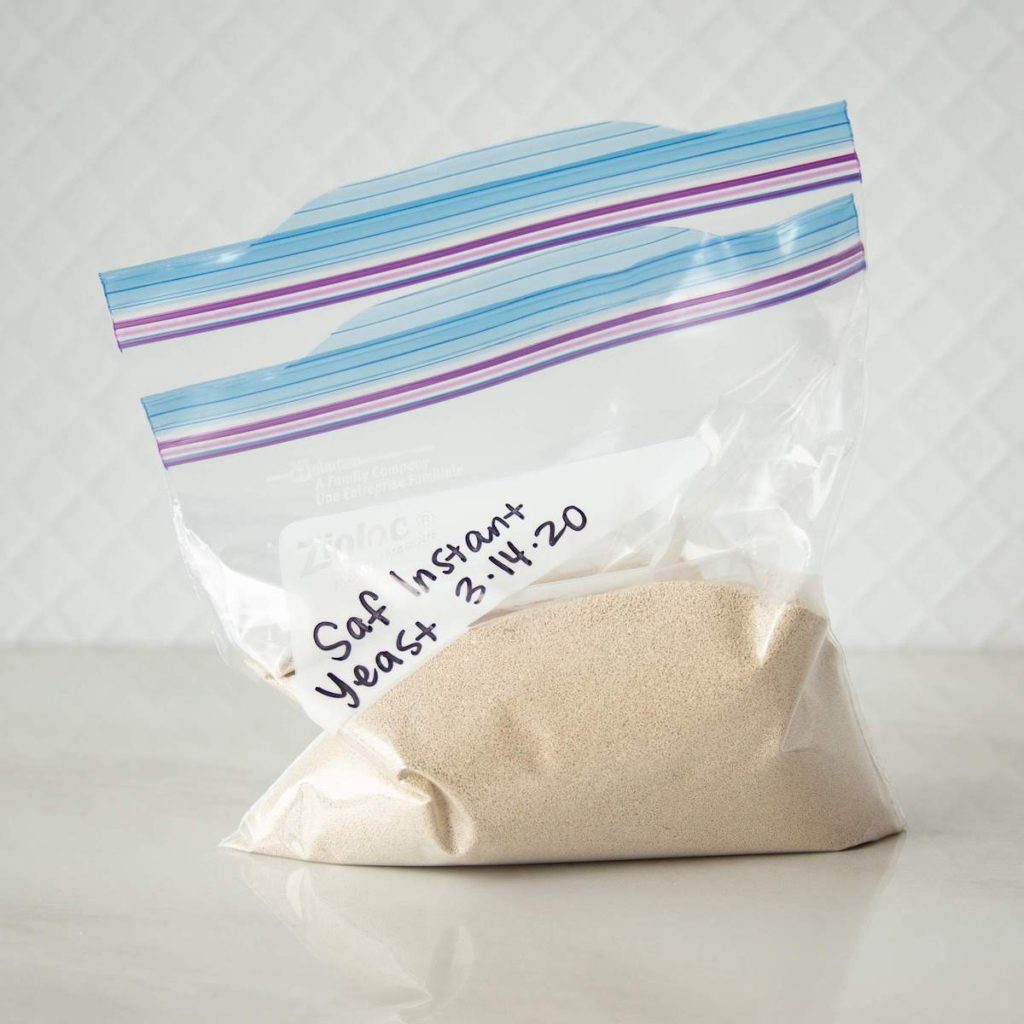
Yeast that is unopened in a sealed jar or a vacuum-sealed bag is good until the best-by date listed on the package. Once it is opened, yeast should be stored in an airtight container. This container should be placed in the farthest corner of your freezer to prevent fluctuations in temperature when the freezer door is opened and closed. We recommend writing the date you opened the yeast on the bag or jar.
Active Dry yeast will last about 6 months in the freezer. Instant yeast will last about 3 years in the freezer. If you are uncertain about the effectiveness of the yeast, proofing in warm water + sugar before use will help you determine if the yeast is still viable for use.
Proofing Yeast
The process of proofing helps you “prove” if the yeast has enough potency to transform dough into bread. If it generates adequate amounts of foam, the yeast is ready to use. If it doesn’t, the yeast has expired and needs to be disposed of. Proofing the yeast will let you know if your yeast is active enough to use.
Proofing also rehydrates Active Dry yeast, which is necessary to do before adding the flour. Instant yeast rehydrates easily and doesn’t NEED proofing, but it doesn’t harm the bread either.
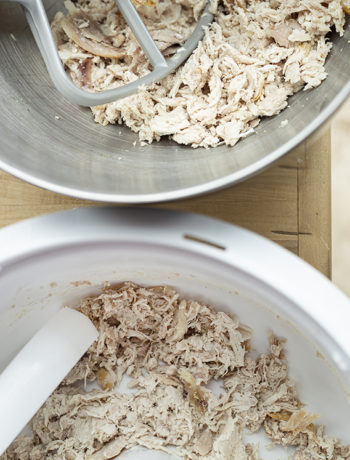
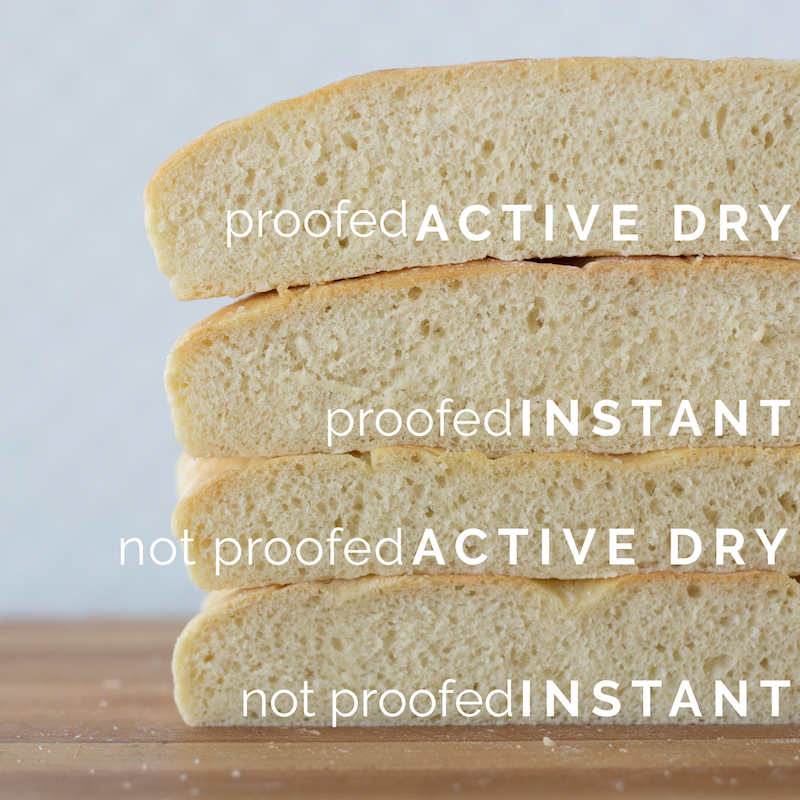
Observe in the picture below. The top two loaves of focaccia bread began with yeast that we proofed before we added the flour. For the bottom two loaves, we added all the ingredients to the mixer at once. It is evident that the active dry yeast performed much better when the yeast is first rehydrated through the proofing method.
The method is simple. Many recipes give specific instructions for proofing the yeast. If the recipe you’re using has instructions, follow them. If not, or if you’re just testing potency, you can use these instructions:
- Combine:
- 2 1/4 teaspoons yeast + 1 cup water (110 degrees F) + 1 teaspoons sugar in a liquid measuring cup
- Stir until the yeast is dissolved and let sit for 10 minutes.
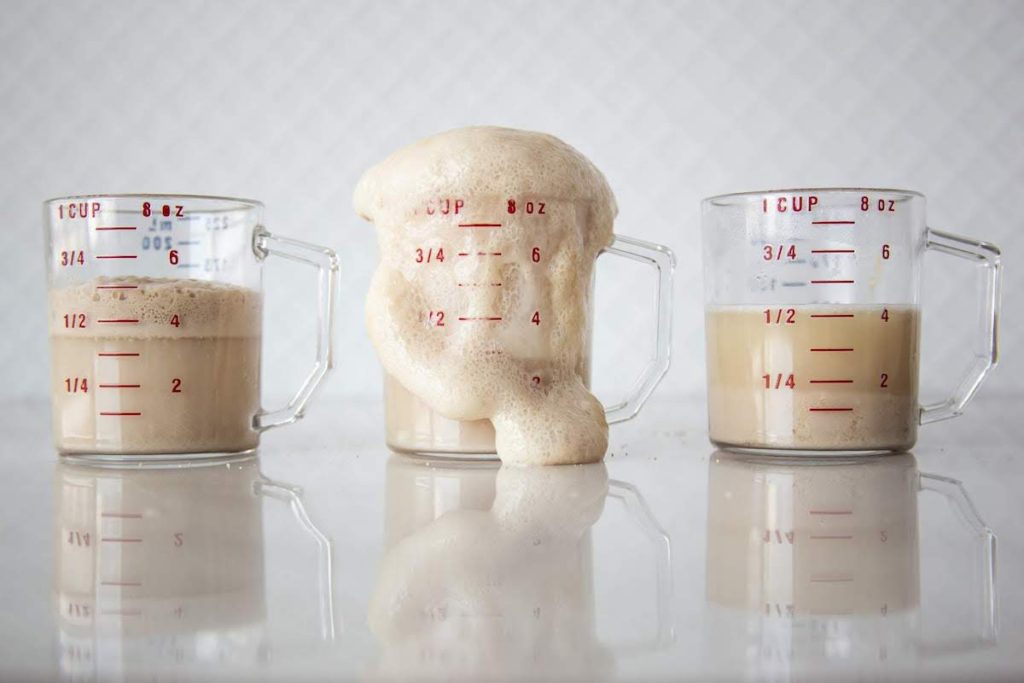
- The surface of the water should become foamy. When the foam doubles in size, it is ready to use. Add flour to the mixture right away, before it loses its potency. Reduce the amount of moisture the recipes indicates by 1/2 cup to prevent over hydrating the flour.
- If it doesn’t foam enough, then the yeast is not active and can not be used to make bread. Start the proofing process over with new yeast.
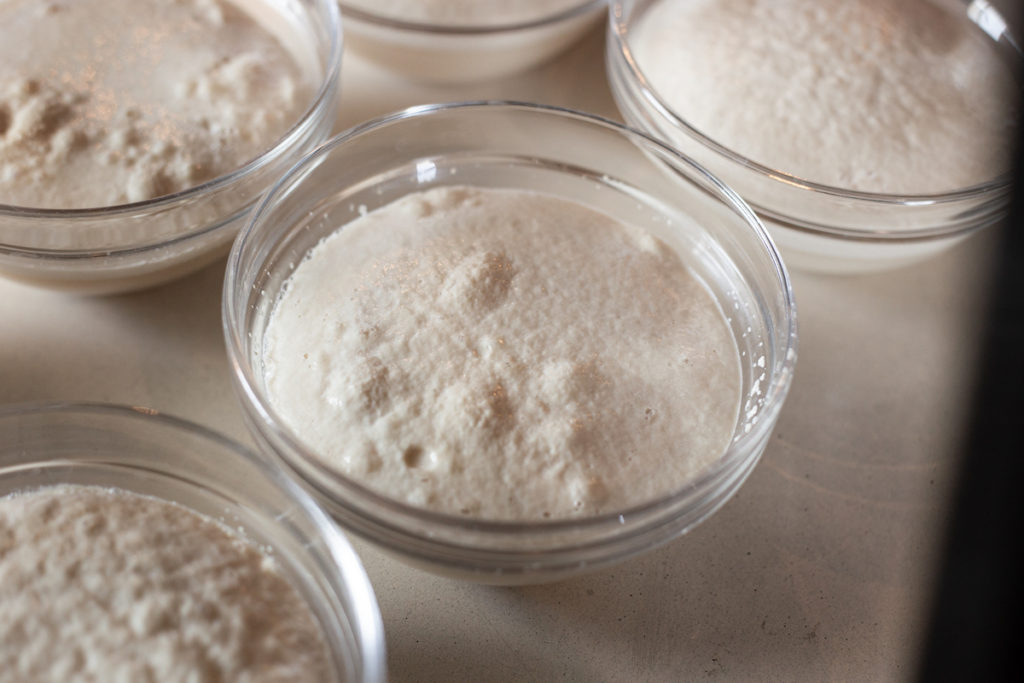
If adequate foam is not produced, it could be caused by inactive yeast or the incorrect water temperature. Ideal temps for yeast fermentation are 110 -115 degrees. The picture below indicates the outcome of using water that is too cold (80 degrees – left), just right (110 degrees – middle), and too hot (150 degrees – right). All of these water temps felt “warm,” yet only one of them produced enough foam to effectively work in bread.
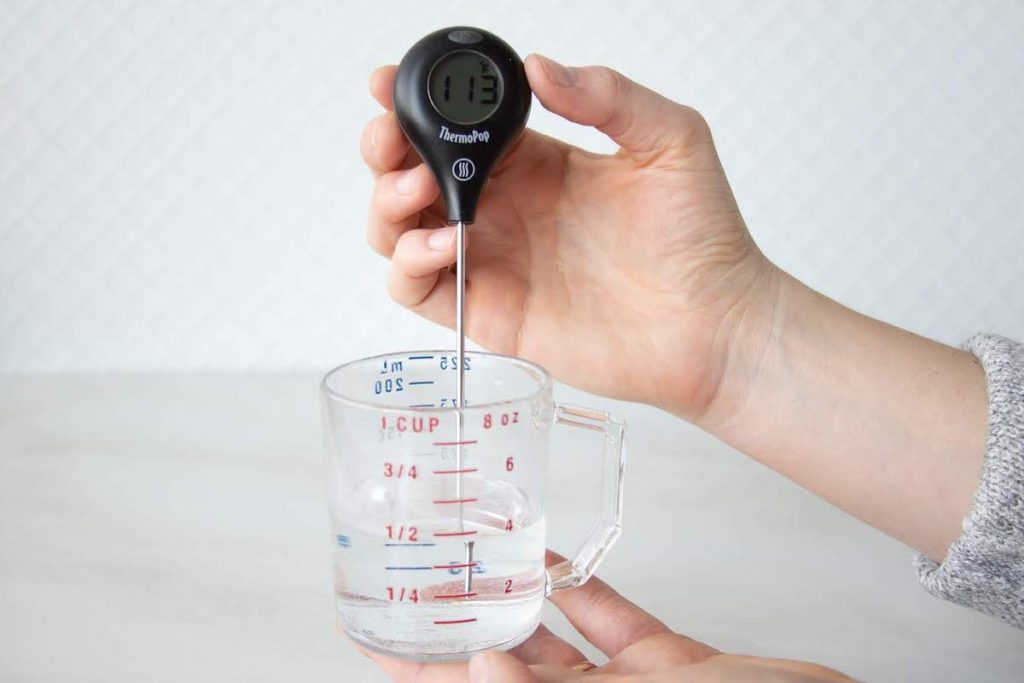
Many recipes indicate “lukewarm” or “warm baby bottle” as the correct temp. If you’re familiar with this process already, you may have a good sense for this temperature. But if you’re new to making bread or you struggle to proof yeast, we HIGHLY suggest using a thermometer to find the ideal temp. It takes the guesswork out of this process and ensures better results.
Substituting Yeast
Active Dry yeast is the most commonly-used yeast on the internet, likely because it is most commonly found in grocery stores. But you can instant yeast in its place with little or no adjustments. Using a 1:1 ratio, just swap out the yeast, using the quantity the recipe indicates.
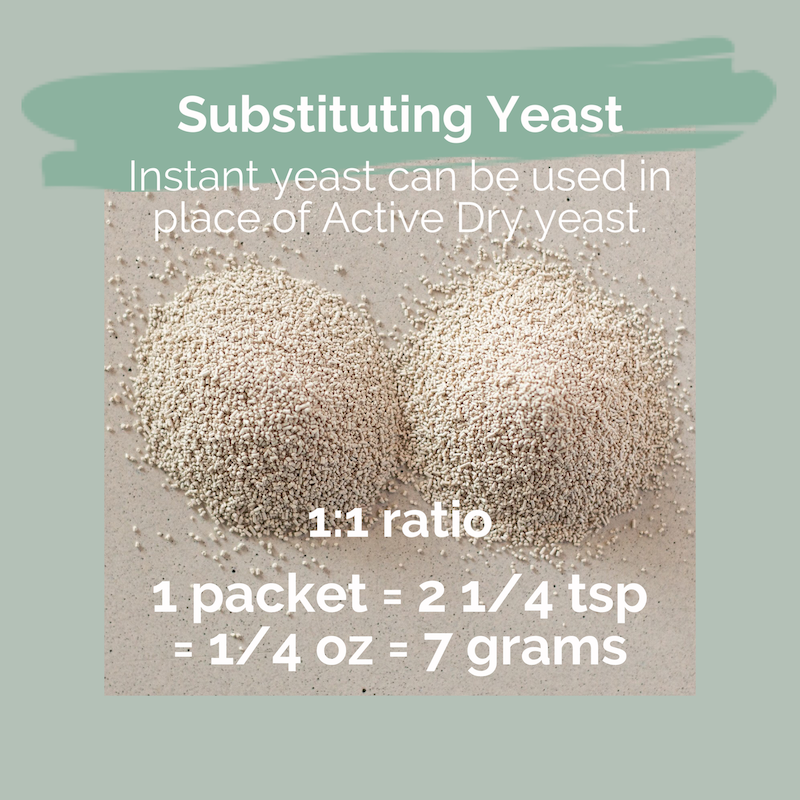
If the recipe uses one packet of active dry yeast, this is the same thing as 2 1/4 teaspoons = 0.25 ounce or 7 grams , so simply measure the yeast with your measuring spoons or a scale and bake on!
When switching to instant yeast, you can adjust your method for adding the yeast to the flour. Recipes using active dry yeast include the process of proofing the yeast in the instructions. You can proof instant yeast the same way. Or you can add the yeast to the dry flour and proceed with the rest of the instructions, without proofing the yeast.
To substitute fresh yeast for either active or instant yeast, use a ratio of 2:1. Dissolve the yeast in the warmed liquid and bake on.
Conclusion
We have made friends with yeast after many years of struggle. We know the inherent fear in working with this live microorganism, but we also know the joy of a fluffy loaf of bread. If yeast has you stumped, hopefully this information helps you through the struggle. Make the switch to instant yeast, show that yeast some loving care, and you’ll be on your way to bread success.
Need a recipe to begin? Try this one. It’s easy and tastes so delicious.