Do you feel a little bit afraid of home canning? We did too! Even though it was a huge part of our childhood, we never tried on our own until NOW. Turns out, the process for water bath canning is actually super easy, as long as you are able to access and follow the guidelines from the USDA and the local extension. Always, always, always follow food safety rules for home canning. That means not only getting correct amounts for recipes, but also following proper processing times. It is the only way to asses the proper pH and avoid botulism poisoning. All of our instructions came through the USU extension for our area.
Steps for Successful Water Bath Canning
Step 1. Once the food jars are ready for canning, center the pressure canner over the burner.
Step 2. Fill the canner halfway with water.
Step 3. Preheat the water to 140℉ for raw-packed foods or 180℉ for hot-packed foods.
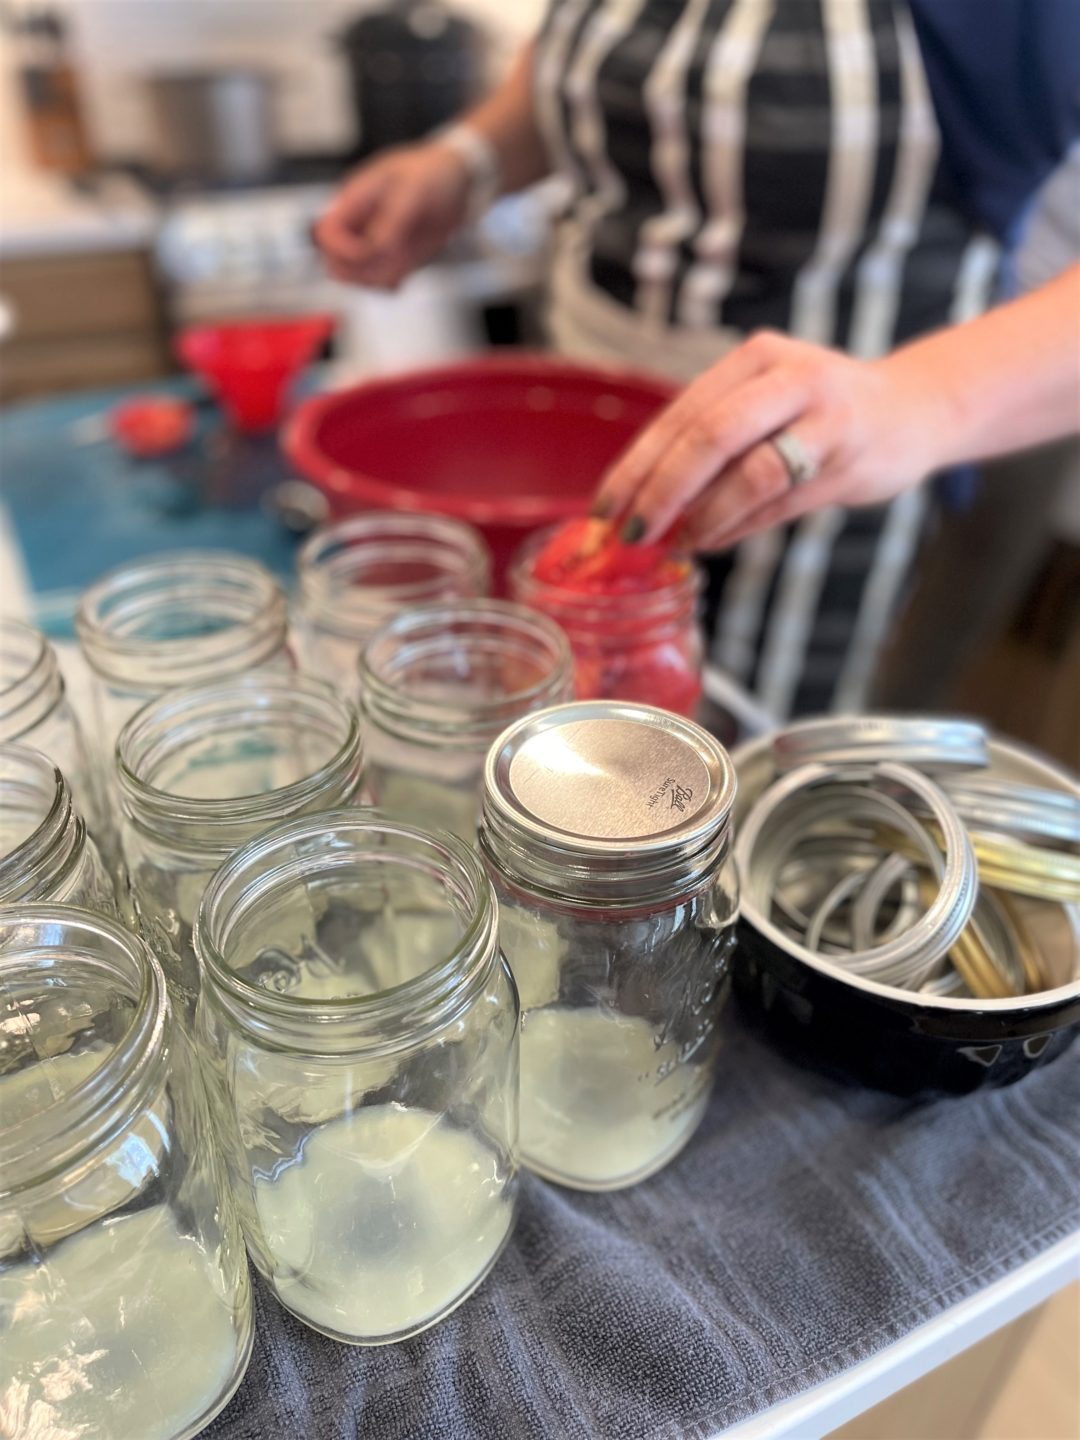
Step 4. Load filled jars, fitted with new lids and rings, into the canner rack and use the handles to lower the rack into the water. OR leave the rack in the water and fill one jar at a time with a jar lifter. Be sure to keep the jars upright so food doesn’t spill into the sealing area of the lid. Also, for water bath canning it is best if the jars do not touch.
Step 5. Add more boiling water if needed so the water level is 1” above the jar tops at minimum.
Step 6. Cover with the canner lid and turn up the heat to highest temperature until water comes to a vigorous boil.
Step 7. Set a timer for the correct number of minutes required for processing the type of food and the local elevation. (Here is a handy chart you can use to calculate according to elevation)
Step 8. Lower the heat setting to maintain a gentle boil throughout processing.
Step 9. Periodically check the canner to make sure water level is still 1” above the jar lids and add more boiling water if needed.
Step 10. When the jars have boiled for the recommended time, turn off the heat and remove the canner lid.
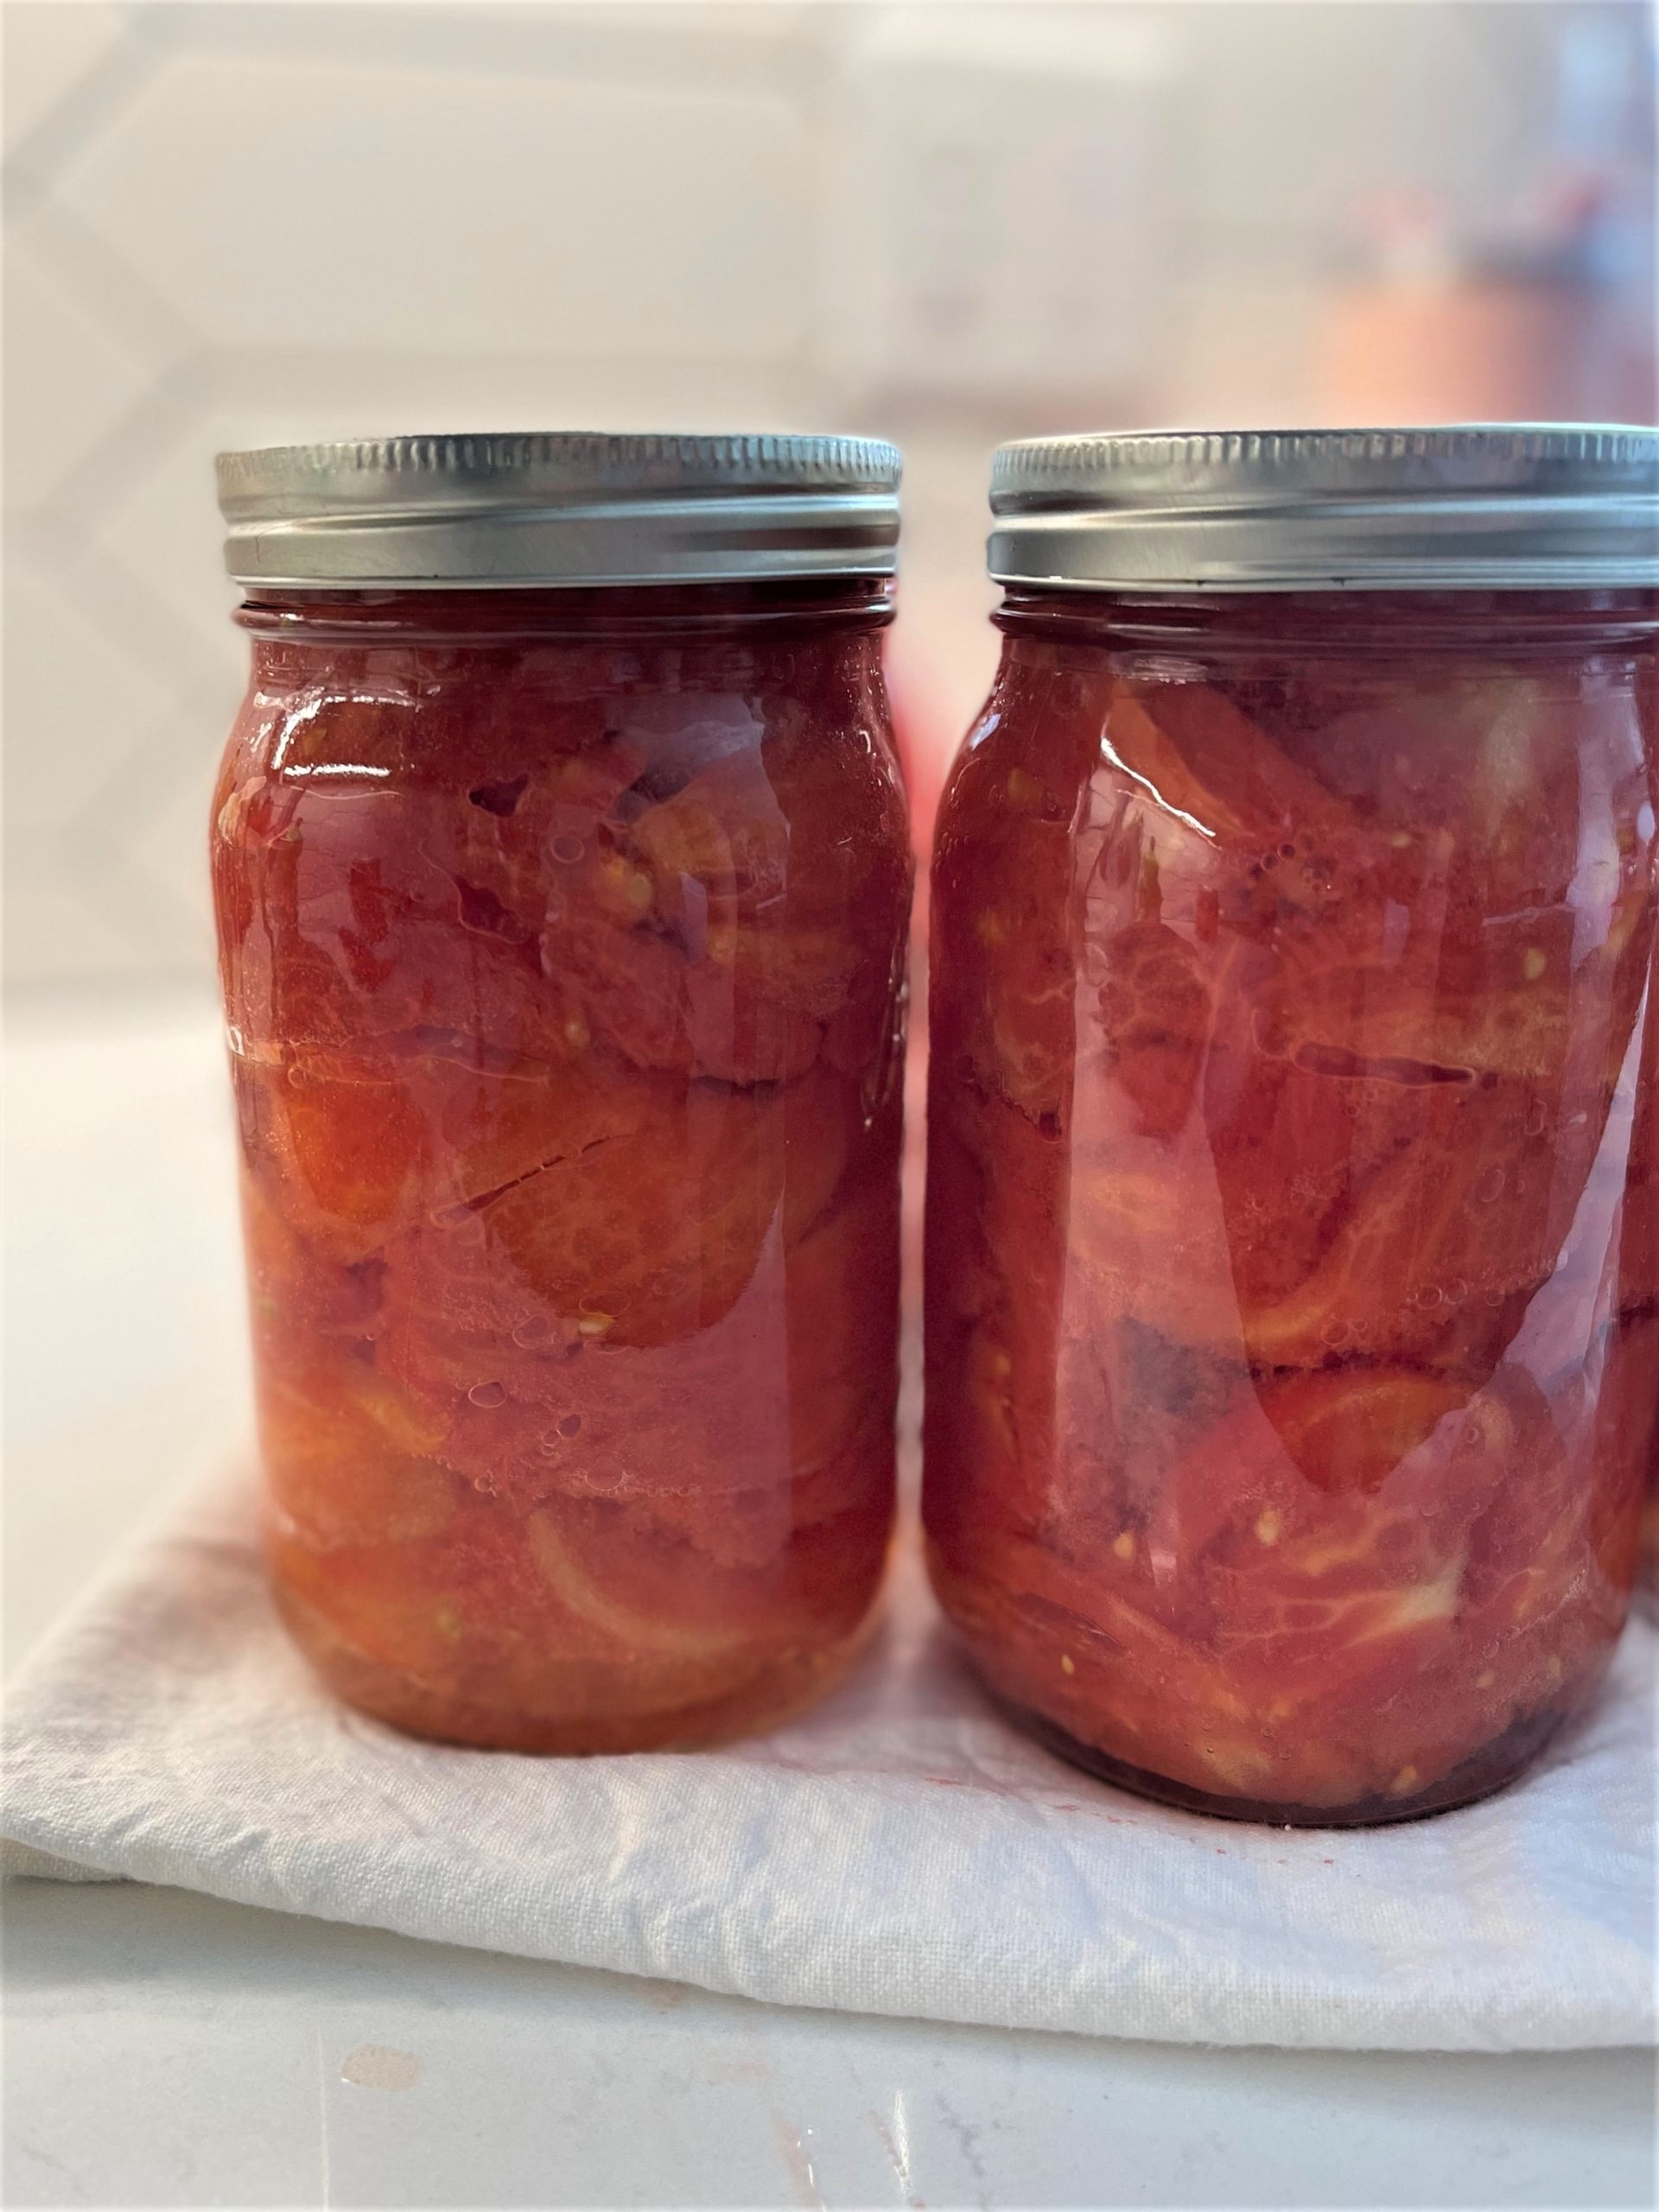
Step 11. Using a jar lifter or heat-resistant gloves, remove the jars one at a time and place them on a protected surface (directly onto a towel or cooling rack) leaving 1” of space between the jars during cooling.
Step 12. Let the jars cool at room temperature and keep away from air drafts for 12-24 hours. Do NOT tighten the rings or push down on the center of the flat metal lid until the jar is completely cool.
Once you have the right supplies and follow the instructions, so much of canning has to do with watching and waiting and knowing the right times to process your foods. It’s pretty basic. That still doesn’t make it any less intimidating when you are doing it for the very first time. But hopefully this little guide helps gives you a little more confidence. What do you think? Are you ready to try your hand at home canning?