So many of us are slightly petrified of the idea of a hissing, pressurized “bomb” in our kitchen. Pressure canners can indeed malfunction if not used properly. Yikes! But don’t write off pressure canners just yet. Pressure canning is safer than you may have been led to believe. And there are so many benefits that make learning the proper way of pressure canning totally worth it. You will see that a lot of the steps for pressure canning are similar to that of water bath canning. But the benefit of pressure canning is you can process low acid foods like red meat, poultry, and fresh vegetables. This is because pressure canners can reach higher temperatures with less water and energy. Again, it is important to follow safe recipes outlined by the USDA and safe processing times presented by the local extension for your area. Ready to get started?
Steps for Successful Pressure Canning
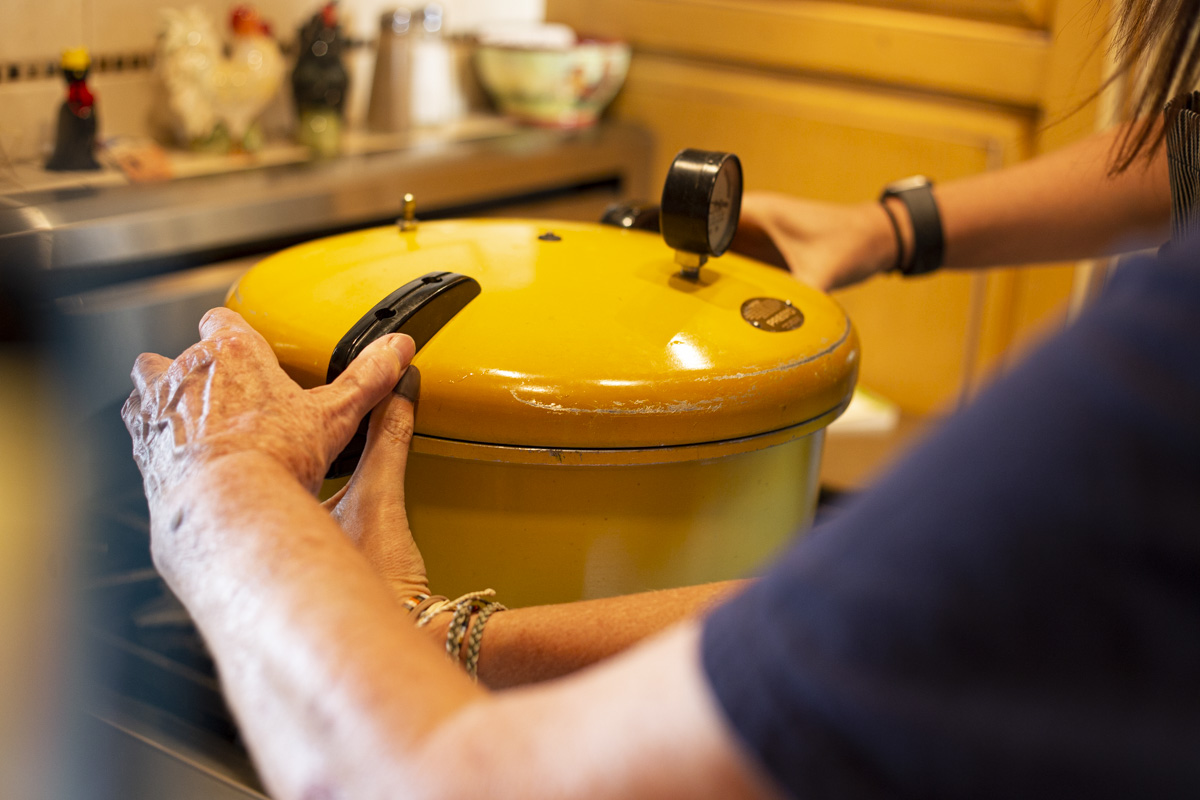
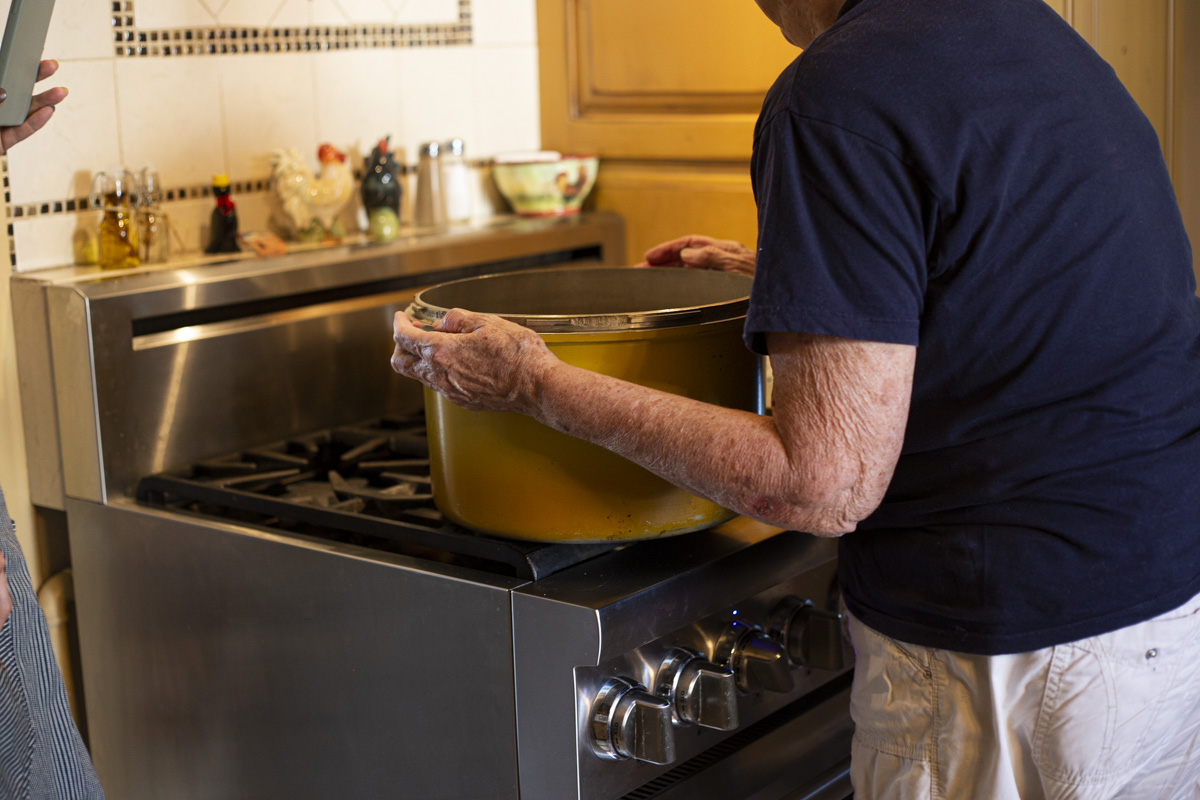
Step 1. Once the food jars are ready for canning, center the pressure canner over the burner and place the rack in the bottom of the pan.
Step 2. Add 2-3” of water into the canner (the amount of water is not specified with a given food. Just longer processing times require more water so the canner doesn’t run dry).
Step 3. Preheat the water to 140℉ for raw-packed foods or 180℉ for hot-packed foods. Be careful not to boil the water or heat it too long for the depth of water to decrease.
Step 4. Load filled jars, fitted with new lids and rings, on the jar rack in the canner using a jar lifter. Be sure to keep the jars upright so food doesn’t spill into the sealing area of the lid. For pressure canning it is okay for the jars to touch.
Step 5. Add some more boiling water if needed to keep it at 2-3” in the bottom of the canner.
Step 6. Securely fasten the canner lid and open the petcock or leave the weight off the vent port. Turn up the heat to the highest temperature until the water boils and steam flows freely from the open vent. Leave the vent open and let steam flow for 10 minutes.
Step 7. After the venting, close the petcock or place the weighted gauge or counterweight on the vent port. During the next 3-10 minutes the canner will pressurize.
Step 8. When the dial gauge indicates the recommended pressure has been reached, start the timing process. For weighted gauge pressure canners, start timing when the gauge rocks or jiggles as the manufacturer describes. One type of gauge will rock steadily throughout the process while another will jiggle a certain number of times per minute.
Step 9. Loss of pressure at any time can result in unsafe food. And quick or large pressure changes can result in unnecessary liquid loss from jars. To maintain steady pressure, or slightly higher pressure, regulate the heat under the canner.
Step 10. IMPORTANT!!! If pressure goes below the recommended amount at any time, bring the canner back up to pressure and begin the timing process over–FROM THE BEGINNING (using total original processing time). This is important for food safety.
Step 11. When the timed process is complete, turn off the heat. With a gas burner it is ok to leave the canner in place. With an electric burner, try to remove the canner from the heat if possible. And let the canner cool naturally at room temperature. DO NOT force cool the canner. DO NOT open the vent port before the canner is fully depressurized.
Step 12. Wait for complete depressurization. Older, standard size, heavy-walled canners that do not have dial gauges require about 30 minutes when loaded with pints and 45 minutes when loaded with quarts for full depressurization. Newer, thin-walled canners cool more quickly and come equipped with vent locks that open when pressure is gone.
Step 13. Once the canner is depressurized, carefully check the vent port to make sure no steam escapes. Then open the petcock or remove the weight from the vent port. Wait 10 minutes, then carefully unfasten the lid and remove. Lift the lid with the underside facing away from you, so steam doesn’t burn your face.
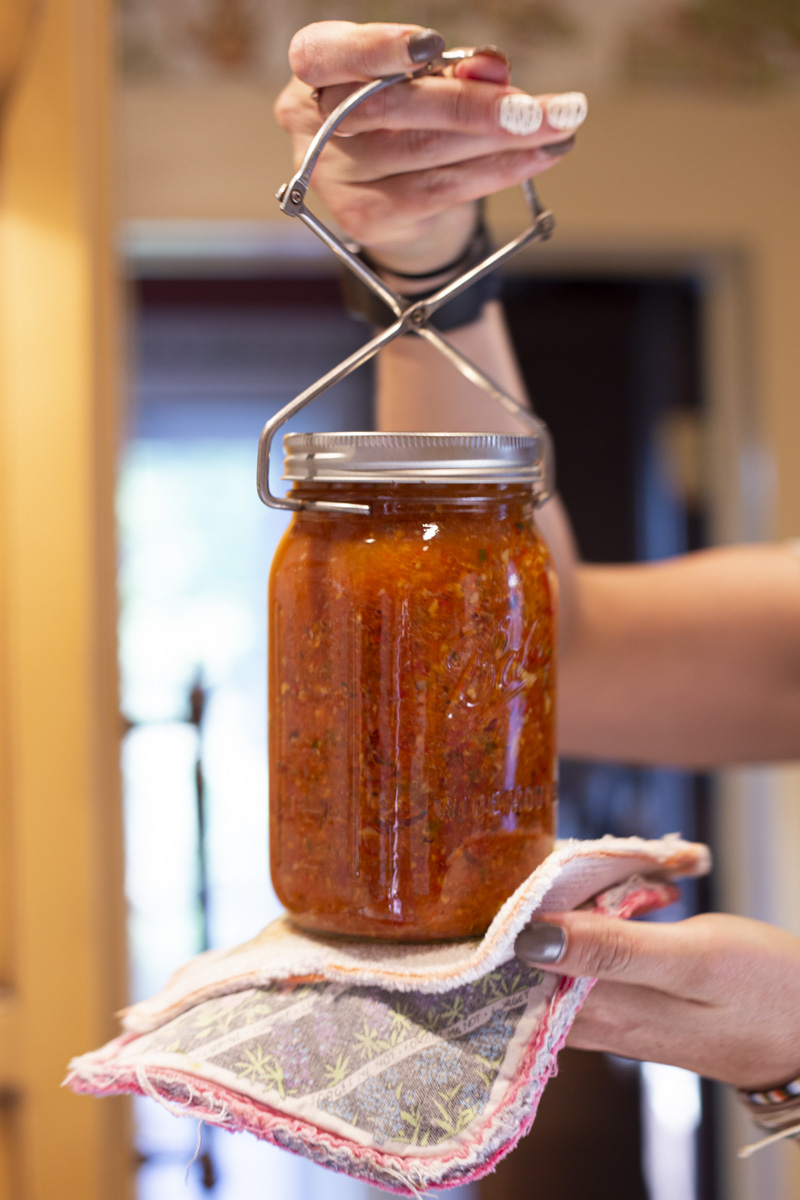
Step 14. Using a jar lifter or heat-resistant gloves, remove the jars one at a time and place them on a protected surface (directly onto a towel or cooling rack) leaving 1” of space between the jars during cooling.
Step 14. Let the jars cool at room temperature and keep away from air drafts for 12-24 hours. Do NOT tighten the rings or push down on the center of the flat metal lid until the jar is completely cool.
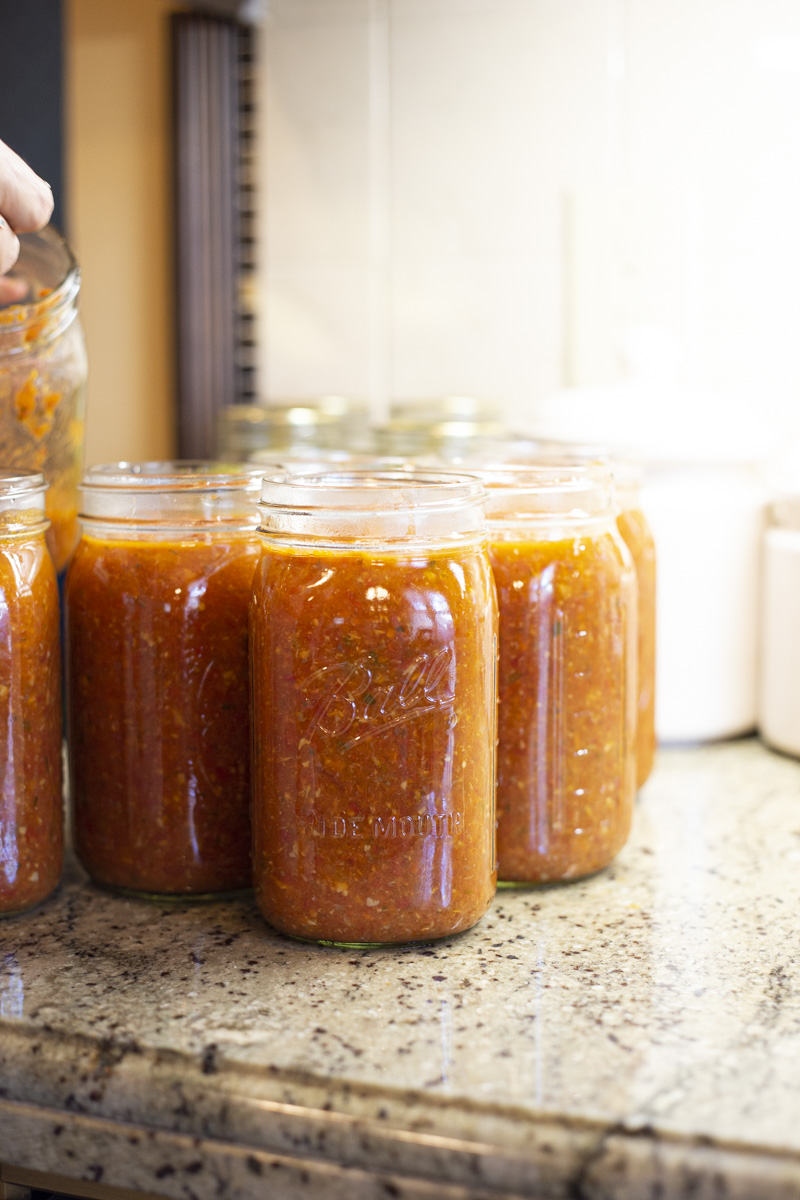
Pressure canning can really open up options for preserving your harvest. It works for fruits, veggies, sauces, jellies, and meats. And not only is it super economical, but you can also control the portions. You only need to can exactly what you need, which helps to reduce food waste. Who doesn’t love that? It is also the only canning option you can use if you want to stack your cans for processing.