Have you heard about steam canning? We hadn’t really either. Recently, as recent as June 24th 2015, the University of Wisconsin-Madison published research indicating it too is a safe method for home canning for naturally acidic and acidified foods. A steam canner looks similar to a water bath canner, but flipped. Steam canners have a shallow basin and a dome-shaped lid usually with some type of gauges. And, as the name suggests, the processing is accomplished through steam. It requires less water and heat and can help speed up the process of canning. It is still important to follow research-tested recipes and adapt them properly for steam canning. But ultimately, the process is a little bit simplified because you don’t have to wait for an entire stock pot of water to come to a boil.
Steps for Successful Atmospheric Steam Canning
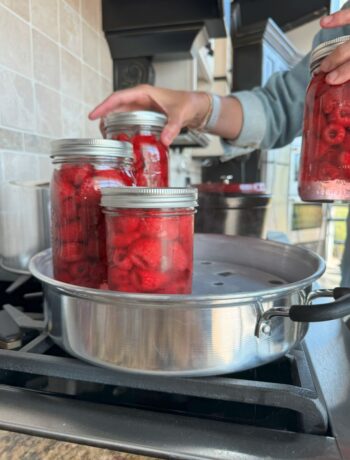
Step 1. Once food jars are ready for canning place the steam canner
Step 2. Put the required amount of water in the steam canner, as recommended by the manufacturer.
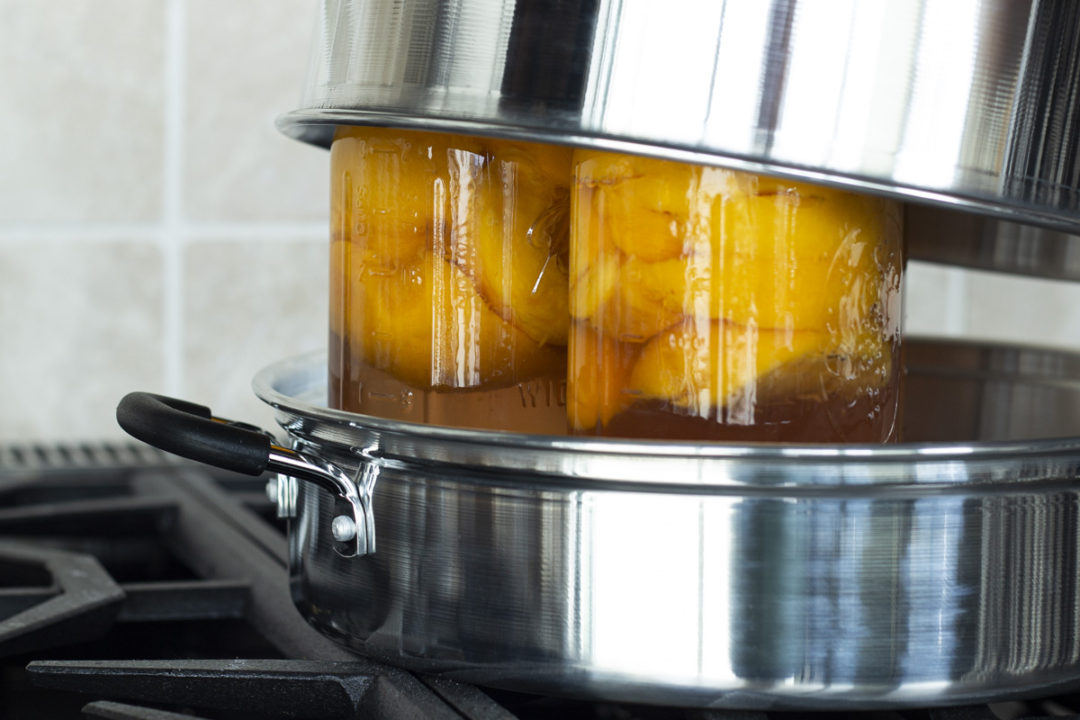
Step 3. Put the rack into the canner and turn the burner to start heat. You can put the lid on for efficient energy.
Step 4. Once preheated, place filled jars in the canner.
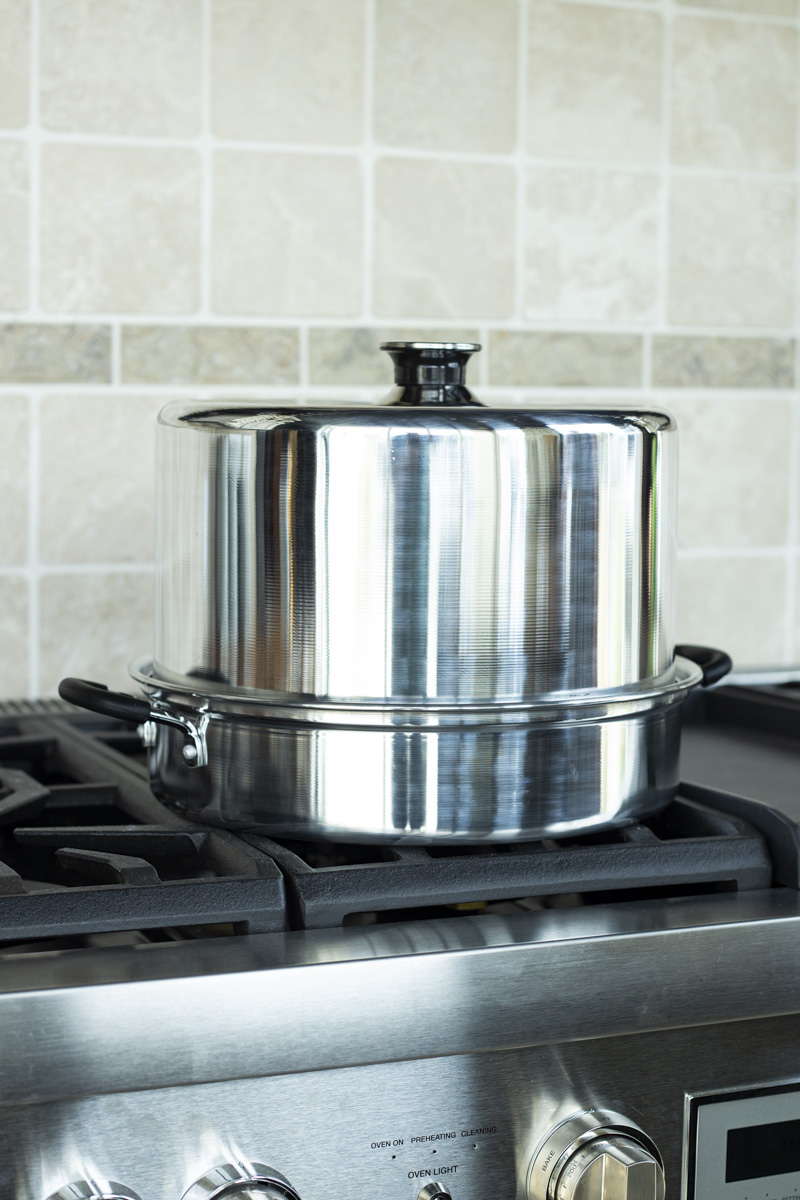
Step 5. Securely fasten the canner lid. Turn up the heat to the highest temperature until the water boils and steam flows freely through the canner vent.
Step 6. Once a steady stream of steam is visible from the vent, begin the timer.
Step 7. Set a timer for the correct number of minutes required for processing the type of food and the local elevation.
Step 8. Lower the heat setting to the bare minimum required to maintain that head of steam, because too much steam can cause seal failure. Process for allotted time as outlined by the local extension. If the steam canner has a gauge, you should keep the indicator needle at just the entry of the zone for the proper elevation. For steam canning, processing must not exceed 45 minutes, or the water will boil dry and not maintain the correct temperature range of stream between 210-212℉.
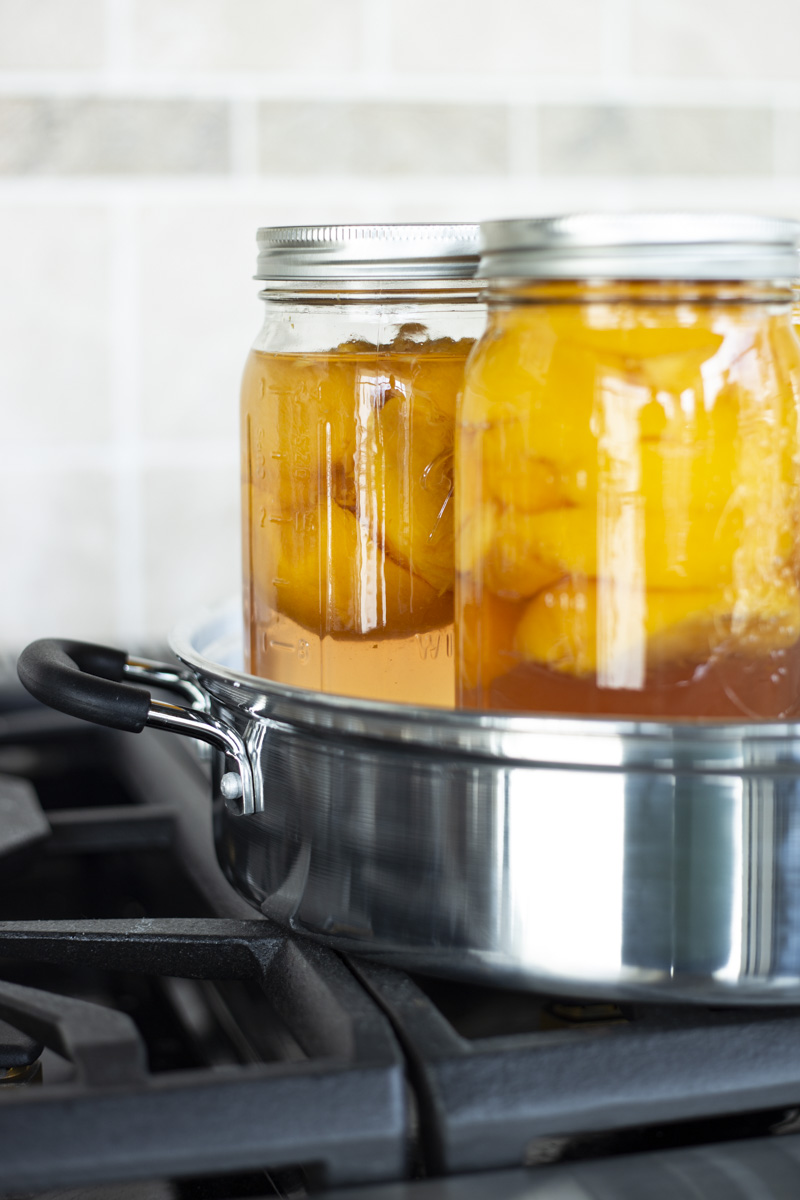
Step 9. When the timed process is complete, turn off the heat. With a gas burner it is ok to leave the canner in place. With an electric burner, try to remove the steam canner from the heat if possible.
Step 10. Allow the canner to stand for 5 minutes before removing the lid.
Step 11. Using a jar lifter or heat-resistant gloves, remove the jars one at a time and place them on a protected surface (directly onto a towel or cooling rack) leaving 1” of space between the jars during cooling.
Step 12. Let the jars cool at room temperature and keep away from air drafts for 12-24 hours. Do NOT tighten the rings or push down on the center of the flat metal lid until the jar is completely cool.
Atmospheric steam canning might be a great option if you are a hobby canner simply looking to get your feet wet. After all, home canning is a long-practiced science and there is just so much information out there. We don’t recommend using untested canning methods from relatives, friends, or neighbors. Instead, make sure you use safe recipes and protocols when home canning. Your local extension will have a lot of information you can use to navigate the world of preserving your harvest.