
We’ve got the oven on our minds today as we tackle Spring Cleaning in our kitchens.
If you’re like me, it’s easy to spill in the oven, I make a big mess and a horrible smell, and then I close the door and forget all about it until the next time I turn on the oven and fill the house with smoke. I love to procrastinate cleaning my oven, mostly just because it feels hard. But we’ve got some tricks to help get your oven sparkling clean. And without a lot of hassle, so you might even do it more than once a year.
We looked into a few different methods for cleaning our ovens and wanted to compare to see which one we preferred.
Method 1: Overnight Cleaning with Ammonia
Supplies
- Ammonia
- Baking Dish
- Pot of Water
- Dish Soap
- Scrubbing Pad or sponge
- Cleaning Gloves
Directions
Step One:
- First things first- remove all the debris in the bottom of your oven. You can vacuum it out, or use a rag to wipe out any charred, loose pieces of junk. (We didn’t do this when we cleaned the oven at Gygis, and we found it was super annoying to work around all the loose crumbs).
- Then you’ll want to preheat your oven to its lowest temperature. While the oven is warming up, boil a pot of water on the stove.
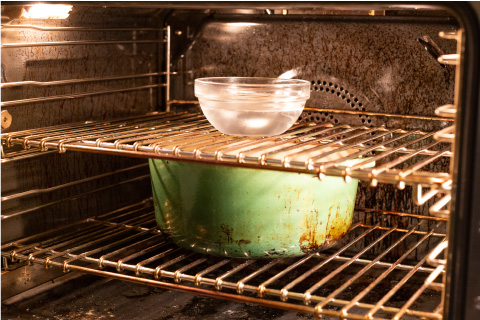
- When the oven has preheated turn it off. If you have an older gas range with a pilot light, turn it off. Pour 1 cup ammonia into a oven safe bowl and place it on the top rack of the oven.
- Put the pot of boiling water on the bottom rack and close the door.
Step Two:
Now, you just have to wait! The best thing you can do is nothing. It will take several hours for the ammonia to break down the gunk inside the oven. We’ve found it easiest to set it up before you go to bed, and let time do the work for you.

Step Three:
- After it has time to sit, take the ammonia (don’t dump it out yet!), pot of water, and oven racks out of the oven. Leave the door open for a few minutes.
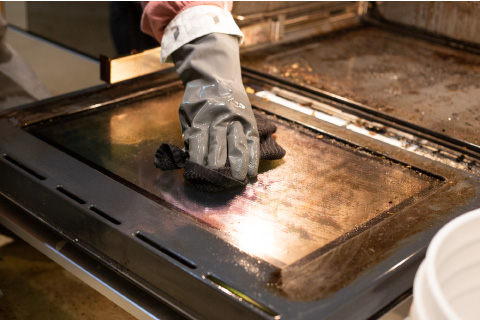
- Now it is time to get rid of all that nastiness, add a little dish soap to the bowl of ammonia and a quart of warm water. Put on your gloves and use a scrubbing pad.
- Dip the pad in the mixture, and use the pad to wipe away the softened grease and grime. Start at the top, then clean the sides and finish with the bottom. It shouldn’t take too much elbow grease at this point!
You can finish by cleaning the door- and enjoy that gorgeous, clean oven.
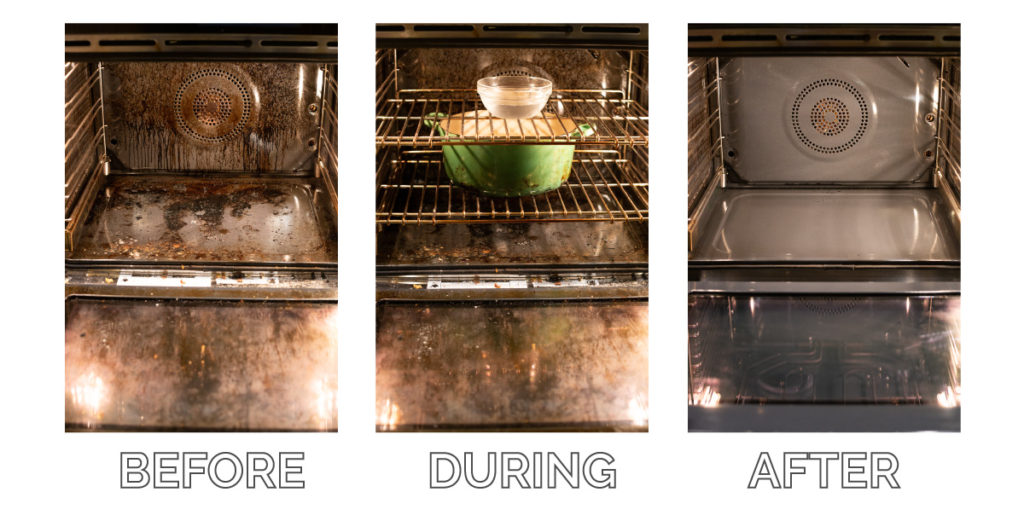
Ammonia Results
This is certainly the smelliest method. But the easiest in terms of “elbow grease.” This method took the least amount of work and effort. The ammonia turned the baked on grime into a slippery mess that was easily wiped off with a sponge.
We found this method here: One Good Thing by Jillee.
Method 2: Overnight Cleaning with Vinegar and Baking Soda
This time you’ll need a few more materials:
- Paper towels
- Small bowl
- White vinegar
- Water
- Baking Soda
- Spray bottle
- Scrubbing pad
Once you gather all your materials, you’re ready to get cleaning!
DIRECTIONS:
- Take out the oven racks and set them aside. Clean those in the sink later (Read more about that below).
- Remove any debris in the bottom of the oven. That junk just gets in the way!
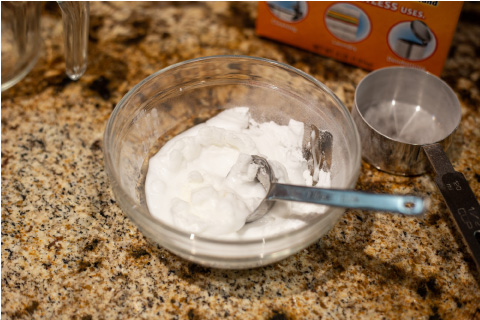
- Mix baking soda with water in a small bowl to create a paste-like mixture. Start with the baking soda then slowly add a few drops of water at a time until it’s nice and thick. Depending on the size of your oven, you may need a couple batches of this mixture to completely coat the inside. If your mixture becomes too runny, just add more baking soda.
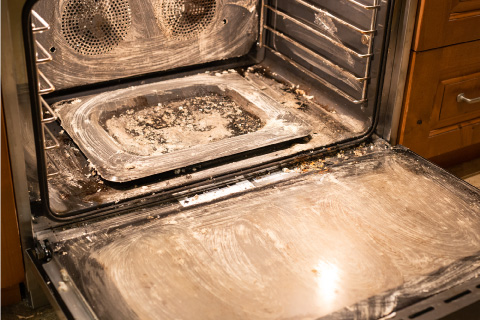
- Spread the paste over the inside of your oven, covering the bottom and all sides. The baking soda may start to turn brown, this is fine. It’s just pulling up the grease and grime. Close the oven door and let it sit overnight, or for at least 12 hours.
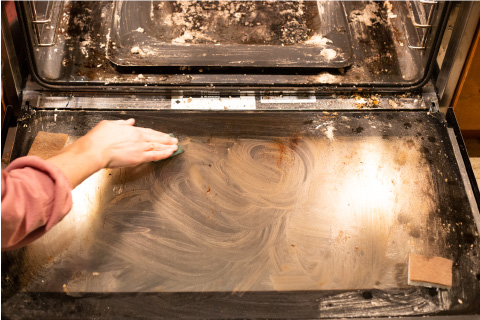
- In the morning, wipe the baking soda mixture out with the paper towels, removing as much as possible.
- Add the white vinegar to your spray bottle and spray the inside of your oven, especially where you have any baking soda residue. Then wipe it clean with more scrubbing pad.
- Now put the oven racks back in and dry the oven by turning it on at 200 degrees for about 15 minutes.
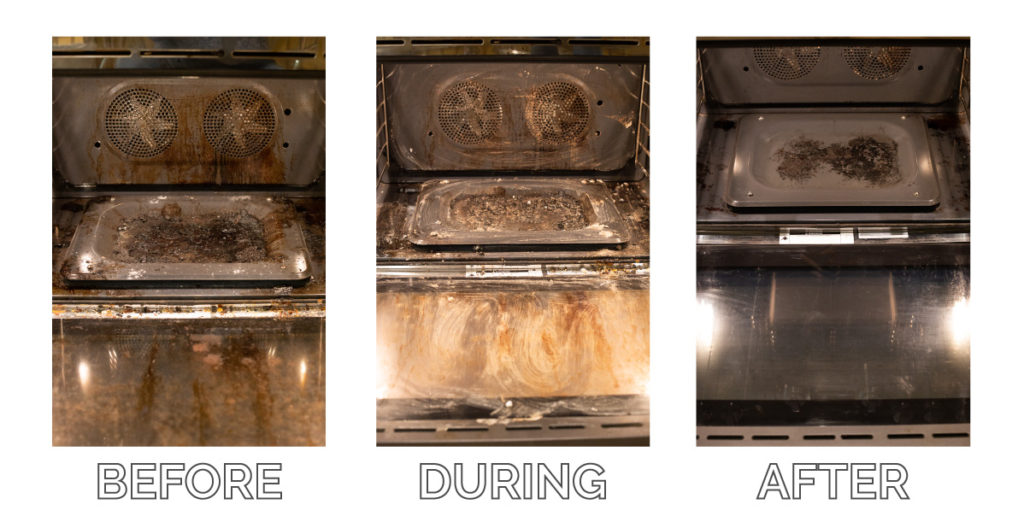
Baking Soda + Vinegar Results
This method does work to cut through the baked on grease, but we definitely had to put in much more effort to remove all the spots. It also made much more of a mess in the oven.
A few more thoughts about the oven:
Cleaning your Oven Racks
The most convenient way to clean oven racks is to remove them from the oven and tackle the job in the sink. A little scrubbing with steel wool and a mild dish detergent usually does the job. Soak stubbornly soiled oven racks in a tub of ammonia for about 15 minutes to loosen the burned-on grime. As with the interior of your oven, wiping racks regularly as spills occur makes it easier to keep them clean. Make it a part of your dish-washing routine to wipe down the racks after your oven cools.
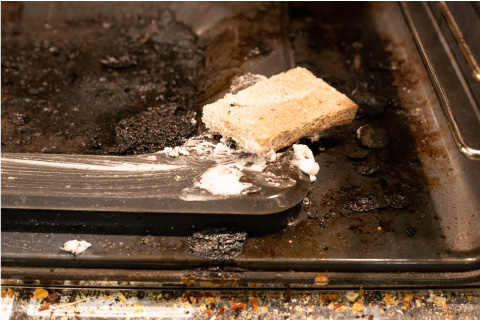
Keeping your oven clean with Bar Keepers Friend
After your oven is sparkling clean, it’s not too hard to keep it clean on a regular basis.
If you have a pie spill over, or some chicken splatter, use our trusty friend, Bar Keepers Friend. Use a spray bottle to add a little water to the surface, then shake a little of the chemical-free cleaner to the water. It should make a gently abrasive paste, then you can use a scrub brush to remove the baked on grime. Wipe it with a wet cloth, and the mark is gone for good!
Super easy way to maintain your well-loved appliance!
Here’s why we avoid the “Self- Cleaning” method:
- It’s a gamble every time you use your Self-Cleaning feature. With the temperatures reaching upwards of 1000 Degrees F during the cleaning cycle it can certainly wreak havoc on your appliance. This can cause the fuse to pop or the control panel (which runs everything digital in your oven) to burn out. Both of which are expensive repairs.
- So why is there a self-cleaning feature at all? Manufacturers have a hard time selling an oven without the feature, but it seems that it is really asking too much of your oven. The more you use it, the weaker your system gets which can lead to an early demise. A literal meltdown.
We are cheering you on! Go get that oven ready for a surprise visit from your mom!
And if you’re looking for a few more cleaning tasks to freshen up your kitchen, check out this post where we compiled our best ideas and tools all in one space.


Jay
January 2, 2023 at 10:54 amHi, I found your website using Google. I had a questions about cleaning my oven, and I thought you could help. Grease has someone seeped between the two pieces of glass at the front of my oven. It’s very visible, but because it’s between the two pieces of glass, I can’t clean it. I can send pictures. Please let me know what you think about the best way to clean this. Best, Jay
Whitney
January 10, 2023 at 2:37 pmHi there! This is a tricky question. Some ovens are not designed to be cleaned in between the glass and doing so can actually void your warranty. Others have a space near the vents that you can reach a small duster or towel into to clean. We always suggest that you check your owner’s manual or contact the manufacture for cleaning instructions.
Service Lane
September 7, 2018 at 3:41 amGreat post by you