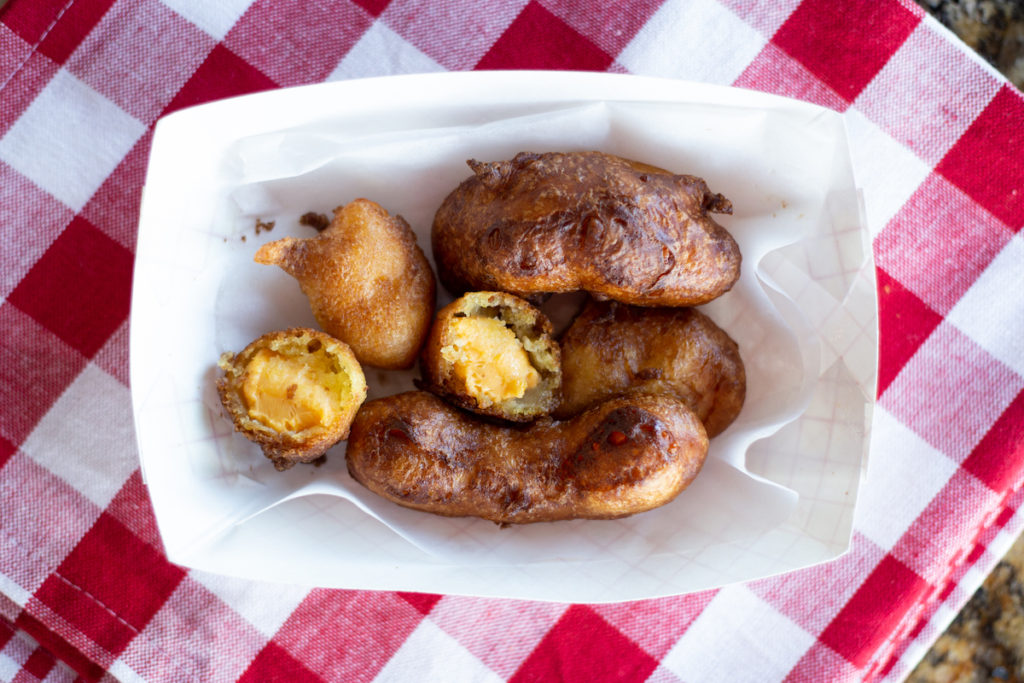
Cheese is universally loved, but when it’s melty, gooey and encased in crispy breading it’s universally irresistible. We’ve been sharing some of our favorite fried fair foods (say that 3 x’s fast) and these came in at the top of the list for your requests.
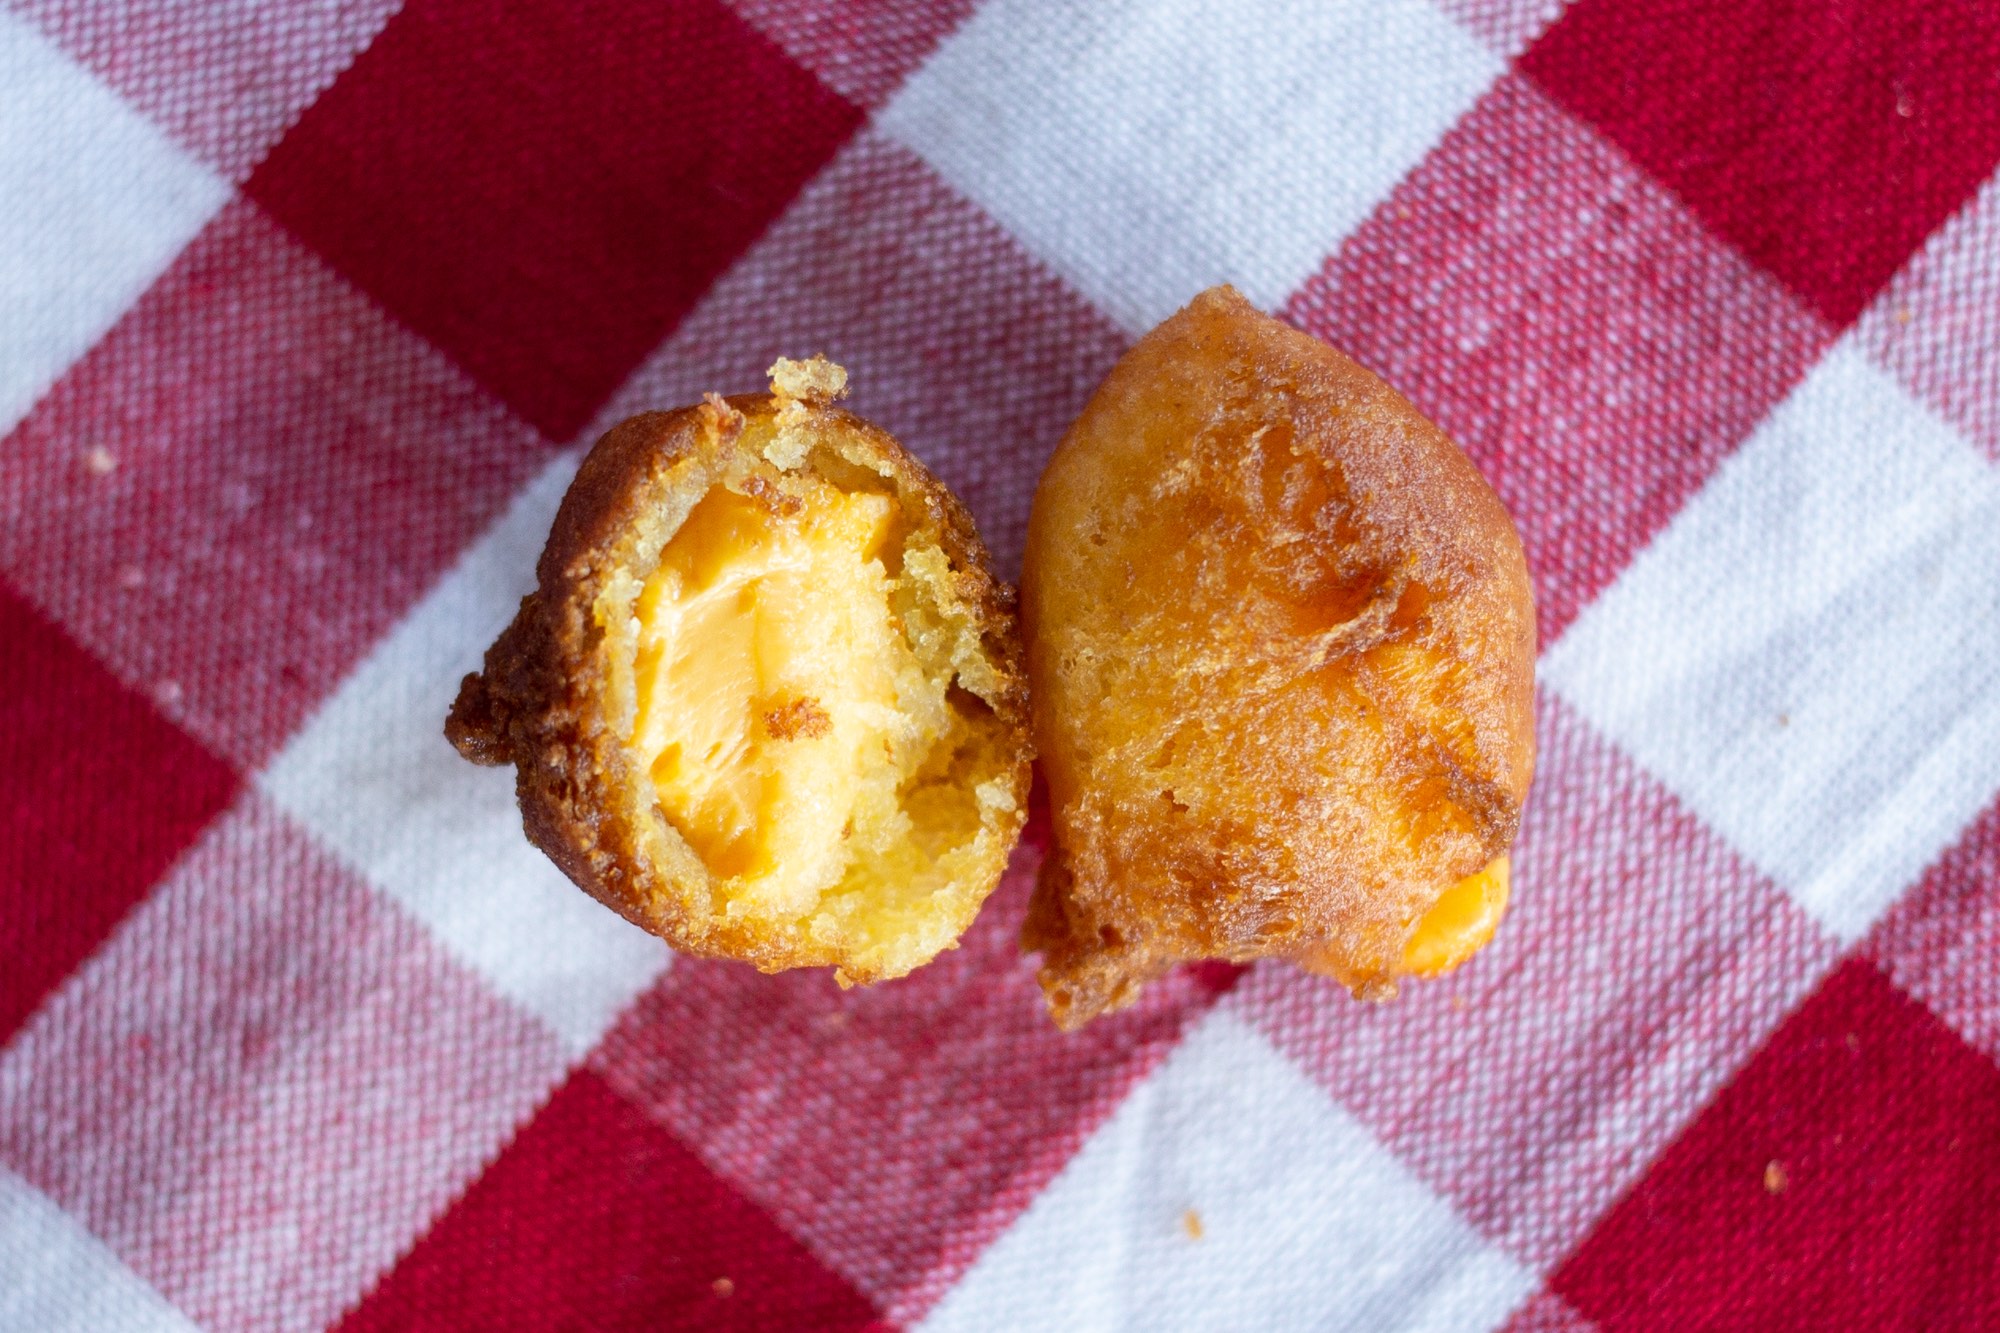
So what are cheese curds? During the cheese making process they can add rennet or some kind of bacteria to separate the whey from the curds. When they add a larger amount, these larger curds are formed. They scoop those up and sell them as the curds instead of forming them into a cube. Cheese curds are typically considered “young” meaning you eat them right after they are made (a block of cheddar cheese is usually at least 60 days old before being sold). The protein in the young cheese is stretchier and gives that iconic squeaky feeling when you take a bite. Soooo satisfying.
When buying squeaky cheese, they are best when fresh. So if it’s possible to get it locally from a cheese maker then you can guarantee freshness. If that’s not an option, you can check out the gourmet cheese section at your local grocery store or gourmet food store. The cheese maintains that squeaky texture when it is stored at room temperature (keep it out of the fridge!). If it starts to lose the squeakiness, you can warm it in the microwave for 2-3 seconds (no longer!) to loosen up those squeaky protein strands. But my favorite way to warm it up: BREAD + FRY IT!!!!
SUPPLIES
Frying really doesn’t require special equipment (which makes it great to try today!) you’ll need a few tools that may be lying around your kitchen already. First, if you have a home deep fryer, use it!! It’s a great way to keep your results consistent and reliable. If you fry foods often, consider investing in our favorite deep fryer.
Not looking to add another appliance to your kitchen? A heavy-bottomed stock pot is a great option, too. We love using cast iron (either seasoned or enameled) because the heavy sides hold a lot of heat, maintaining the heat of the oil, even when food is added to the pot. You’ll want a pot that is at least 8″ in diameter with sides at least 4″ high to protect from oil splatters.
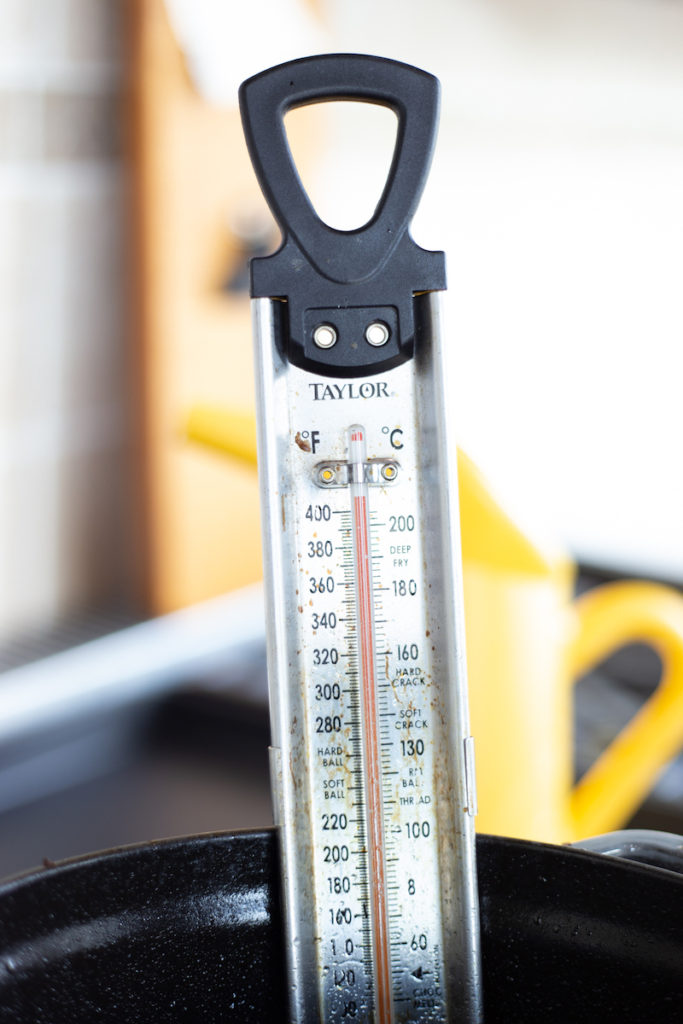
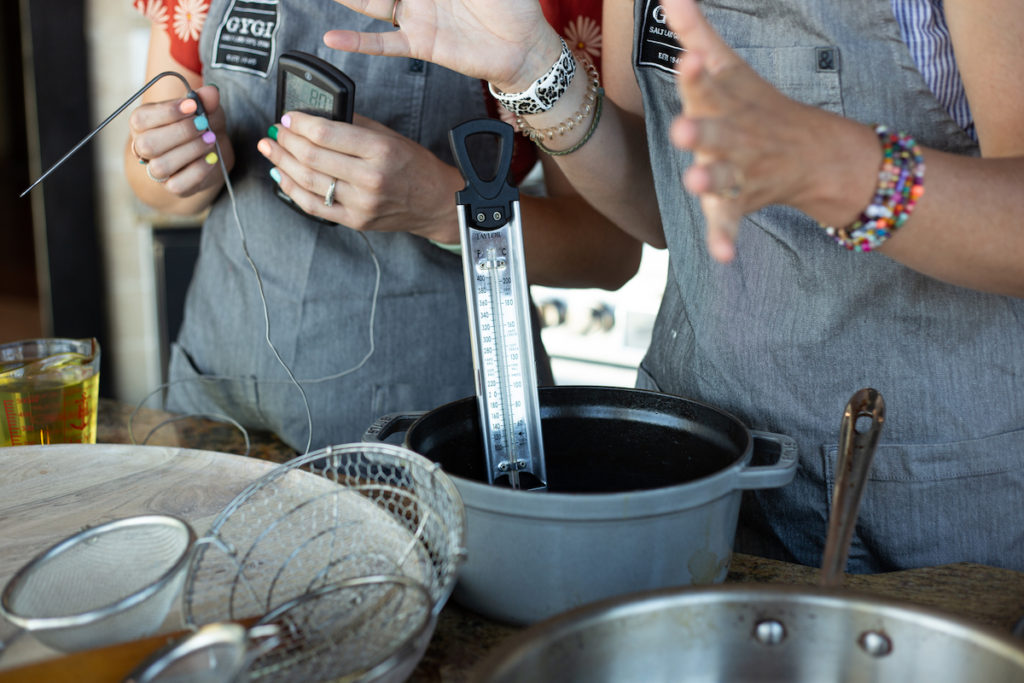
You’ll also need a thermometer to keep tabs on the temperature of your oil. A leave-in thermometer works best, as the temperature fluctuates when the batter is added. We love an option that will clip onto the side of the pot. But you can also use an instant-read thermometer in a pinch. Just take care to keep the plastic away from the radiant heat of the oil.
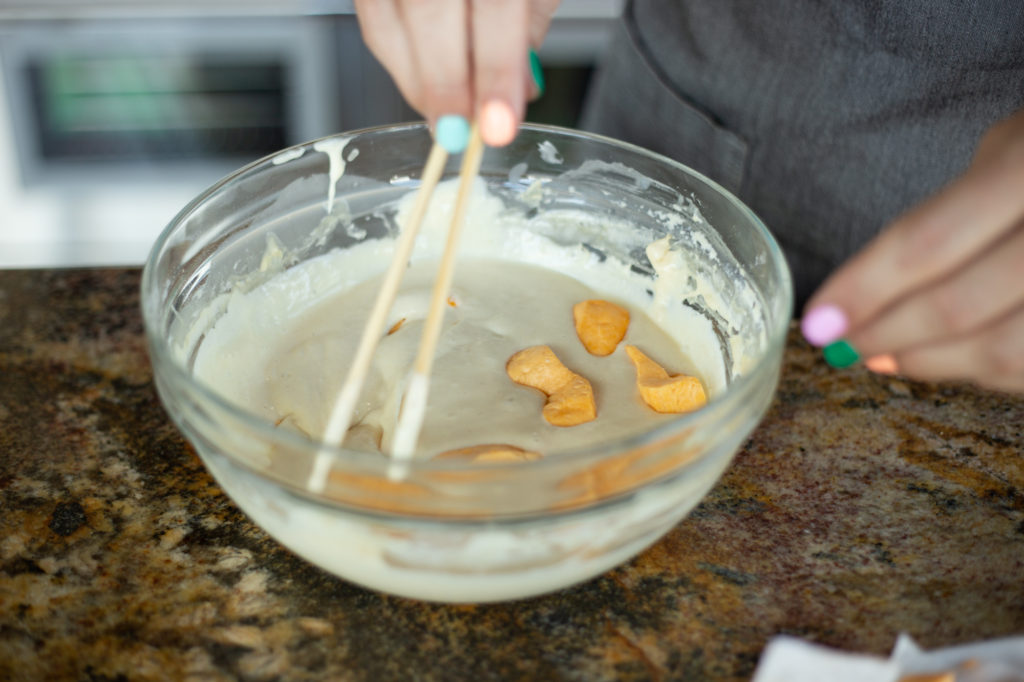
Chopsticks are super handy when it comes to retrieving your curds out of the batter, but you can definitely get away with using a fork to scoop them out of the batter bowl.
INGREDIENTS
Start off with some high quality cheese curds. The fresher the better. They typically come in cheddar and white cheddar. Either will work great. You can break them into smaller pieces, but we liked ours nice and chunky!
We made our own batter (thanks I Am Baker for the inspiration), which was light, airy and used standard pantry ingredients. Nothing too tricky.
We also tried some using our Corn Dog Batter Mix (all you do is add water) and they turned out extra crispy, and so tasty. The mix does have a little more grit to the texture and a touch of sweetness, but you could easily add some garlic powder and cayenne to diversify this mix.
Last, you’ll need oil for frying your curds. Stay far away from olive oil, coconut oil, and other oils with a low-smoke point. They can’t withstand the high heat needed to fry the dough. Carnival booths often use peanut oil or canola oil. Grapeseed oil can be used as well.
METHOD
Start by letting your curds dry out a little on a paper towel. If they are wet at all the batter will have a tough time sticking.
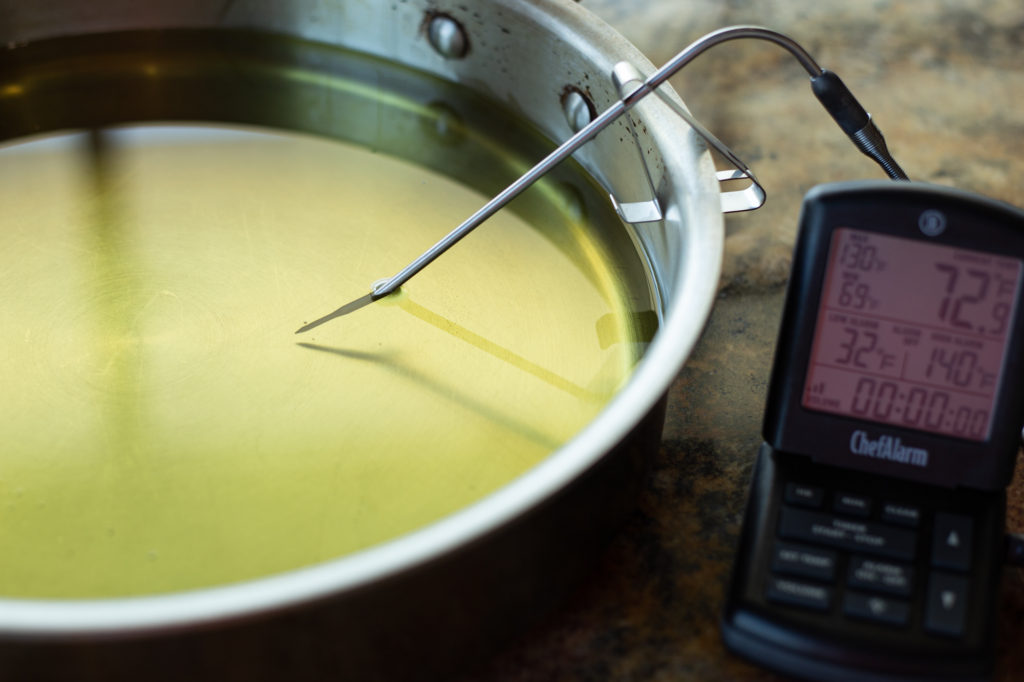
Pour the oil in the pan, and start heating it up. Make sure you have enough to cover the cheese curds. You’ll heat it to 375° F.
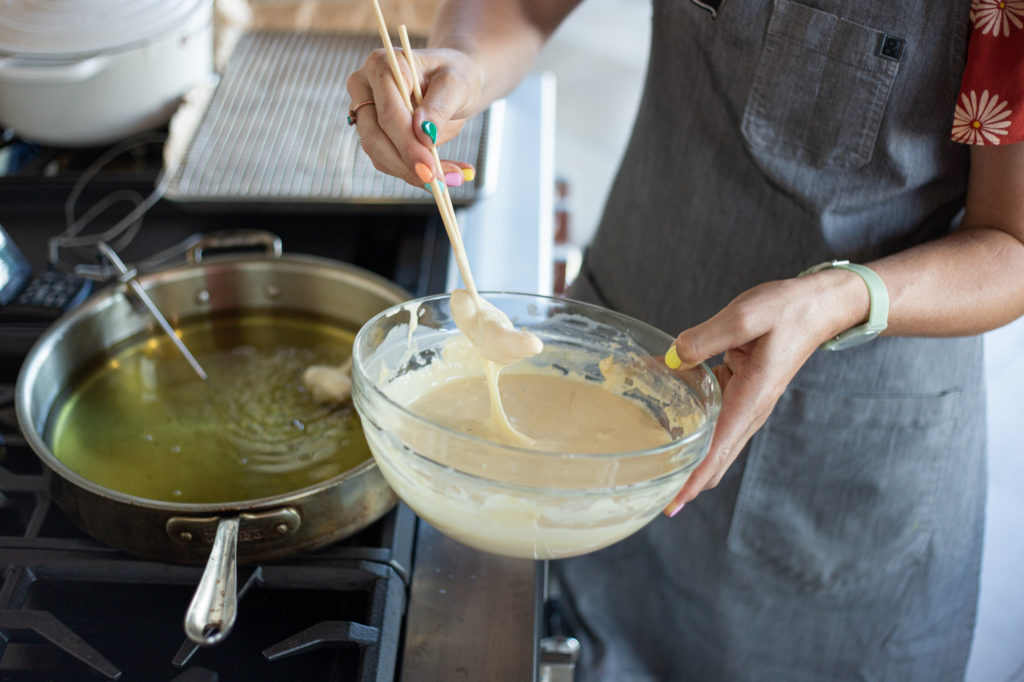
Mix up your batter. And drop the cheese curds in about 8-10 at a time. Using chopsticks or a fork to fish them out, lower them in the oil one at a time. You don’t want to overcrowd the pan, so make sure there’s enough space around them to allow for some movement.
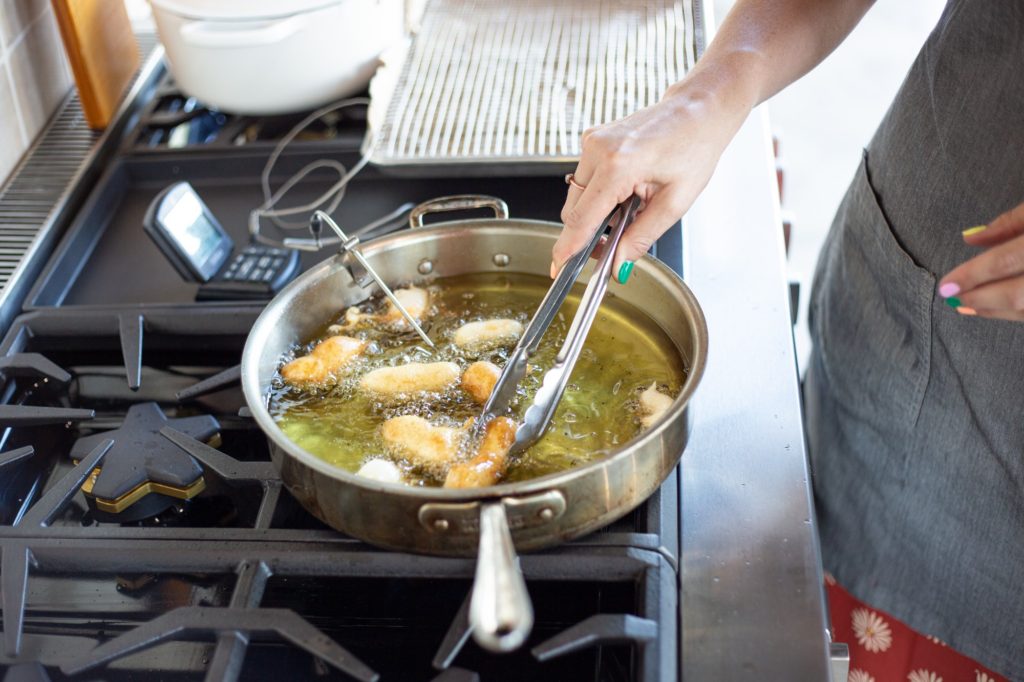
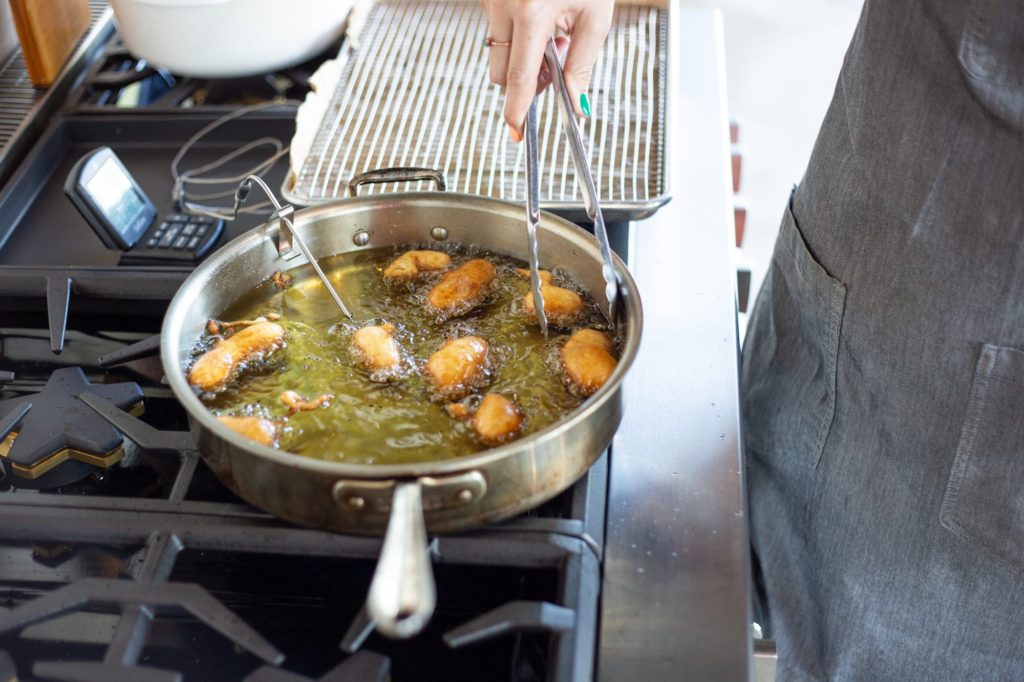
While they are cooking, use the chopsticks or a pair of tongs to rotate them so they cook evenly on all sides. Keep an eye on the oil temperature, you want to keep it above 365° and below 400° (that’s the smoke temperature and your food will start to taste burned if you exceed 400°)
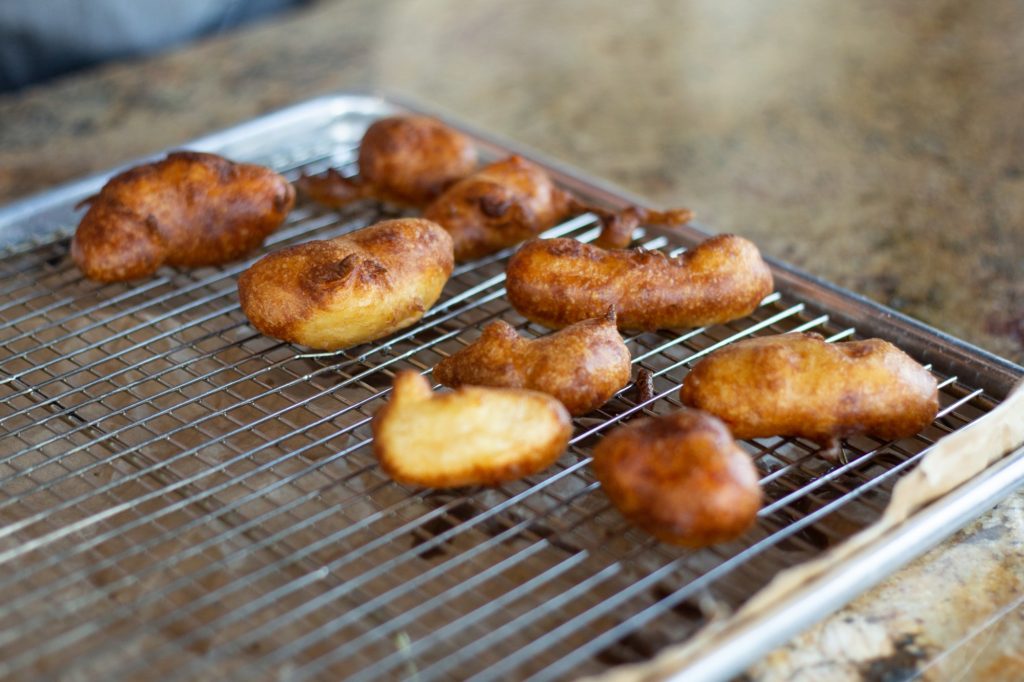
When the curds are nicely browned use tongs or a strainer to fish them out and place them on a cooling rack or a paper towel.
They are best eaten when warm, so don’t wait to dig in to those cheesy bundles of joy.

Looking for more fried foods + our Gygi tips to get you started frying in no time? Check out this post.
These little morsels of flavor are really fun to make at home. You'll find them disappearing soon after they're made. They're just too irresistible. Set out your cheese curds on a paper towel, and allow them to dry out just a little. Heat your oil to 375 degrees. Keep your thermometer in the oil to monitor the heat. Whisk together the ingredients for your batter. Drop 8-10 cheese curds in the batter at a time. Use chopsticks or a fork to fish out the cheese curd and gently lower it into the oil. Turn the cheese curds with tongs or chopsticks to help get a nice golden brown color on all sides. When cooked, remove the curds with tongs and place on a cooling rack or drain on a paper towel. Allow the oil to reheat to 375 degrees and repeat with the remaining cheese curds. These are best eaten when warm, you can place them in a 200 degree oven on a cooling rack to keep hot while you finish frying up the rest of the curds. Homemade Fried Cheese Curds
 (No Ratings Yet)
![]() Loading...
Loading...Ingredients
Instructions
Notes