Whether your frying chicken or oreo cookies, we have a few tips for making fried food deliciously crisp.
OIL:
You might be tempted to use any oil in your pantry, but you need to choose wisely. When frying foods, stick to an oil with a high smoke point. Vegetable and canola oils are adequate and found in most American kitchens. But, even better options include peanut and grapeseed oil. Their neutral flavors and high smoke points make them a great option. Stay away from olive oil for deep frying. It begins to burn at 400 degrees and it’s strong flavor imparts more flavor than desired.
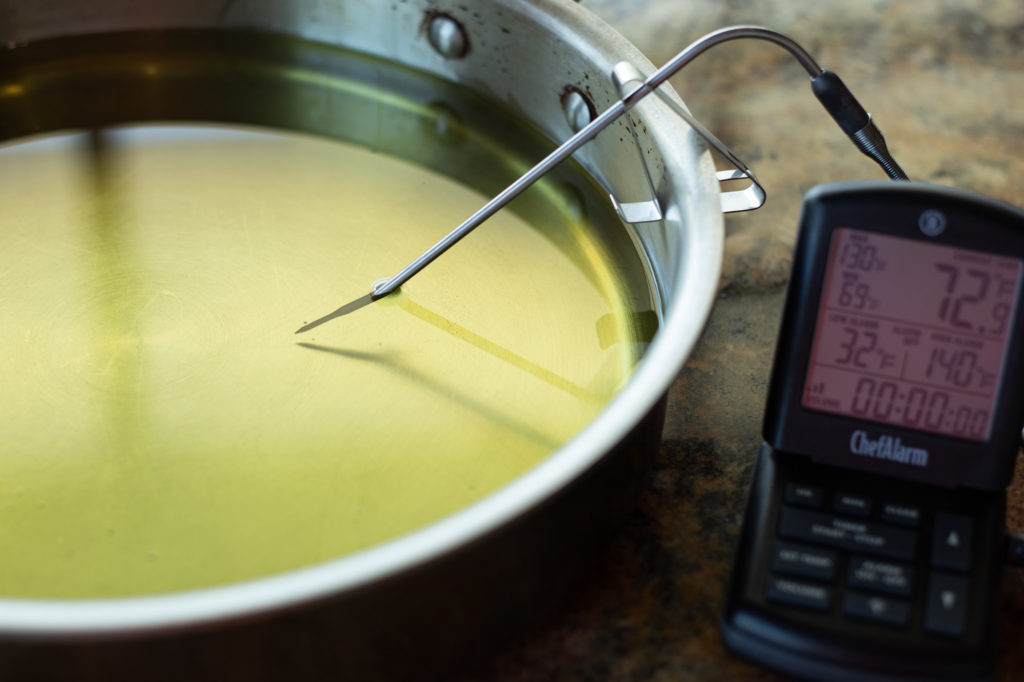
When frying, it is important to keep your oil clean. Use a fine mesh strainer to fish out any straggler pieces of food left behind. If left in the oil, these small pieces will quickly burn. This causes the oil to taste burnt, imparting that flavor on the rest of the food, even if it’s not overcooked.
EQUIPMENT:
Frying food is not child’s play. Working with bubbling hot oil can be dangerous, so having the right equipment makes all the difference.
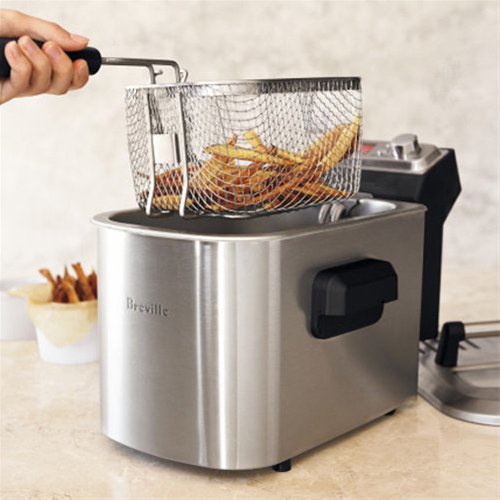
At-home fryers are the ideal set up. They maintain a consistent temperature with little effort from the user. Plus, the included baskets are much easier to handle. This is the safest and most efficient option, if you’re using a quality appliance. We highly recommend this fryer.
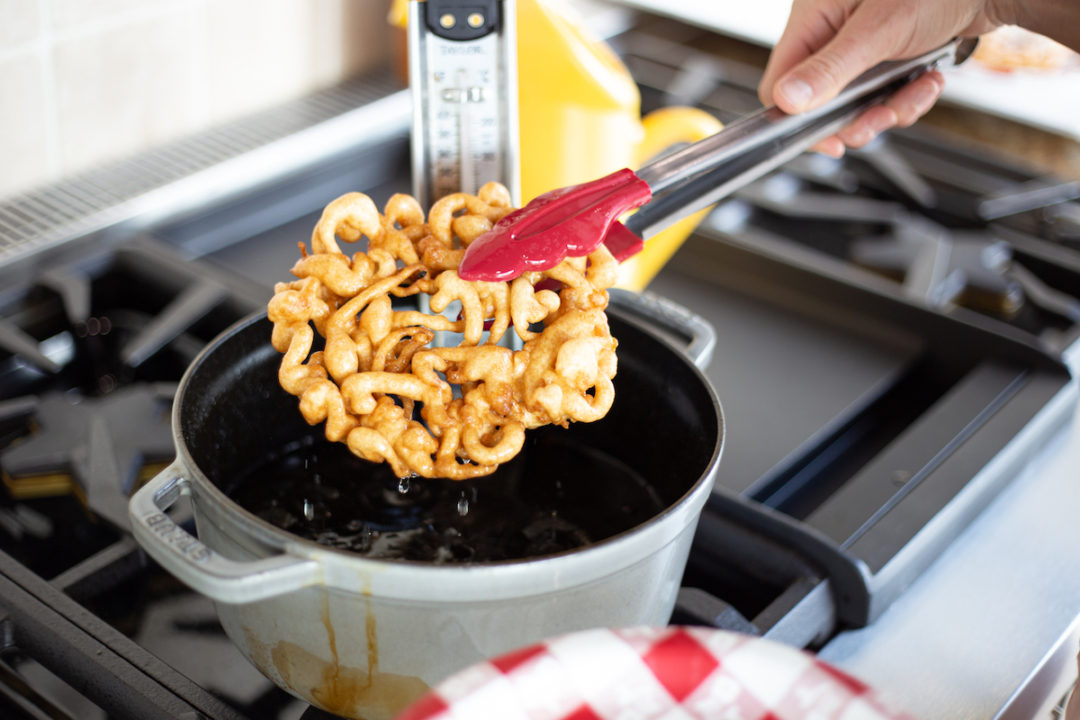
If you’re not looking to add another appliance to your collection, then a heavy-bottomed pot will do the trick. The ideal width is 10-14″. Too big and you’re wasting oil. Too small and your pot will overcrowd, affecting the fry. You want enough space for your food to move around without touching any other food in the pot or the walls, so choose according to the size of the food you’re frying. The pot should also have sides between 3-4″ tall, for most foods. This ideal depth protects you from splatters, while remaining easily accessed, preventing the need to contort your arms to reach inside. The pot should never be filled more than halfway with oil, so choose your pot depth accordingly. We love cast iron (either seasoned or enameled) for frying foods. The heavy iron holds heat, maintaining the temperature of the oil, even when the food is added to the oil. Learn more about our favorite pot to fry foods in here.
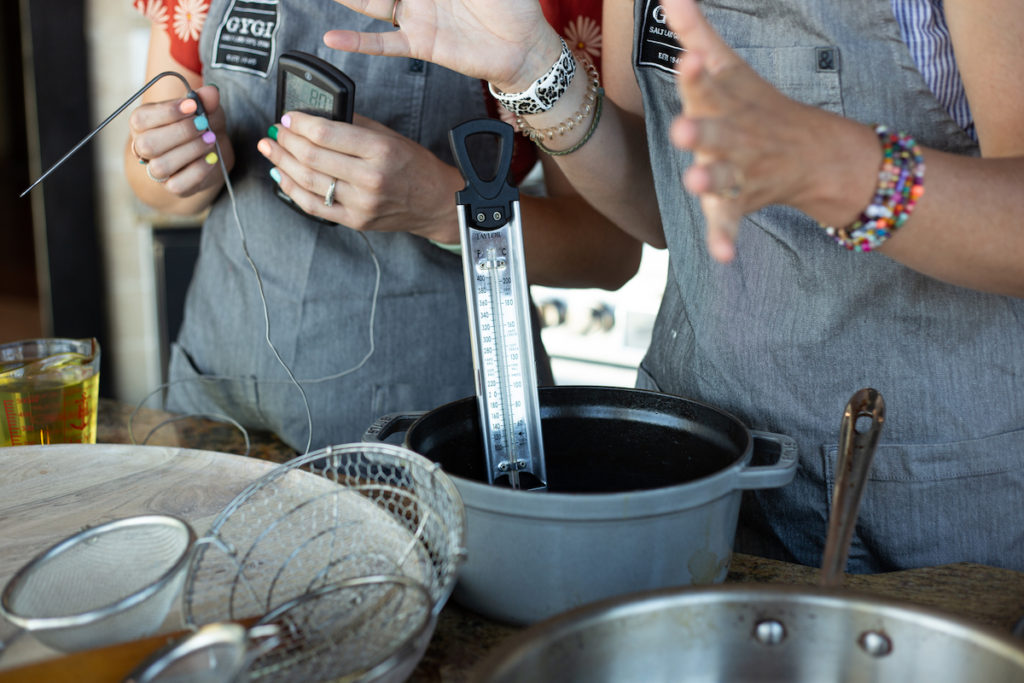
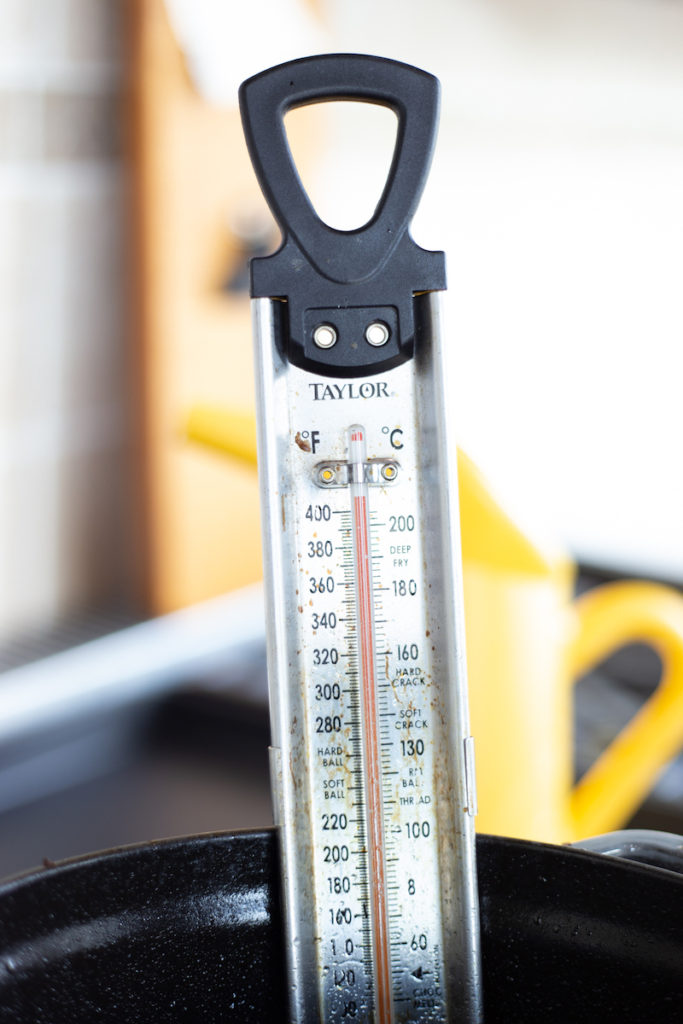
Next, you’ll need a thermometer. The best option is a leave-in thermometer with a clip to hold onto the side of the pot. You’ll need to constantly maintain the heat as you’re frying. More on temperature in a bit… We love the simplicity of a classic oil & candy thermometer. It’s easy to use and easy to read. The guard on the bottom of the thermometer prevents the probe from touching the bottom of the pan – essential for an accurate reading.
If you have a leave-in probe thermometer, it will work with the help of the pot clip. This holds the probe in place. You’ll want to get the thermometer off the bottom of the pan, otherwise you are testing the pan’s heat, and not the heat of the oil
Other helpful tools: Tongs with long handles. Mesh strainers. Paper Towels.
FOOD:
Name a food… it’s probably been fried!!! From twinkies to pickles – fairs and carnivals across the USA are pushing the limits when it comes to deep frying foods. The most popular fried food? French fries. Followed closely by fried chicken and donuts. No matter the food you’re frying, they all follow the same basic principles.
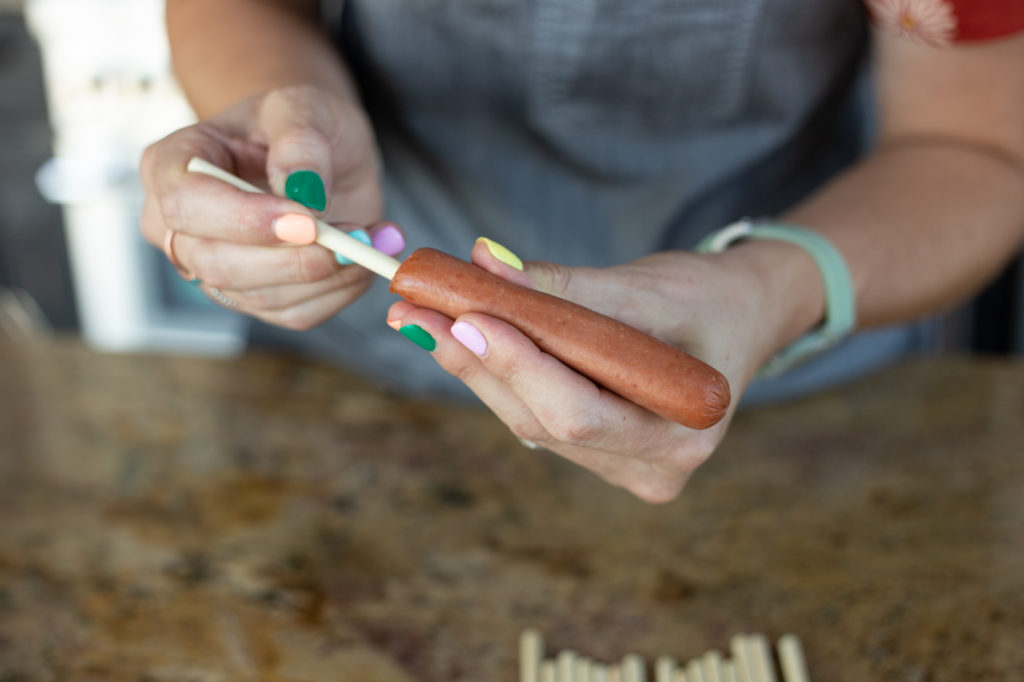
First, the food should be somewhat dry (not dripping with liquid) before being fried. If dripping with water or other liquids, the food will splatter excessively when added to the oil – danger!!! So, patting down the food with a paper towel will prevent excess splatters. It also helps the batter to stick to the food, if you are coating it.
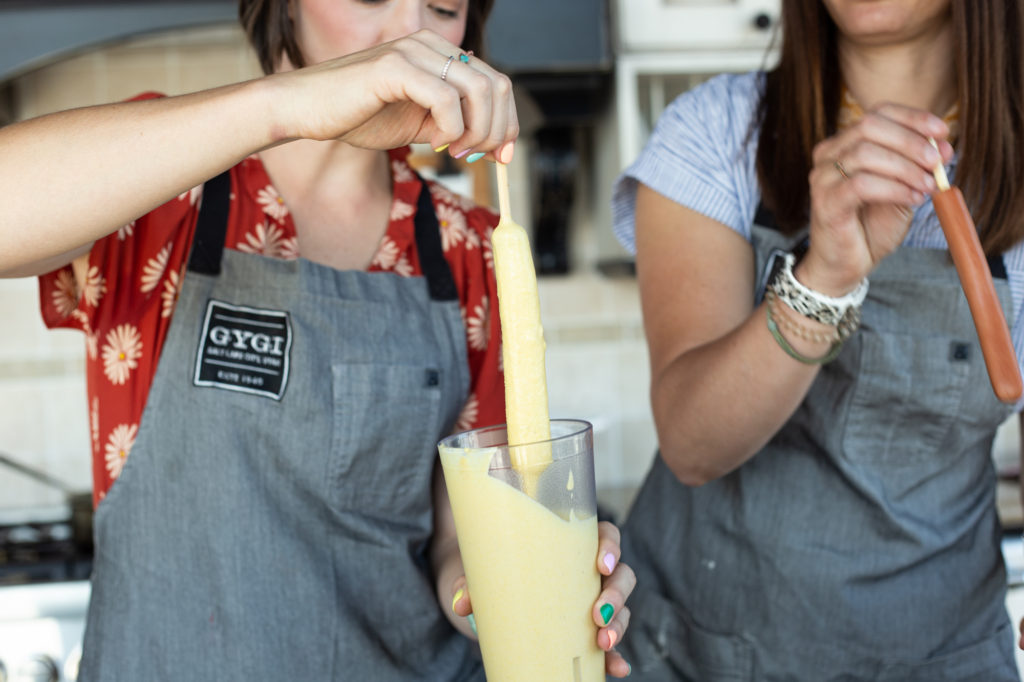
Battering the food add a crispy, delicious outer shell! This protects the food inside during the cooking process, gently steaming it to perfection, while crisping up the batter. If you’re not adding batter, skip the next two tips. If you need to add batter, come along.
FLOUR:
Think of flour as the glue that helps the batter stick to the food. Even fried twinkies benefit from a dusting of flour before being battered.
This is also an opportunity to add more flavor to the food. Making something savory? Add seasoned salt or other dried spices. Making something sweet? Cinnamon or cocoa added to the flour can be quite delicious.
If the food is super slippery, and flour isn’t sticking, then dip in egg first. Egg + flour is the perfect combo for a great frying foundation.
BATTER:
Fried foods should have a wonderfully crisp outer layer. The best way to achieve this is with the right batter. We love the ease and consistency of a box mix batter. We find the results to be reliable and delicious, reminiscent of a fair or carnival. Funnel Cake Batter is a great option for dipping sweet food, like oreos and candy bars. Corn Dog Batter is delicious for savory foods.
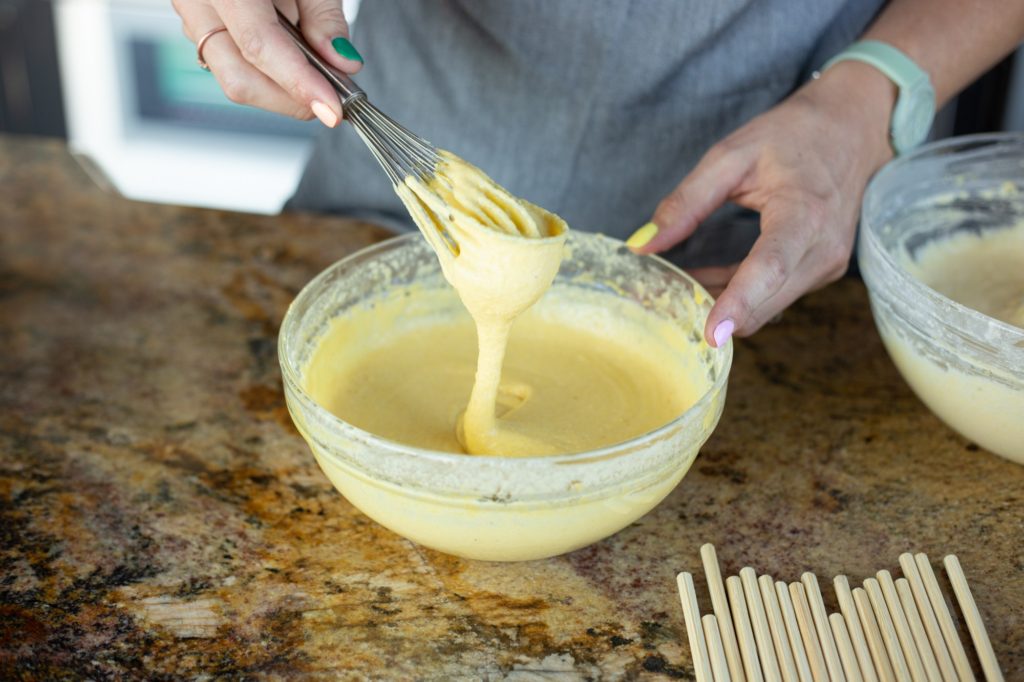
If you’re making a homemade recipe, be certain your ingredients are fresh! From the flour to the baking powder – you want the freshest ingredients for the best results. Also, keep your batter fresh! It can be mixed up to three hours in advance, but after that, it becomes too doughy.
Whether you’re using a box mix or a homemade recipe, feel free to play around with flavors. Substitute the water in the recipe with beer or club soda for a lighter texture. Also, add spices directly to the batter. A combo of savory spices is delicious. Cinnamon and cocoa are great additions to a sweet, fried treat.
When mixing up your batter, the consistency should be similar to a waffle batter. You want it to run from the spoon, with a bit of stickiness. Also, the batter should be whisked smooth with a whisk. The more you whisk, the more air you incorporate, resulting in a lighter, fluffier coating with a crispier crust.
TEMPERATURE:
When frying food, the temperature should be monitored at all times. A home fryer has a digital display to keep you informed. If using a pot, a thermometer should always be used.
The ideal temp is somewhere between 375 – 400 degrees. If your temperature is too low, the food will cook too slowly and absorb excessive amounts of oil, resulting in soggy fried food. Yuck. If the oil is too hot, the outside will burn before the food inside is cooked. Also, yuck.
As you practice frying food, you’ll learn what temperature works best for you, but you will need to keep an eye on it always – no matter how much you’ve fried. The temperature of the oil will inevitably fluctuate throughout the process. When the food is added to the hot oil, the temp will drop. Adjust your heat accordingly, keeping the oil temp as close to 375 – 400 degrees as possible.
If the oil ever starts to smoke, remove from the heat immediately. If the grease should catch fire, never ever throw water on it. It is wise to have a lid for the pot, a box of baking soda, and some damp towels on hand, just in case the fried food party becomes a bit too firey.
FRYING:
The food is prepped, the oil is ready, now let’s fry! First, slowly lower the food into the pot to prevent splattering. A mesh strainer or spider strainer is helpful for small items. Tongs are best for large items.
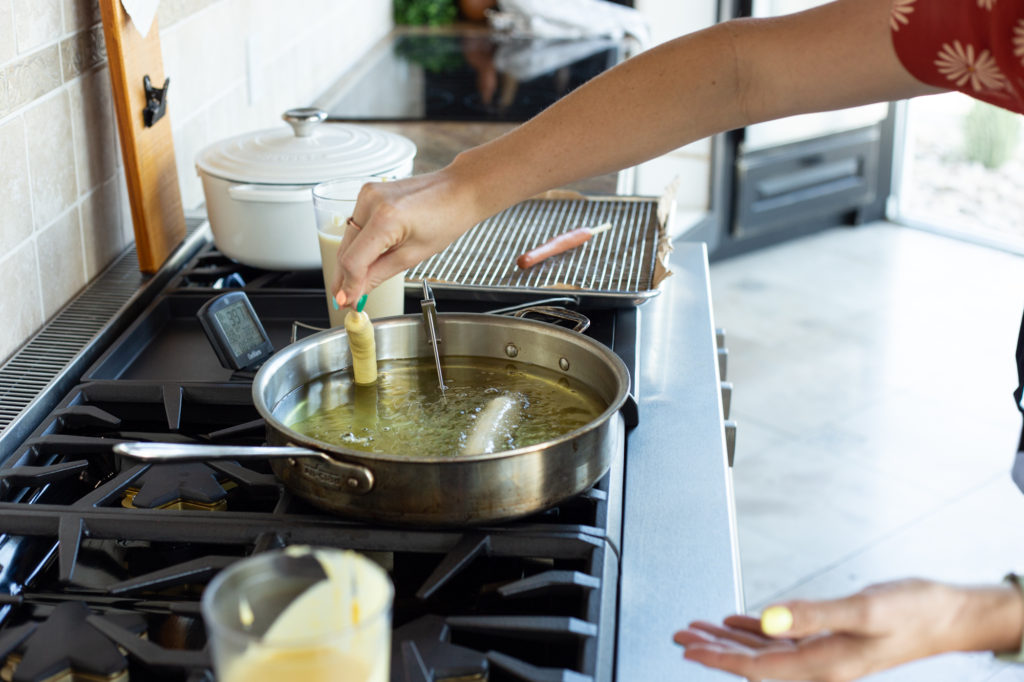
Next, don’t overcrowd the pan. This will lower the oil’s temperature, resulting in poorly fried food. You need enough room for the food to move around and flip over without touching other food or the sides of the pot.
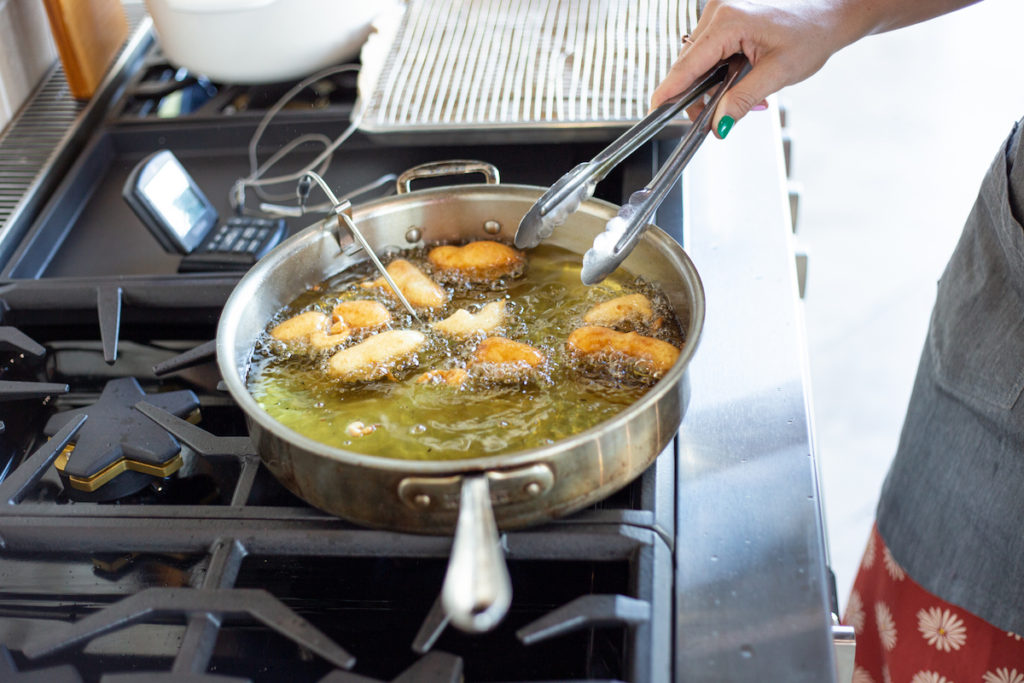
Now, use an instant read thermometer for meat. There is only one way to ensure your meat is properly cooked – take it’s temp. This instant-read thermometer is a game changer. Say goodbye to both raw and overcooked meat when this tool is in your arsenal.
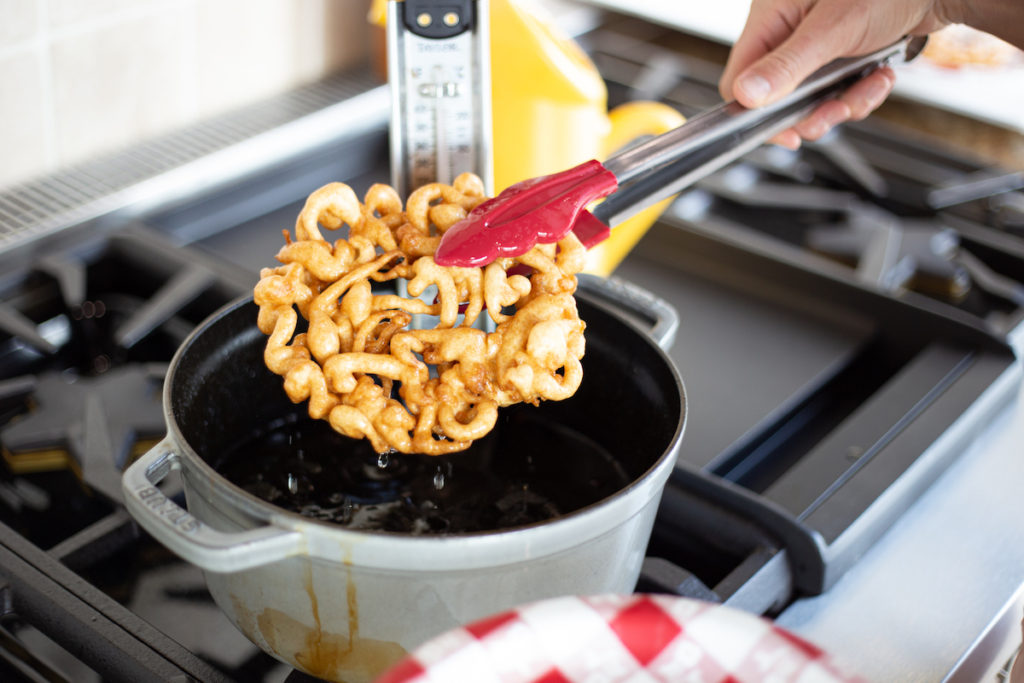
When the food is cooked, lift it out of the oil and hover over the pot, allowing the excess oil to drip off before being plated. Fryers have great baskets that make this easy. If you’re frying in a pot, you can make your own drip station by placing a cooling rack over a baking sheet, lined with paper towels. This will allow the food to cool without sitting in a pool of excessive oil.
EATING:
Fried food is best eaten when crisp and hot! We found that box mix batters stay crispy longer than homemade batters, but both should be eaten as soon the threat of a burnt tongue has passed.
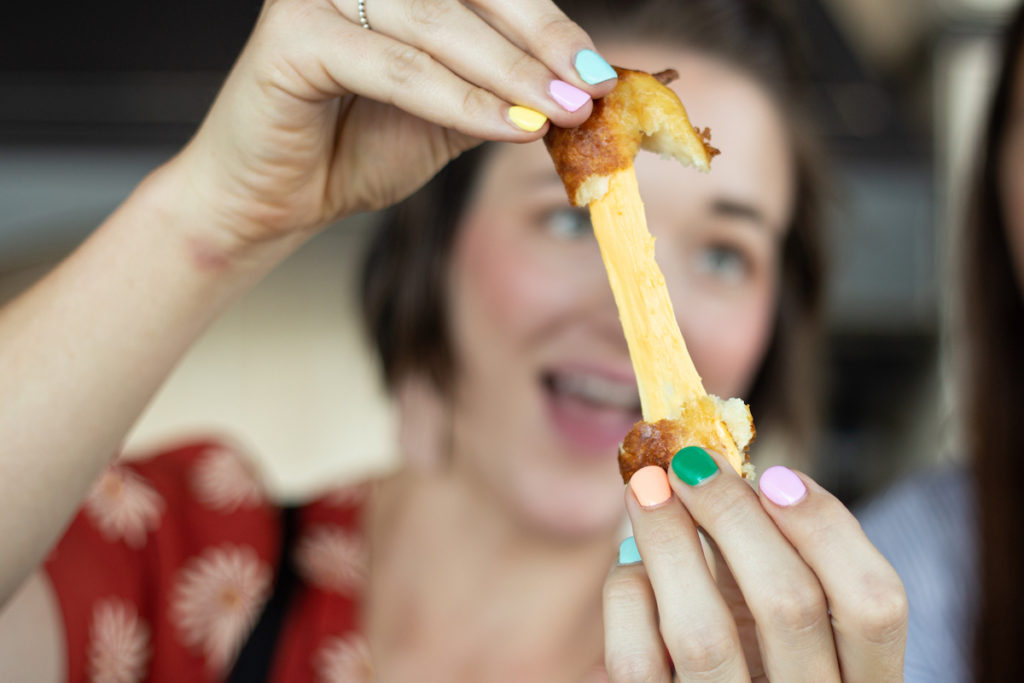
If you’re feeding a crowd, you can make a warming station in your oven. Place a cooling rack over a sheet pan to hold the food. Set the oven to 300 degrees and place the cooked food into the oven until ready to serve, no longer than 20-30 minutes, depending on the food.
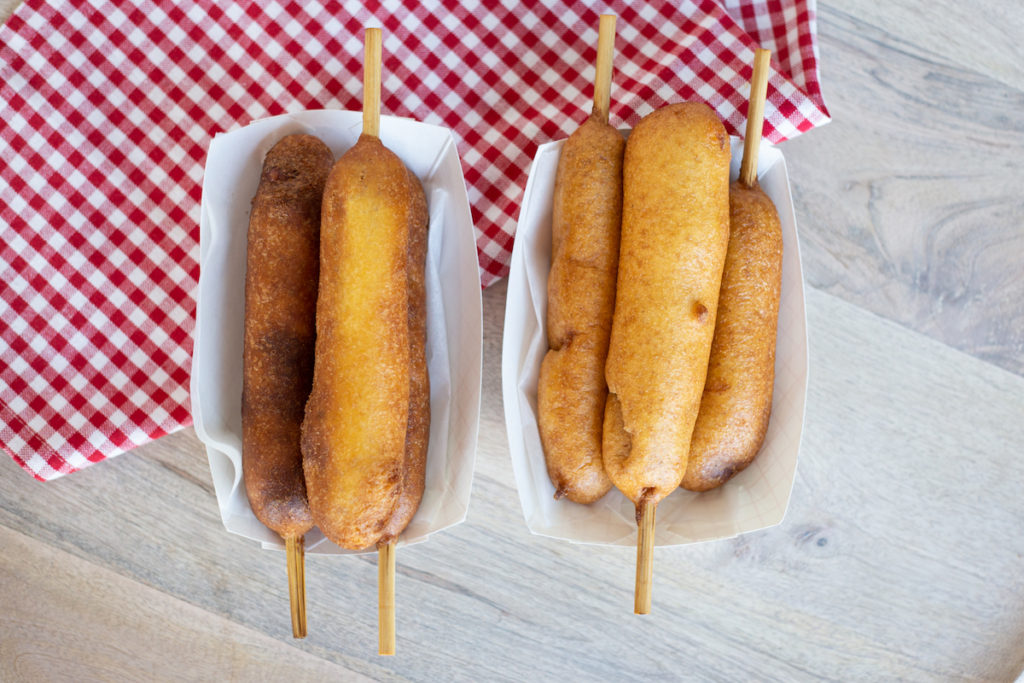
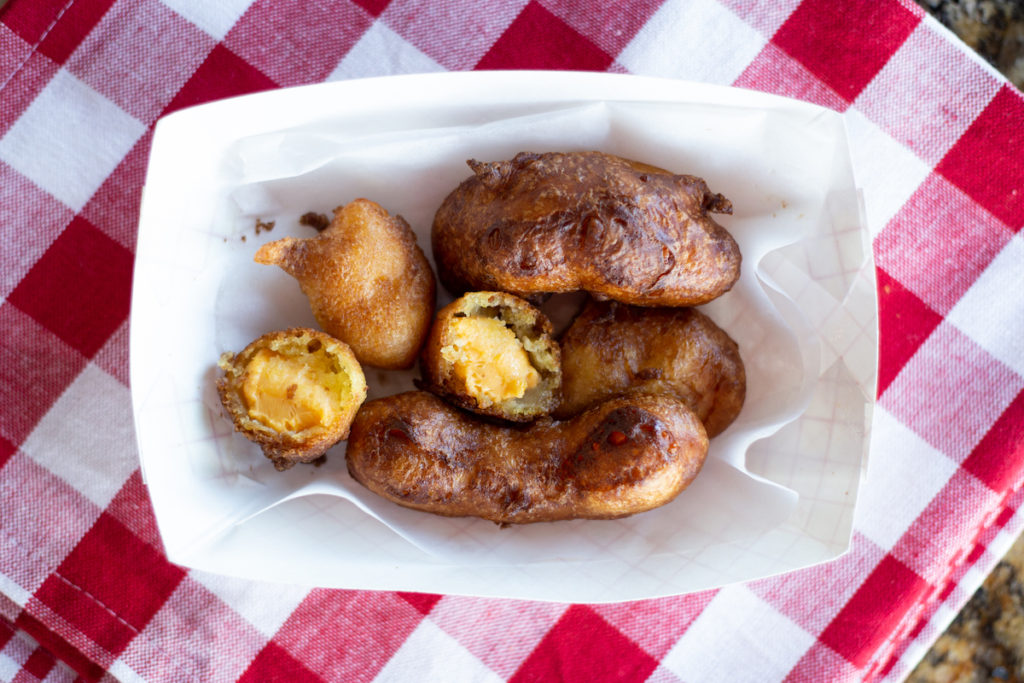
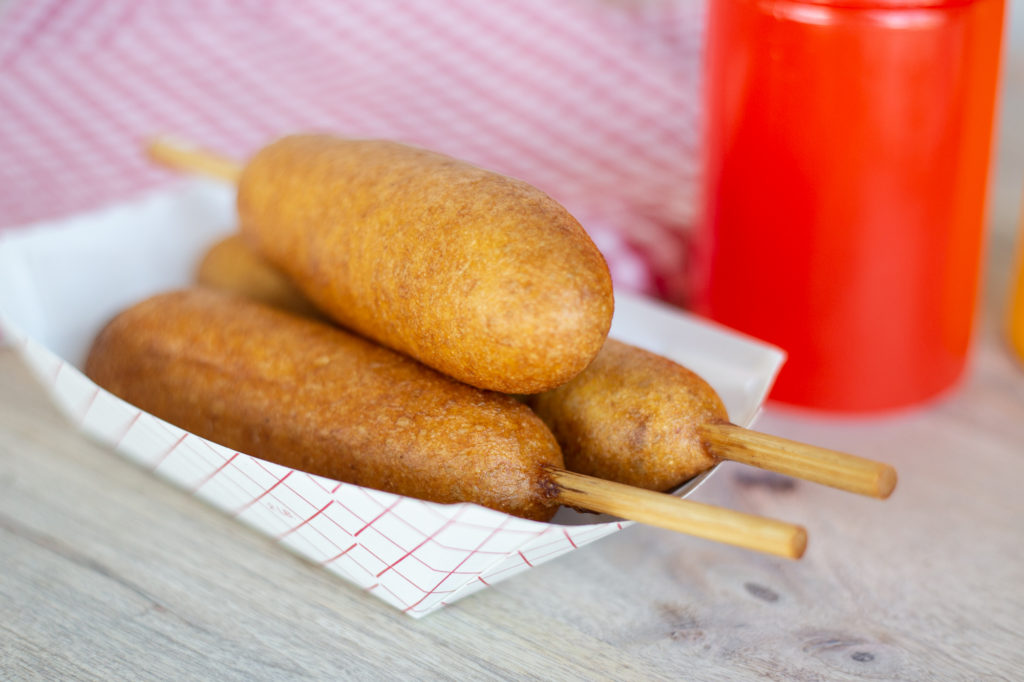
Serve your fried food wrapped in fry paper or in a paper food try for the most authentic experience!!
CLEAN UP:
After frying your food, determine if the oil can be reused. Here’s how: when the oil is cool, strain through a fine mesh strainer or cheesecloth to remove any food particles. Pour into a container with a sealable lid. At this point, assess the condition of the oil. If it smells burnt or rancid – time to throw it out. If it smells okay, seal tightly and store in a cool, dark place until your next frying adventure.
When it’s time to dispose of the oil, never pour it down the drain. The oil can simply be thrown out in a sealed jar or another sealed container.

RECIPES:
Now that you’ve got the essentials down, let’s get frying!
Try one of our favorite recipes:
We love frying food in our Staub pan, read more about them here.

