If you really want to get a baker fired up, just go ahead and tell them how to make pie crust. We’ve found a different variation for every baker we’ve met. And the truth is, they’re all probably right. We firmly believe: The best pie crust is the one you like to eat!
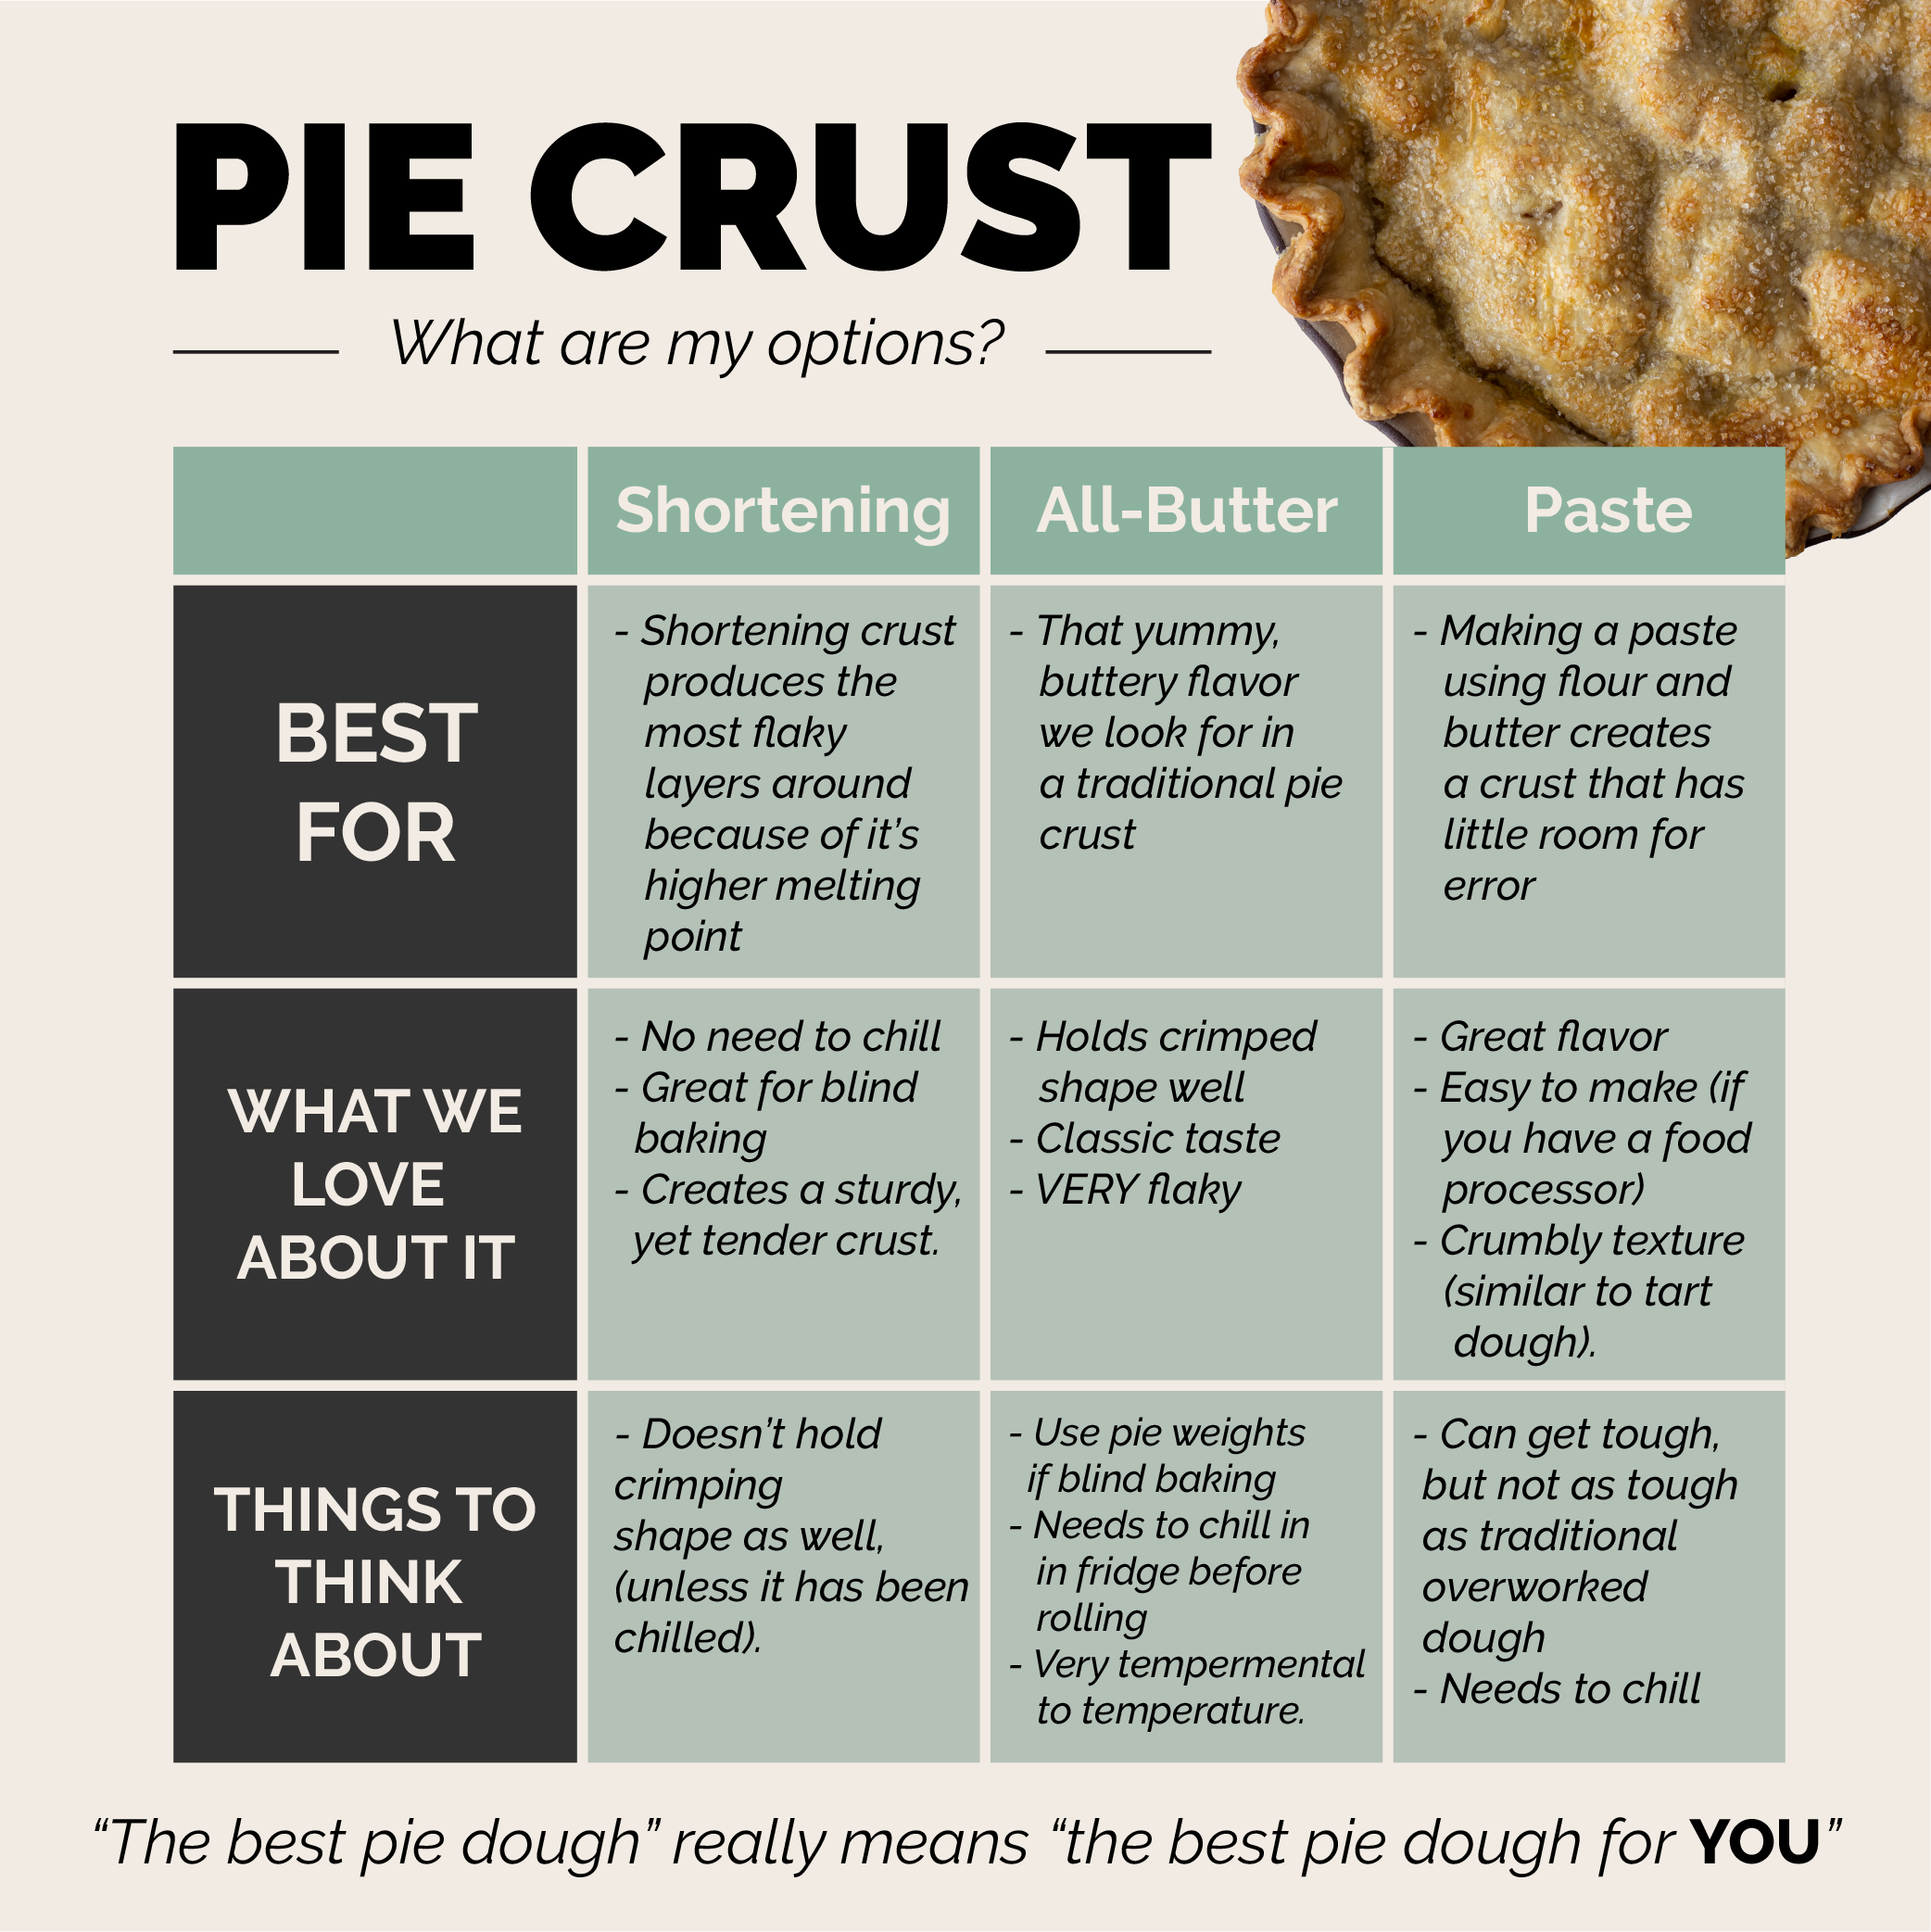
But it true Gygi fashion, we knew we needed to put pie crust to the test. So we whipped up our favorite all butter, all shortening, and a fail-safe pie crust and gave them all a taste. Before we get into the results. Let’s talk a little more about crusts.
Thank goodness we live in a world where there is pie crust. Who would have thought that combining fat and flour would produce those irresistibly flaky and buttery layers. As the form for any pie, we really find it essential to like the crust you’re eating. There are few universal tips regardless of your flavor preferences.
TIPS FOR THE PERFECT PIE:
- The number one rule of pie crust is to be gentle! Pie crust is a delicate pastry and requires a delicate touch. You shouldn’t ever smoosh or squish the dough into a smooth ball. Unlike bread or roll dough, pie crust should never be kneaded into a smooth dough. Using a pastry blender allows you to cut the dough perfectly, without being overworked.
- Keep your ingredients cold. This keeps the fat content from melting, which is the key to flaky layers.
- Before baking your pie, we suggest adding an egg wash and sprinkling of sugar. This will brown the crust, making your pie look professional.
The Basic Butter Pie Crust
If you’re a fan of butter, you must try a butter pie crust. This recipe is ideal if you enjoy mixing with your hands, extra flaky layers, with moist and tender crust. Be careful to not overmix or overwork this crust, as that will lead to a flat and tough finished product.
- 1 ¼ c flour
- Pinch of salt
- 8 Tbsp butter, cut into ½ inch cubes
- ¼ cup ice water
- Whisk together the flour and salt in a large mixing bowl.
- Add in the butter, and coat the cubes with flour. Use a pastry blender to combine the flour and butter, leaving pieces of butter just larger than the size of a pea.
- Sprinkle on the water, a few tablespoons at a time and mix together until the dough starts to form a ball.
- Place the dough on a piece of plastic wrap, and cover. Chill in the fridge for one hour.
The Best Shortening Pie Crust Recipe

This recipe comes from our good friend Si Foster (@abountifulkitchen), she adds a heavy dose of goodness to everything she does. This is her Grandma’s traditional recipe, and we are honored she’s shared it with us. We have baked pies for YEARS, but as soon as we tried out this crust, we knew we had found our newest family favorite.
Be sure to use both kinds of shortening to get the benefits of the shortening, with that classic butter taste.
- 2 c flour
- 1 tsp salt
- 1 c shortening (½ regular, ½ butter flavored)
- ½ c very cold water
- Mix flour and salt.
- Cut in shortening with a pastry blender or knives using a cutting motion, no stirring, only a short cutting motion to form small pebble like pieces with flour, shortening and salt.
- Add 1/2 cup water all at once.
- Fold ingredients with a fork until flour is absorbed and dough comes together. If needed, add more cold water, a tablespoon or two at a time, until the dough resembles something similar to biscuit dough. It should be damp, but not sticky. Do not add too much water.
- Divide dough in half for two pie crusts. The dough should be soft and not sticky. If sticky, roll in a bit of flour.
The Foolproof Pie Crust Recipe
When we came across this recipe, we were suspicious. It claims to be the “save all” for any baker that tends to ruin their pie crust. The premise behind it is to mix your butter and a part of the flour together to form a paste, then add in the remaining flour to coat the paste, creating pockets of fat for a flaky crust. While this method does require a food processor, our version is impossible to overwork, and performs consistently well.
- 2 ½ c flour, divided
- 2 Tbsp sugar
- 1 tsp kosher salt
- 2 ½ sticks butter, cut into small pats
- 6 Tbsp ice cold water
- In a food processor bowl, pour in 1 3/4 cup flour, sugar and salt. Sprinkle the butter over the surface. Pulse until a paste is formed and no dry flour, or lumps of butter are left. Use a rubber spatula to spread the paste evenly around the bowl of the food processor. Sprinkle the remaining 3/4 cup flour on the dough and pulse just a few times until the dough is broken up and crumbly.
- Scoop the dough into a large bowl. Using the rubber spatula, press and fold the dough and sprinkle with water until it comes into a ball. Divide the ball in half. Wrap each half in plastic wrap, flatten into a disc and refrigerate 1 hour before rolling and baking.
Baking the Crust
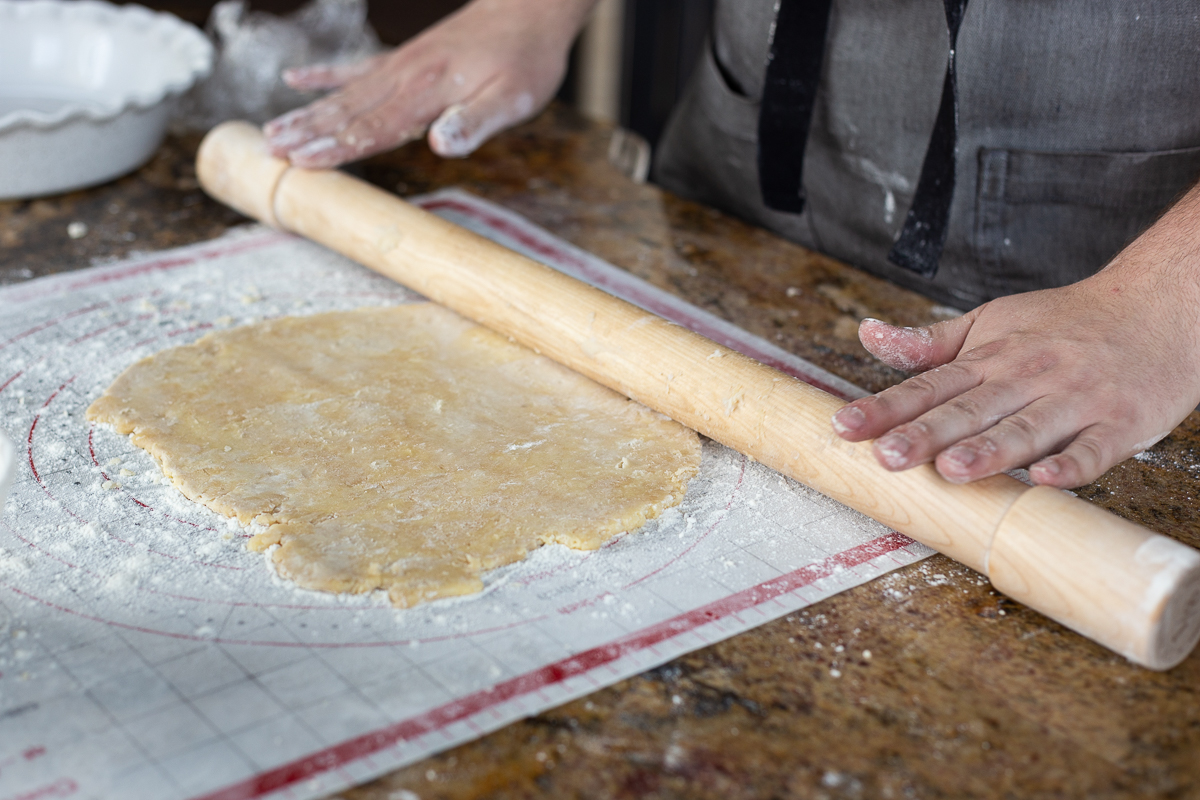
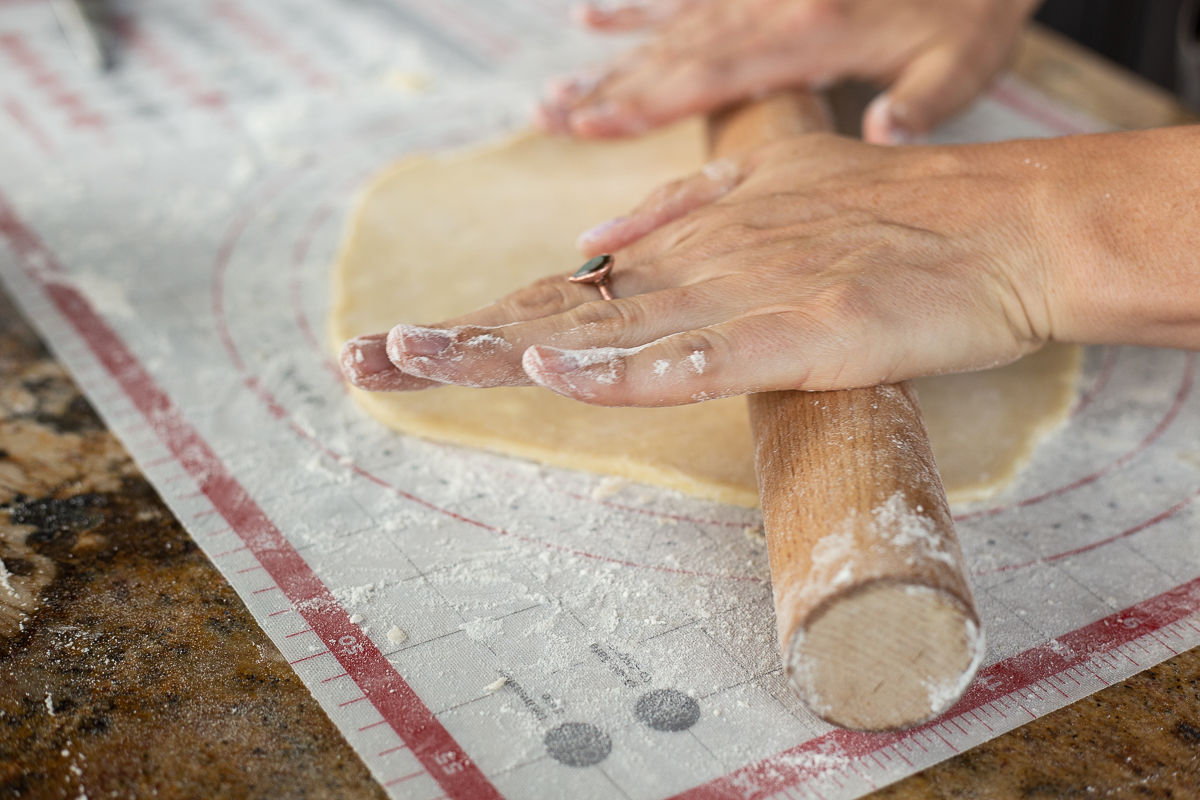
To roll the dough:
Sprinkle some flour on the work surface, pastry mat or pie bag. Sprinkle a little more on the rolling pin. Flatten the ball of dough into a disk using your hand. Use a rolling pin, and start at the center rolling outward until the dough is about ¼ inch thick. Rotate the dough while rolling to avoid sticking, and to get a nicely rounded pie crust. Hover the pie plate over the crust so you can check the sizing, you’ll need about 2 ½ inches of overhang to cover the plate and give you some dough to crimp around the edges.
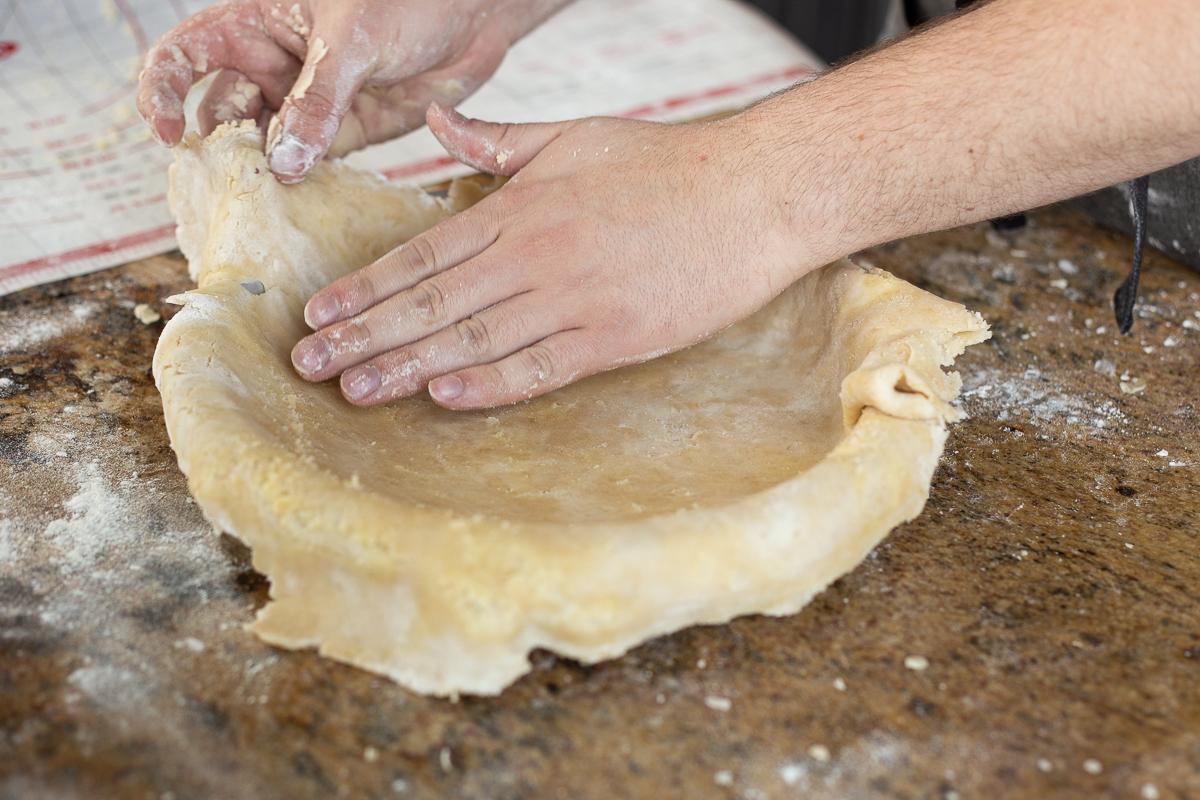
To transfer the dough:
There are a few methods for transferring the dough, you can use a pastry mat or pie bag to lift the crust and gently lay it over the pie dish. Another option is to use the rolling pin, and gently roll the dough onto the pin, then uncurl it onto the pie dish. The last option is to carefully fold the crust in half, and then in half again. Take your wedge of dough, and place it over one quarter of the pie dish, and then unfold the dough over the dish.
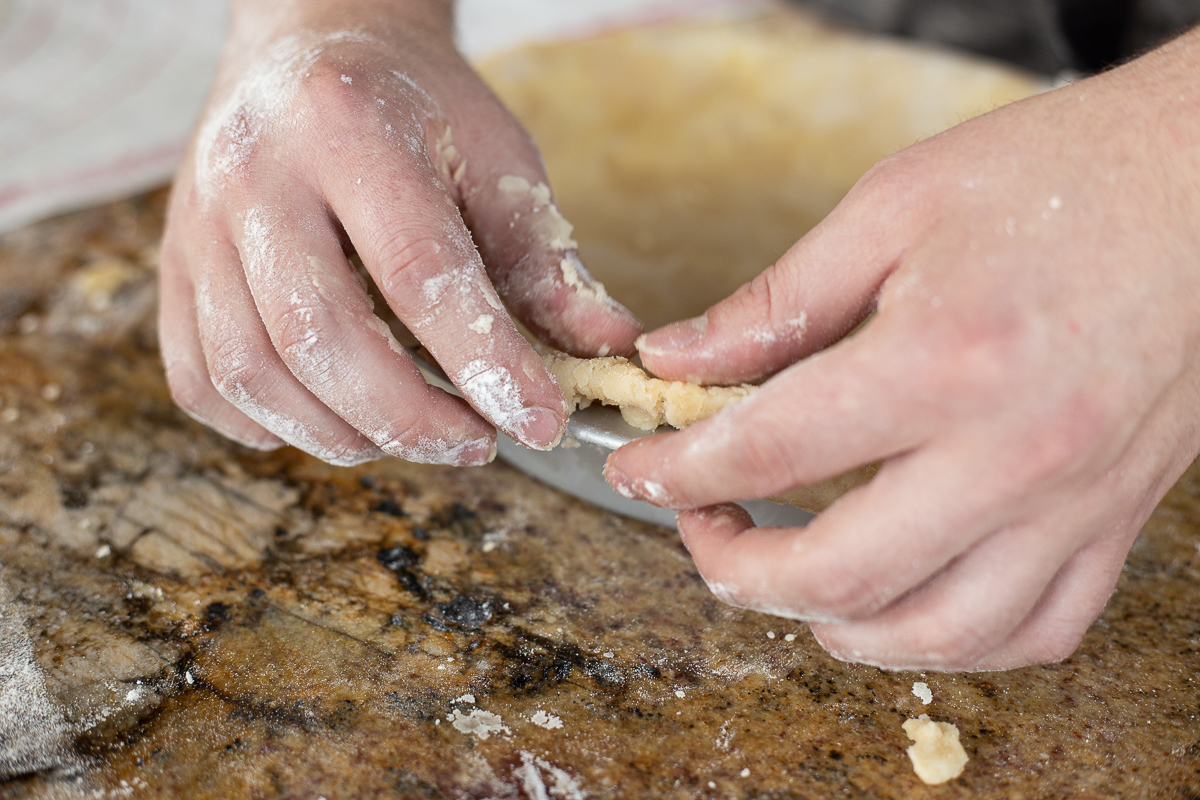
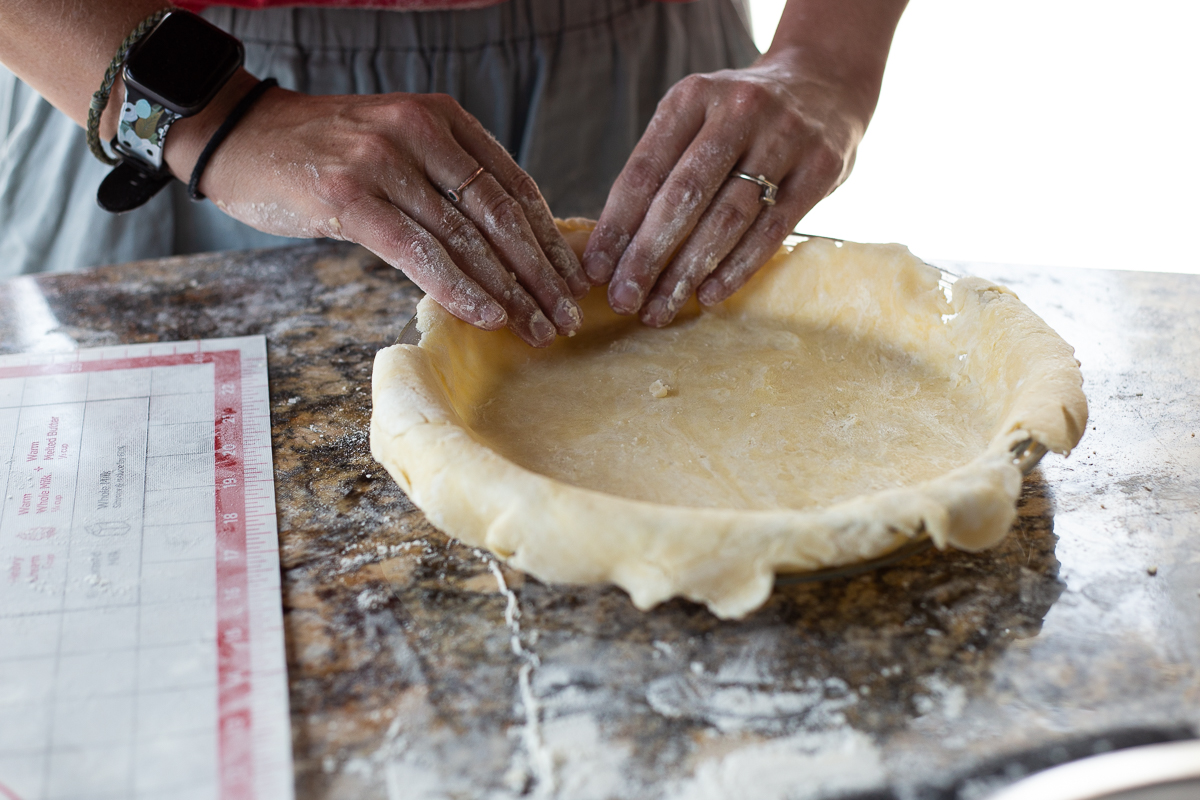
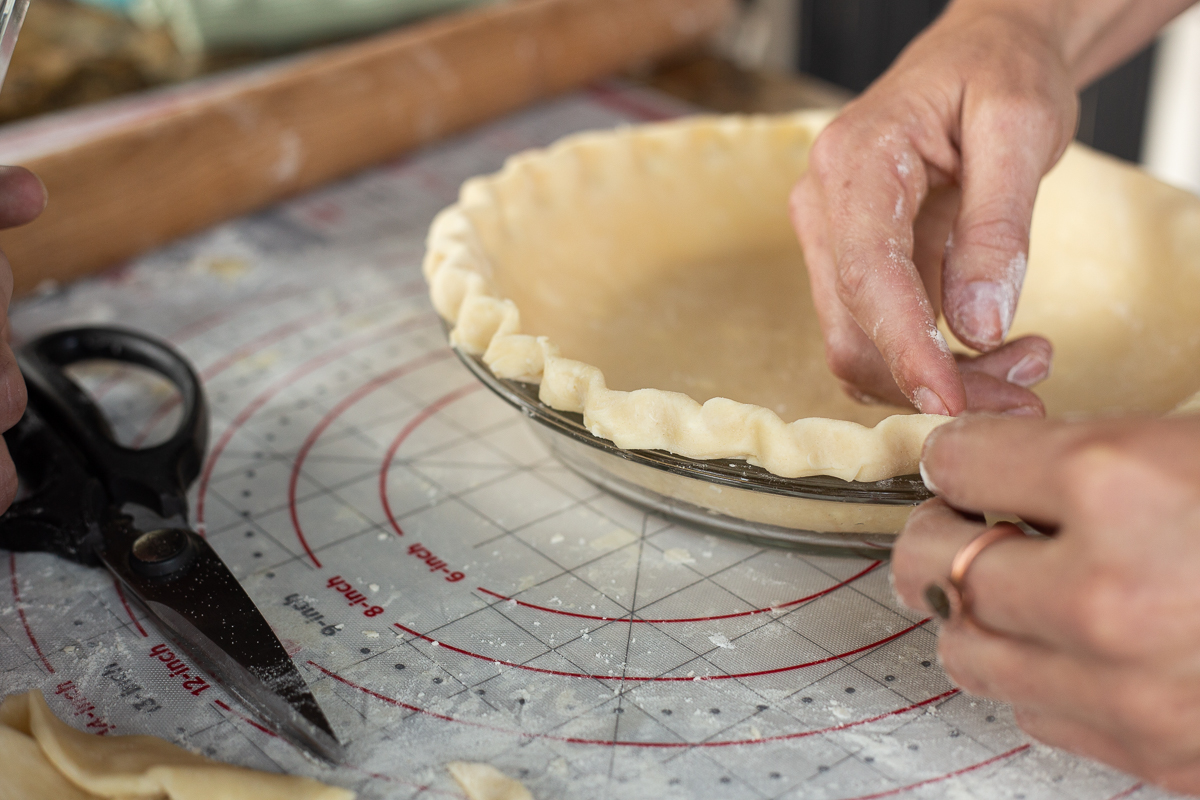
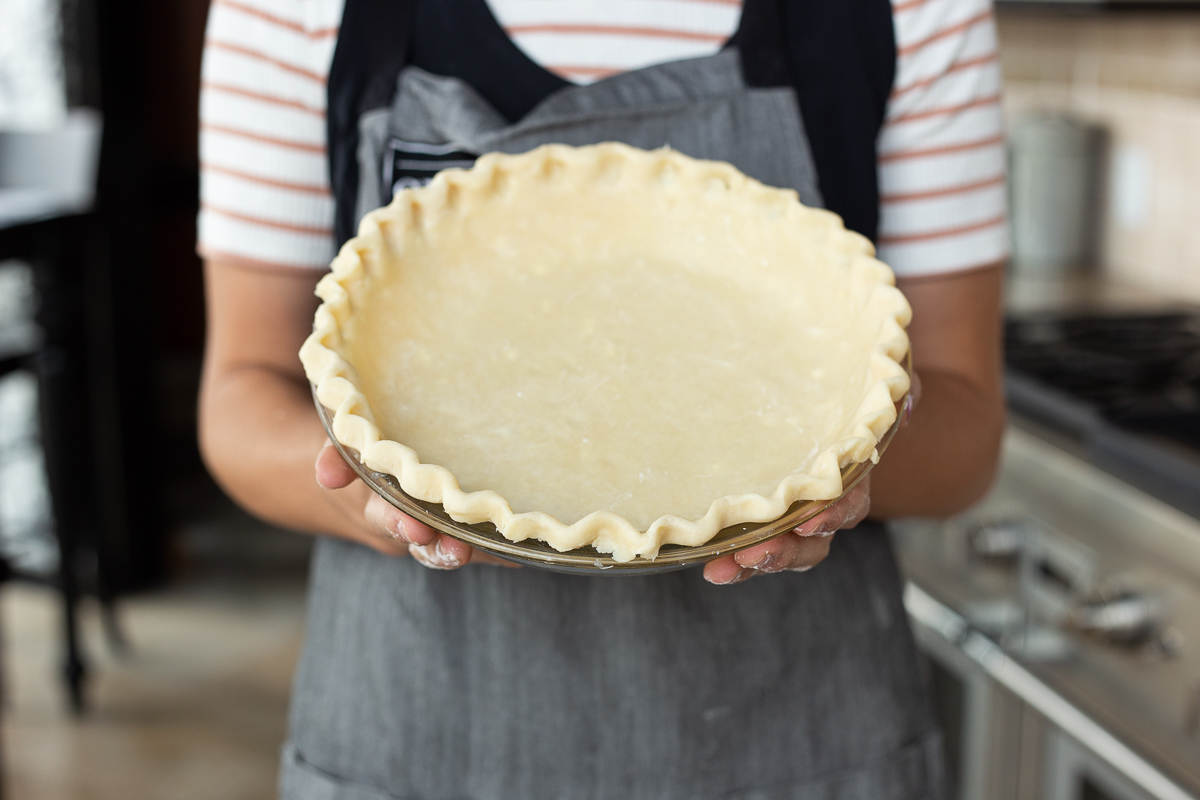
To crimp the edges:
For a single crust, use scissors to trim away any excess dough, leaving about an inch hanging over the edge of the pie plate. Tuck the dough underneath, and use your fingers or a fork to crimp the dough. For a double crust, press the top and bottom crusts together then trim the excess dough around the edges. Tuck the dough underneath and crimp using your fingers or a fork.
To par bake or blind bake:
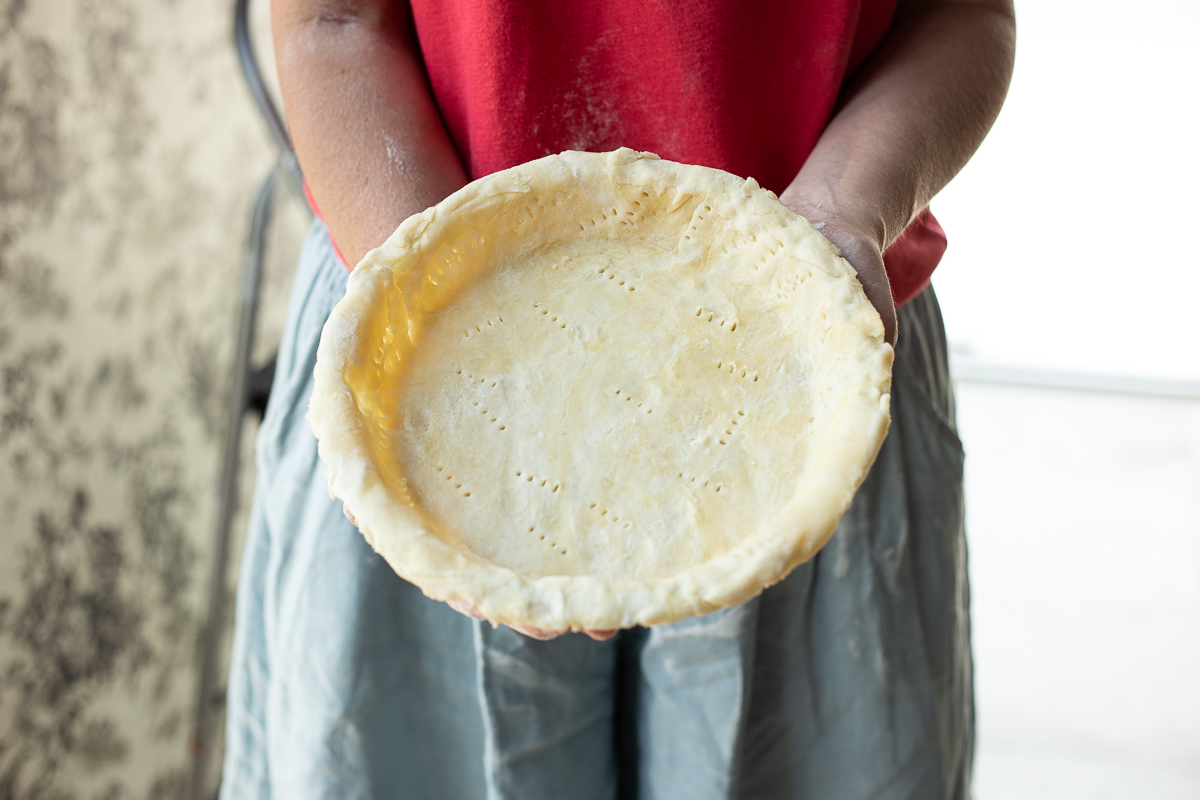
This method is for baking a crust without the filling (cream or pudding pies, etc) To avoid shrinkage, use a square piece of parchment paper and press it into the bottom of the pie plate. Use pie weights (ceramic balls, beans, or rice) and fill the pie crust with the weights. Bake at 450° for 12-15 minutes. Carefully remove the parchment paper and pie weights. For a par-baked crust, bake for 2-3 more minutes to help dry the bottom of the crust. To blind-bake the dough, continue baking 5-7 more minutes until the crust is golden brown.
If you don’t have pie weights, you can blind or par-bake by piercing the dough with a fork all around the bottom and sides of the pie crust. Then bake at 500° for 8-10 minutes, checking frequently. There will be a little more shrinkage, but less work!
To bake a pie:
Be sure to follow each specific pie recipe’s instructions. Here are some tips for success. Preheat your oven for at least 15 minutes after the oven has reached the desired temperature. Bake on the lower ⅔ of the oven for a golden bottom crust.
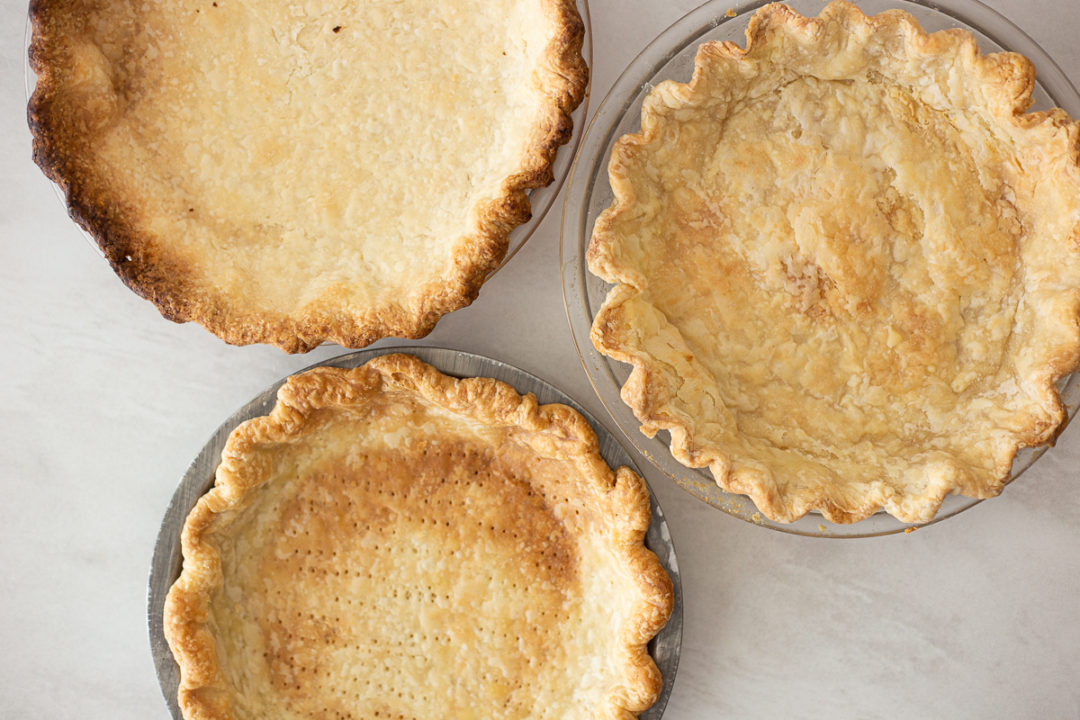
PIE CRUST TEST RESULTS
When it comes to the crust, we are a house divided. Does your favorite recipe use butter or shortening? Vodka? Do you chill the dough before rolling and baking? So many variables. And we wanted to know if they really made a noticeable difference.
All of our options had great flavor! When you are deciding what type of pie crust to use, its all about personal preference!