Want perfectly, straight-edge, cut-out sugar cookies that are great for decorating? The Blyss girls have shared their recipes and tips with us for the last several years. Here’s how to get your sugar cookies to turn out as beautiful as theirs!
Have you ever struggled to get perfectly straight edges for your sugar cookies? You’re not alone. Almost everyone we’ve talked to has a story about how their cute, intricate, cut-out sugar cookie shapes turned into a blob of dough minutes after they put them in the oven. Don’t worry, we’ve been there too.
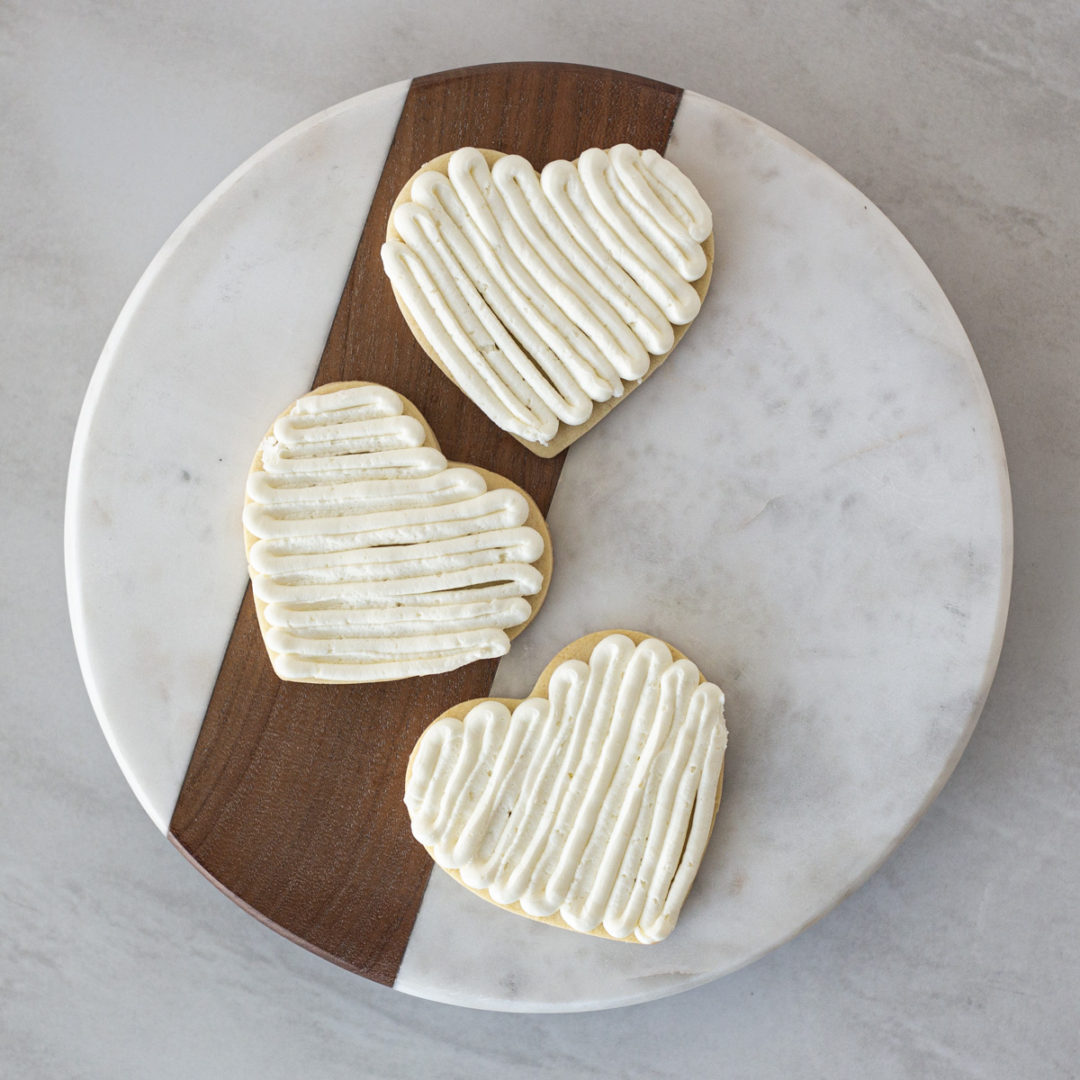
The Blyss girls are our go-to’s when we need sugar cookie help. They have a fantastic recipe for perfect roll and cut-out sugar cookies (and great frostings, too!) Here are some tips they gave us so the next time you’re making sugar cookies, you’ll have perfect shapes ready to decorate!
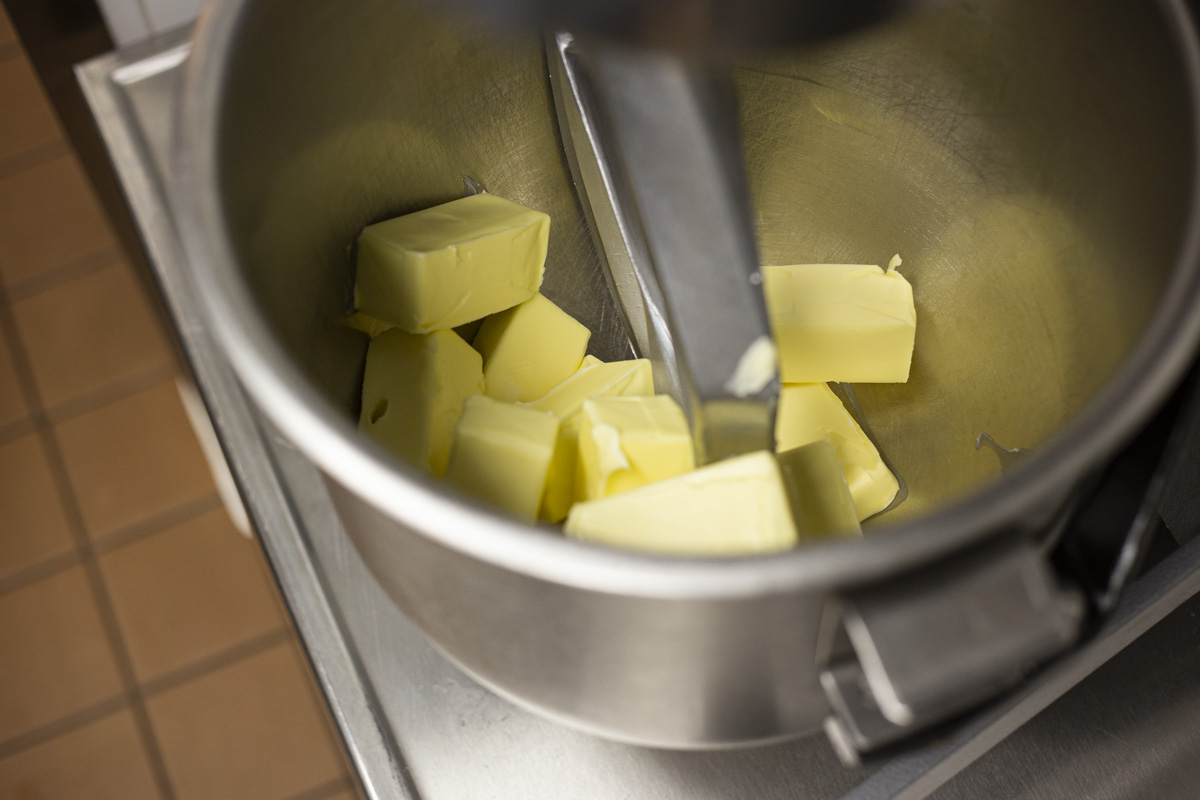

- The #1 tip for straight edges is COLD DOUGH! Making the dough starts with cold, but not stiff, butter.
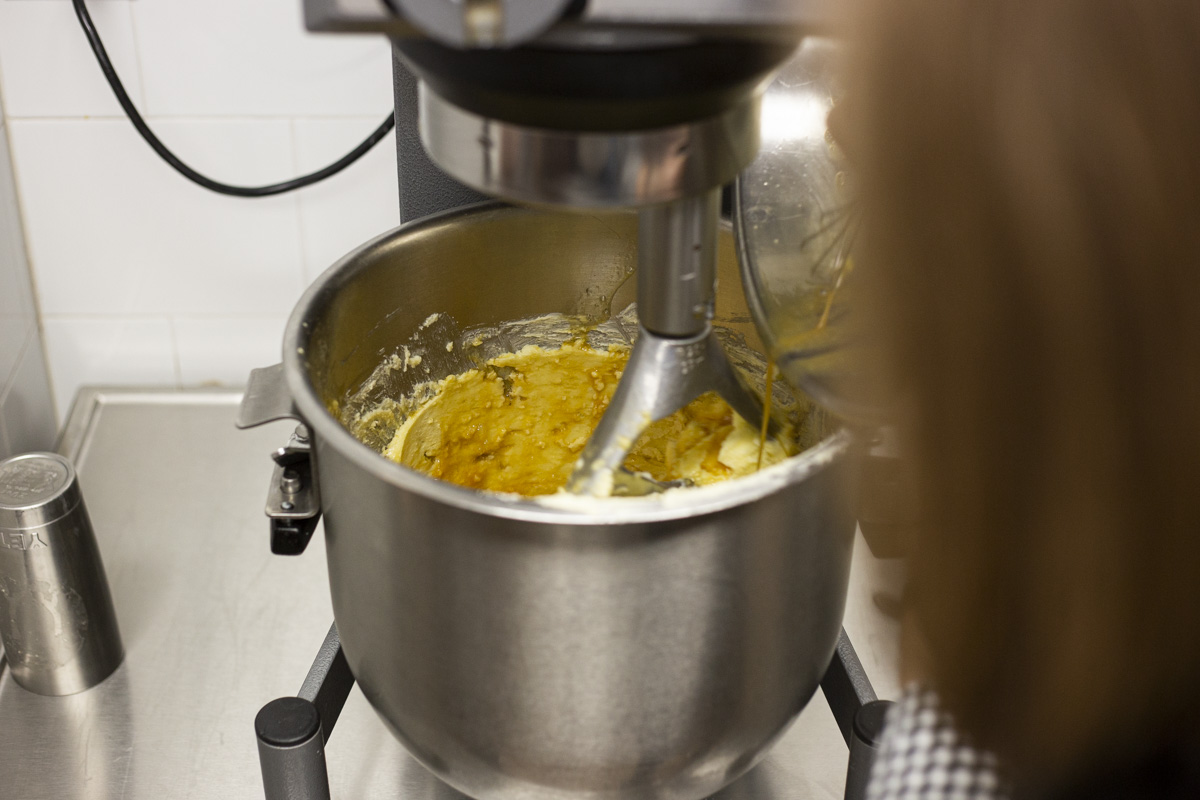
- You’ll want your ingredients to be incorporated well. When beating the butter and sugar, mix until it is combined and there are no longer chunks of butter visible. Don’t beat the mixture too long. We don’t want too much air incorporated.
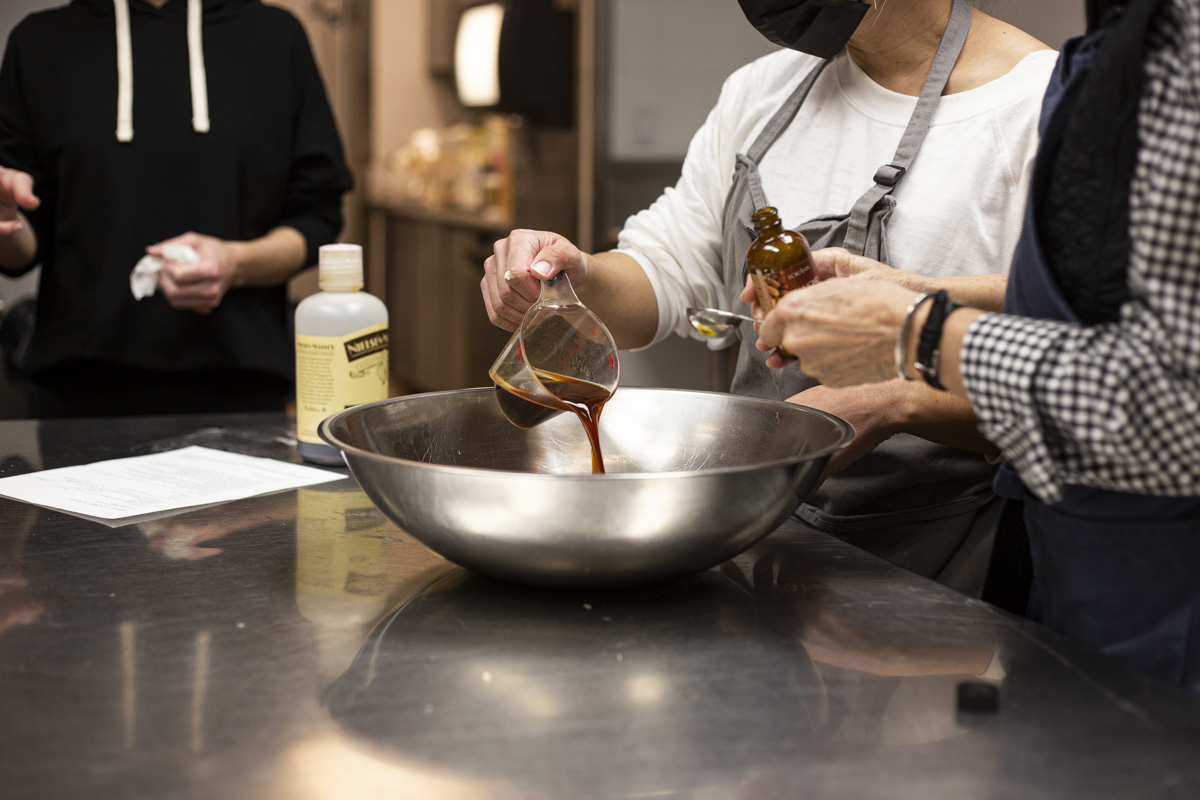
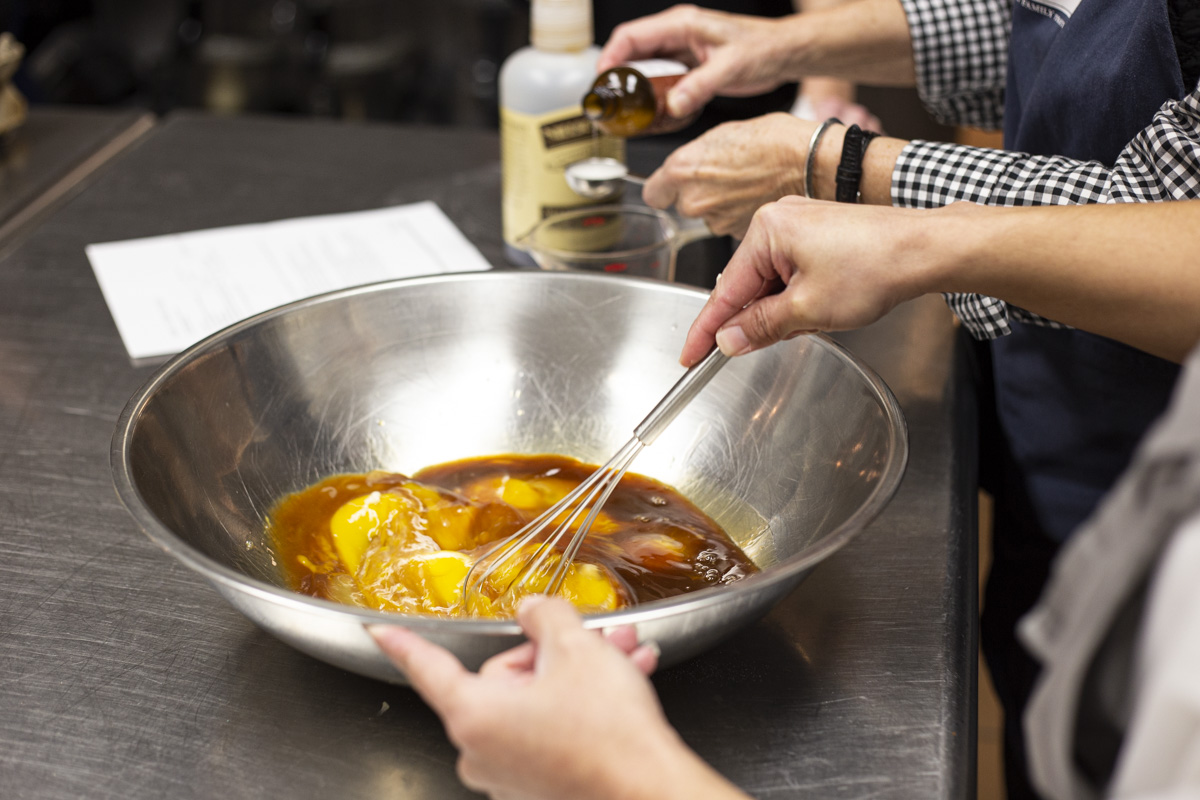
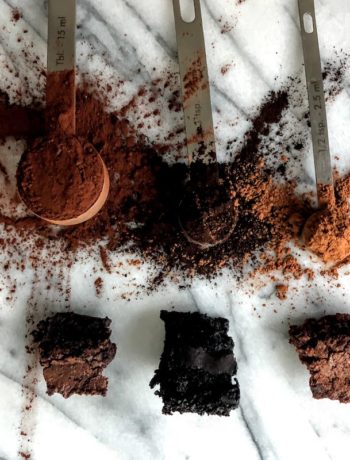
- Flavorings– we were surprised when we found out that a lot of people don’t like the way sugar cookies taste. But, guess what? You can totally change the flavoring! We have so many emulsions and extracts to choose from. The Blyss girls swear by vanilla extract and an almond emulsion, but say combining rasperry and almond emulsions is quite tasty as well.
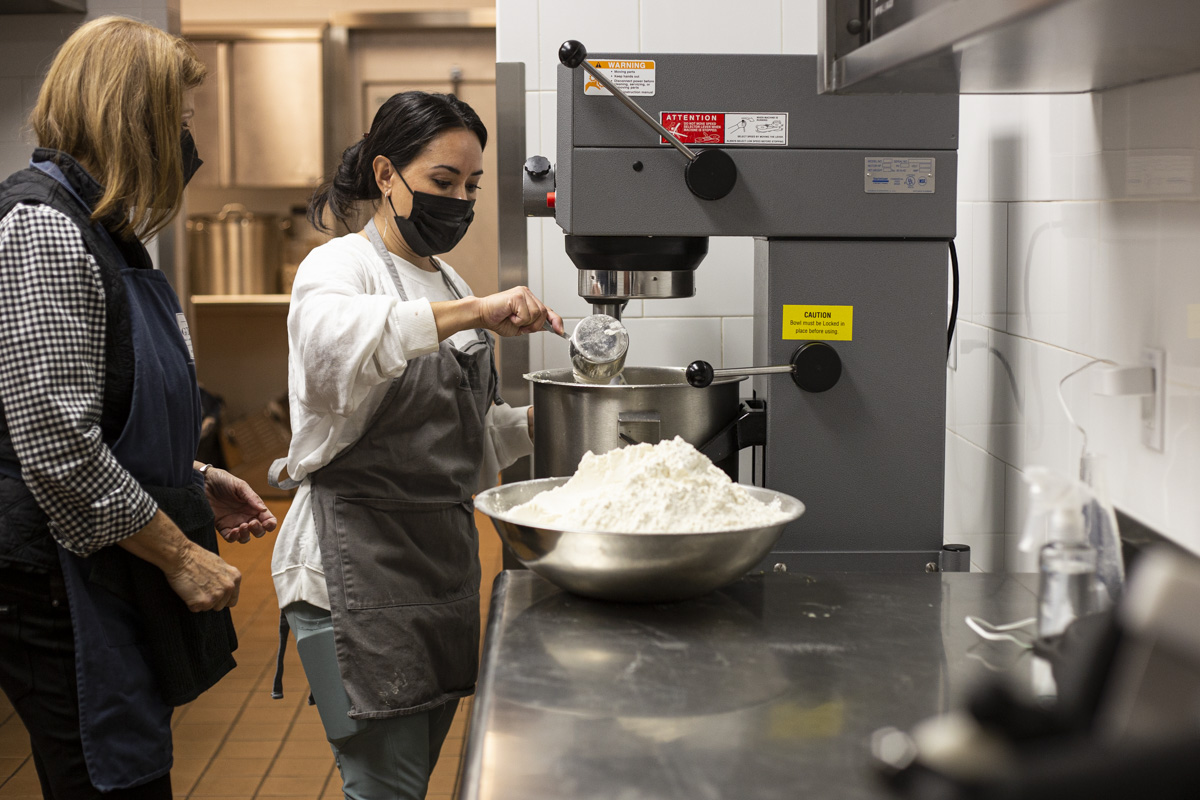
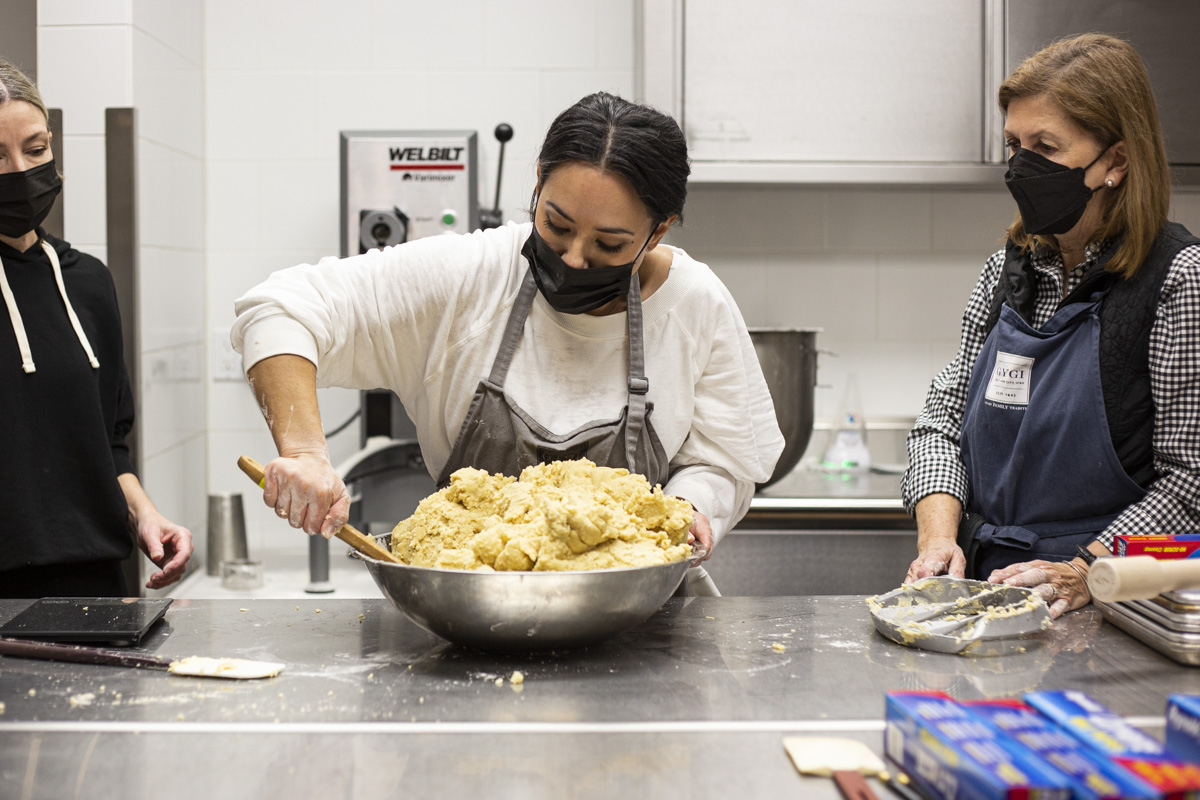
- After you add the eggs and dry ingredients, mix until it is just combined. You’ll know when the dough is ready when it starts pulling away from the sides of the bowl.

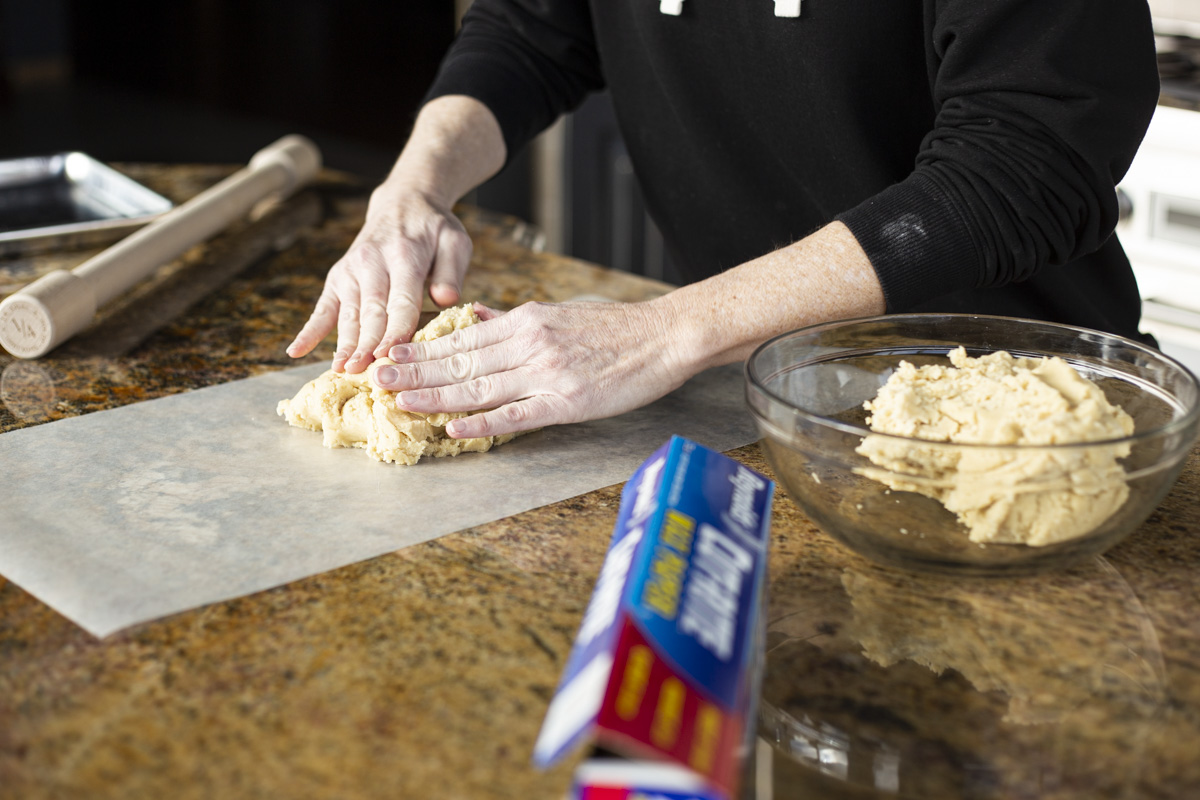
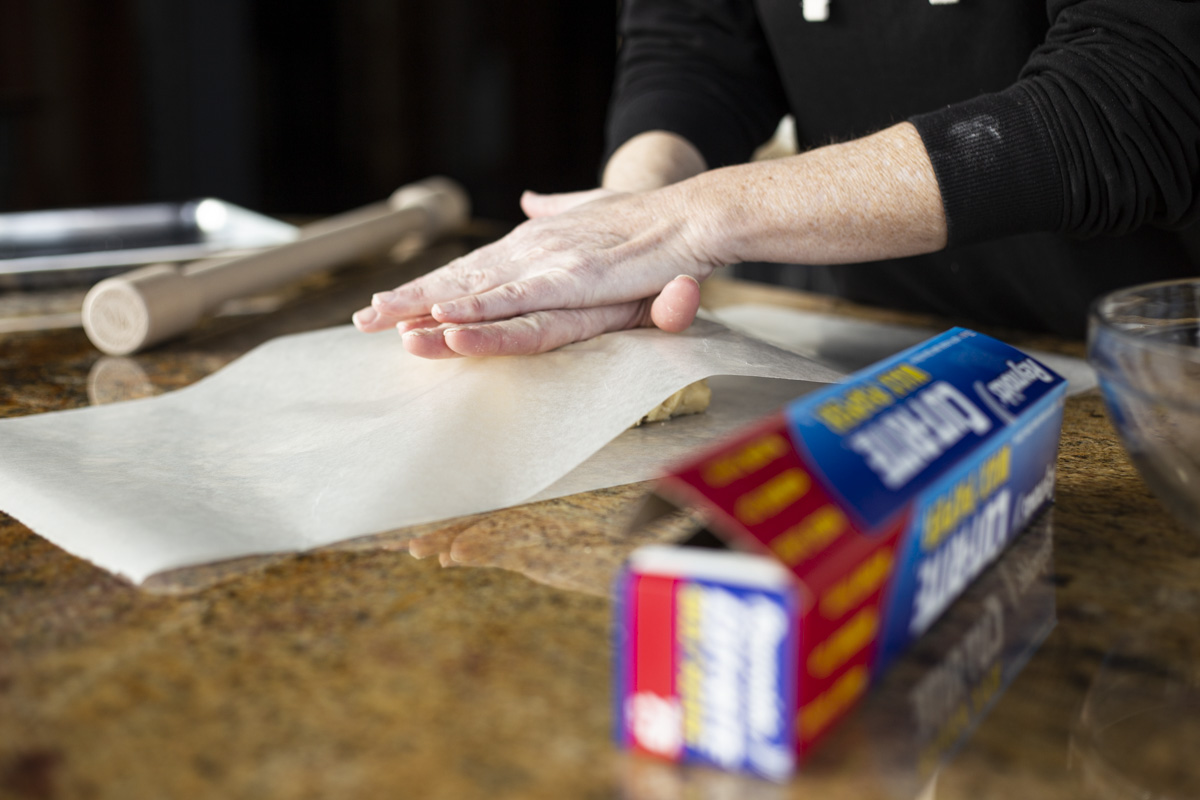
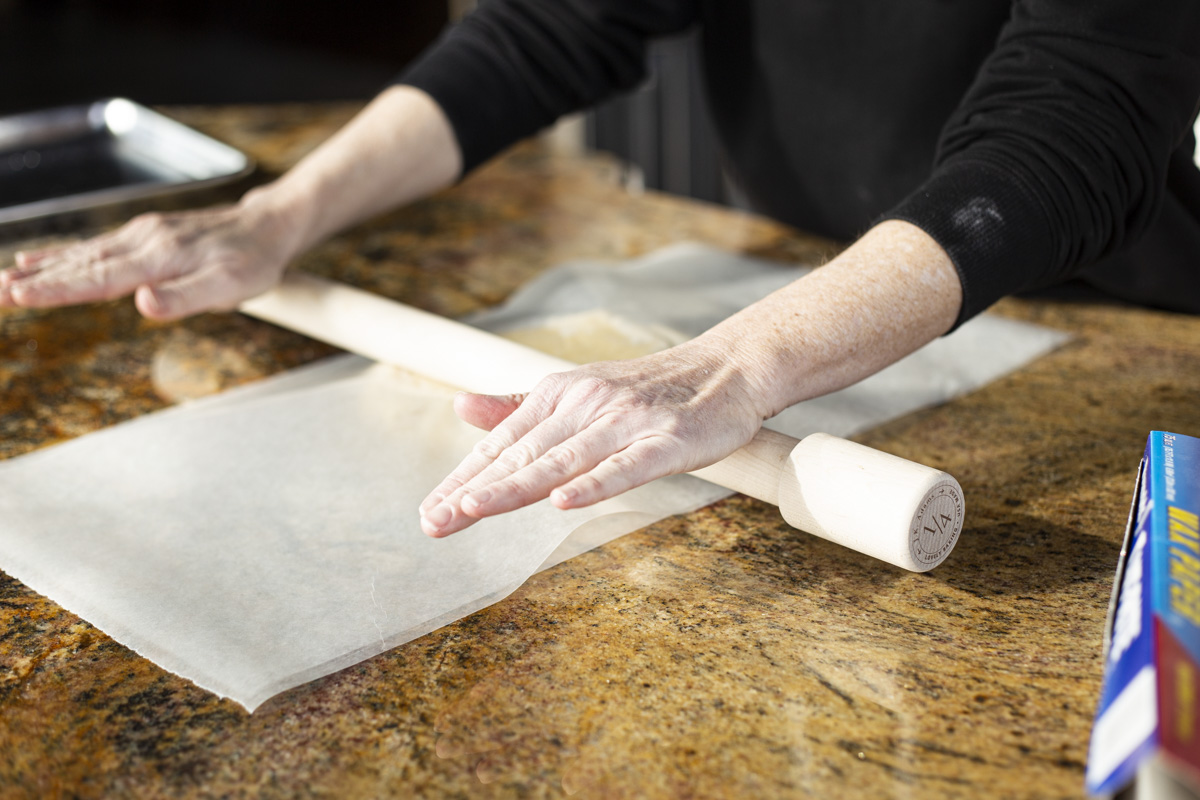
- Wax paper is your bff! Using wax paper when rolling out your dough helps you not add more flour to the mixture. This helps the final texture of the cookie and keeps it nice and soft. Here’s how to do it:
- place a sheet of wax paper onto your counter or prep surface
- place your dough on top
- take another sheet of wax paper and put it on top of the dough
- roll the dough to ¼” thick and to about the size of a cookie sheet (we love this rolling pin!)
- put the dough in the fridge/freezer to chill
- take the top sheet of wax paper off
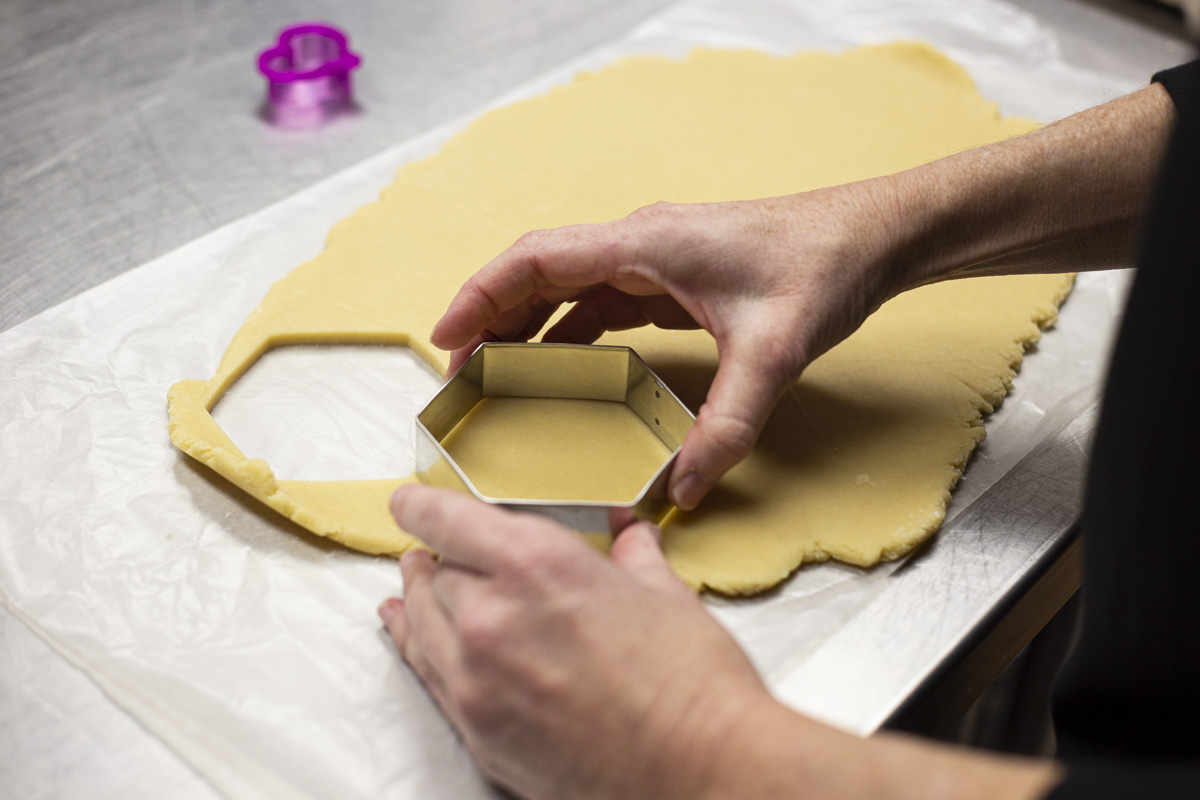
- cut out your shapes!
- Do not skip putting the dough in the fridge or freezer. Remember, the trick to getting those perfect edges is cold dough! If skipped your cookies are very likely to spread in the oven.
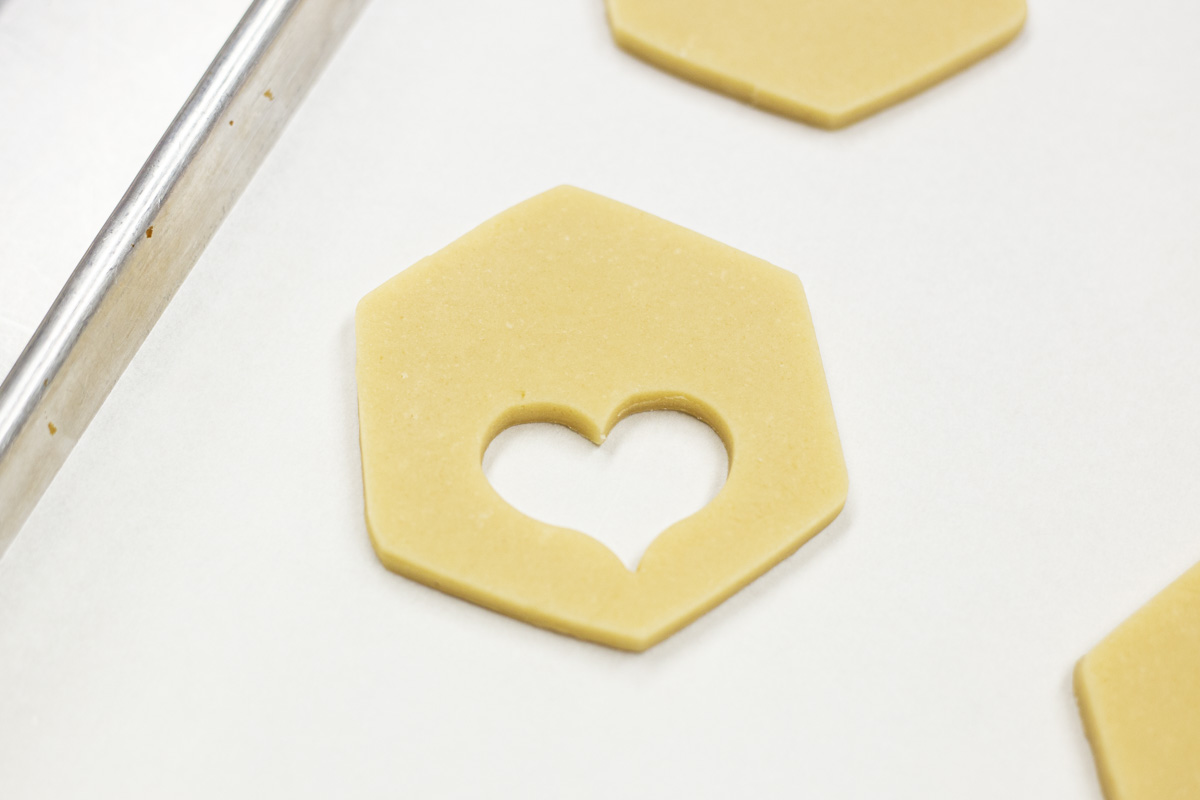
- When cutting out your shapes, try to maximize the number of shapes you can get out of the dough. As you recombine and resuse your dough, your shapes will not be as sharp. Be sure to chill your dough when you recombine your scraps.
- Place your cut out shapes on parchment paper or a silicone mat to bake. This helps your cookies not stick to the pan.
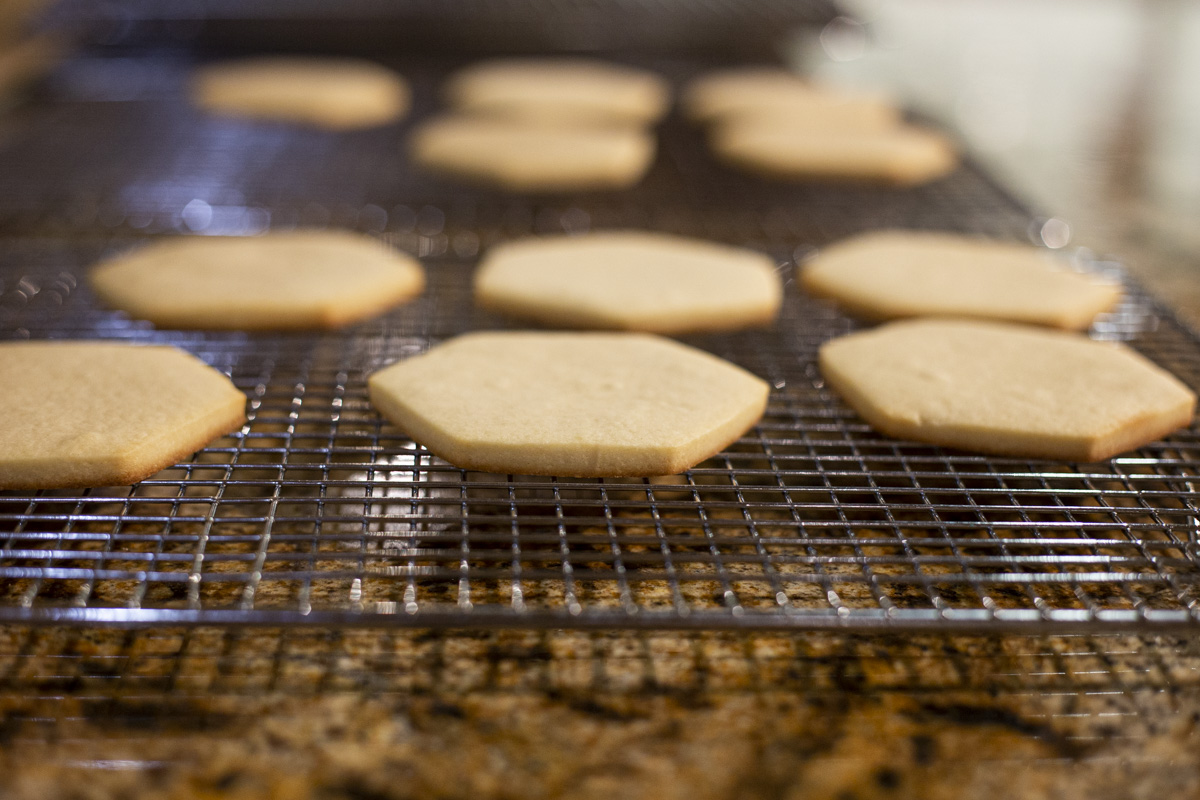
- Know your oven! Be wary of hot spots in your oven. Use an oven thermometer so you know your oven is at the right temperature.
- Pull out your cookies before they start to brown. Err on the side of caution and take them out slightly early. They’ll continue to bake on the pan after they’re removed from the oven
- Bake similar size shapes together to achieve consistent baking results.