With it being July– the hot temps outside and needing a cold treat–we really wanted to try and recreate a Choco Taco from scratch. The OG Choco Taco transports us right back to our childhood and chasing the ice cream truck-. Can you relate? Could we try to do it even better? We certainly think so!
STEP 1: MAKE YOUR TACO SHELLS
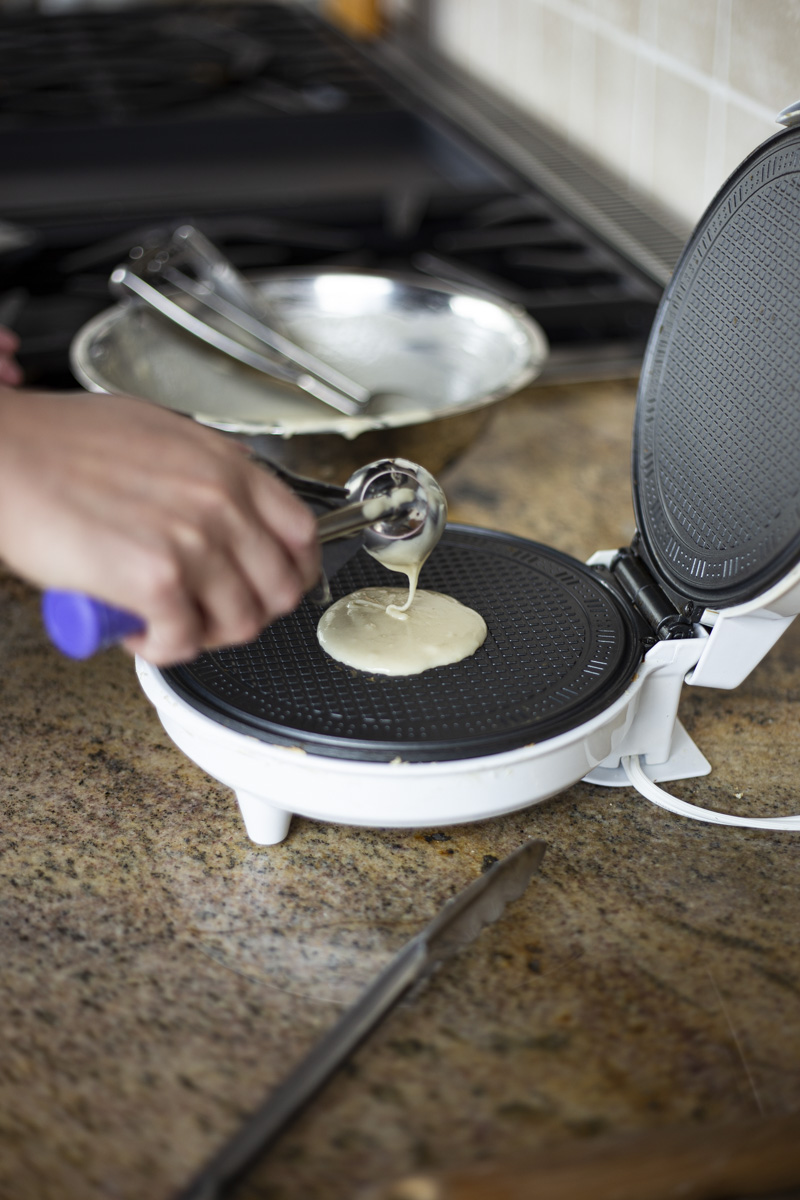
We used our favorite Gold Medal Waffle Cone mix for our shells. It’s a dry mix that you combine with water to create a pancake-like consistency batter that you’ll use in your waffle cone/bowl maker.
We then used a #40 food disher/scoop to add the mixture to our waffle cone maker (our favorite is the CucinaPro Waffle Cone & Bowl Maker- available here). We found this size scoop to produce a perfect [to us] taco. It ends up being about the same size as an original Choco Taco. But feel free to go bigger or smaller! It’s your ice cream after all.
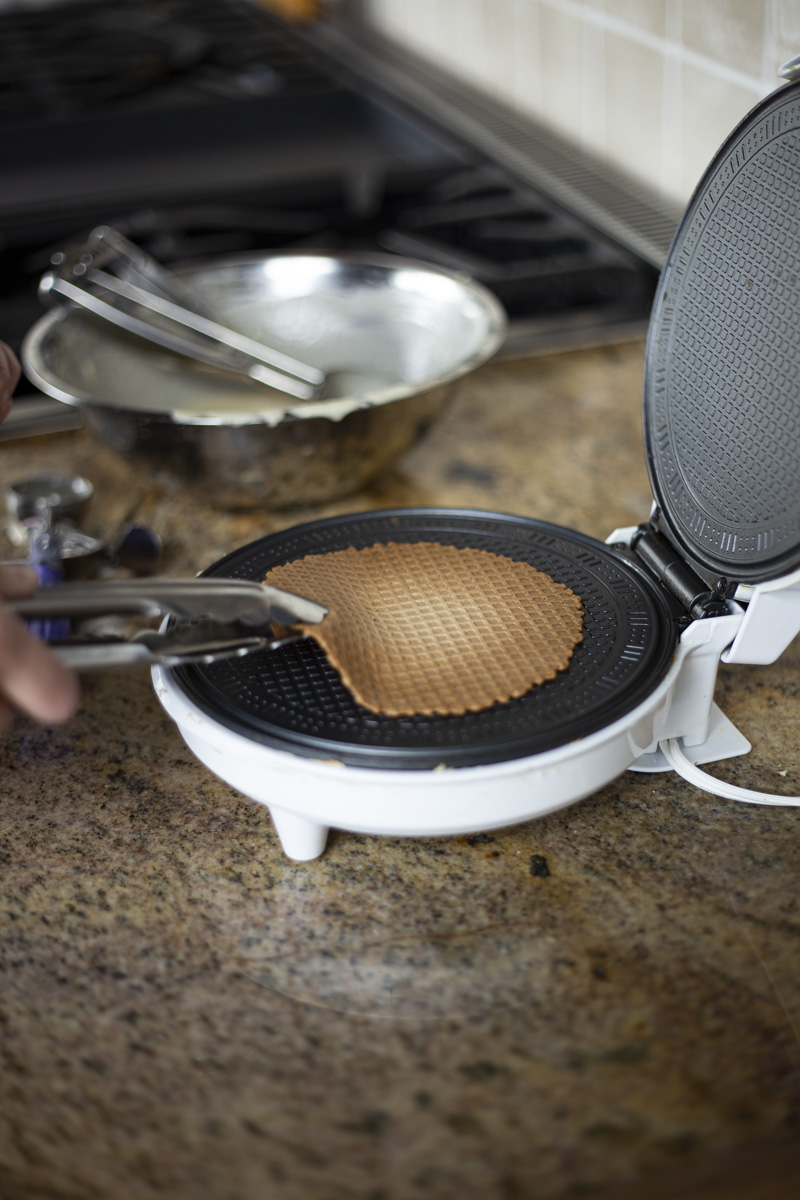
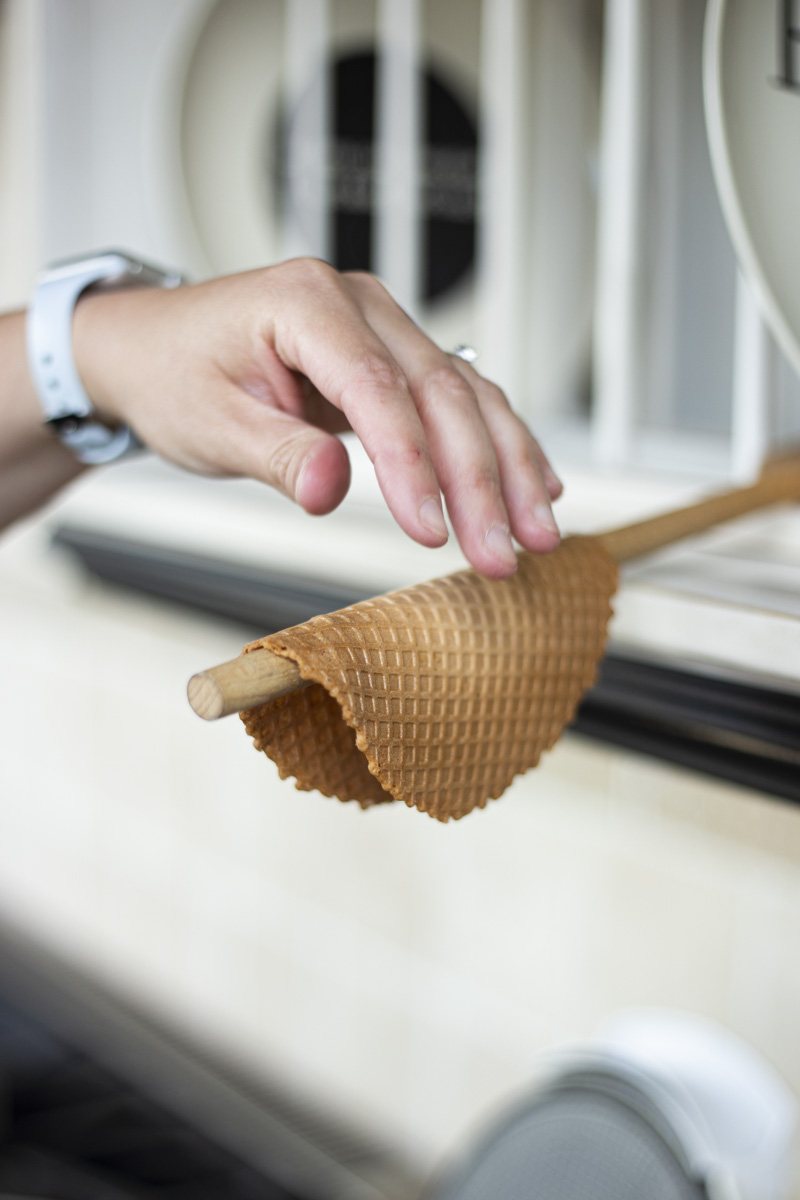
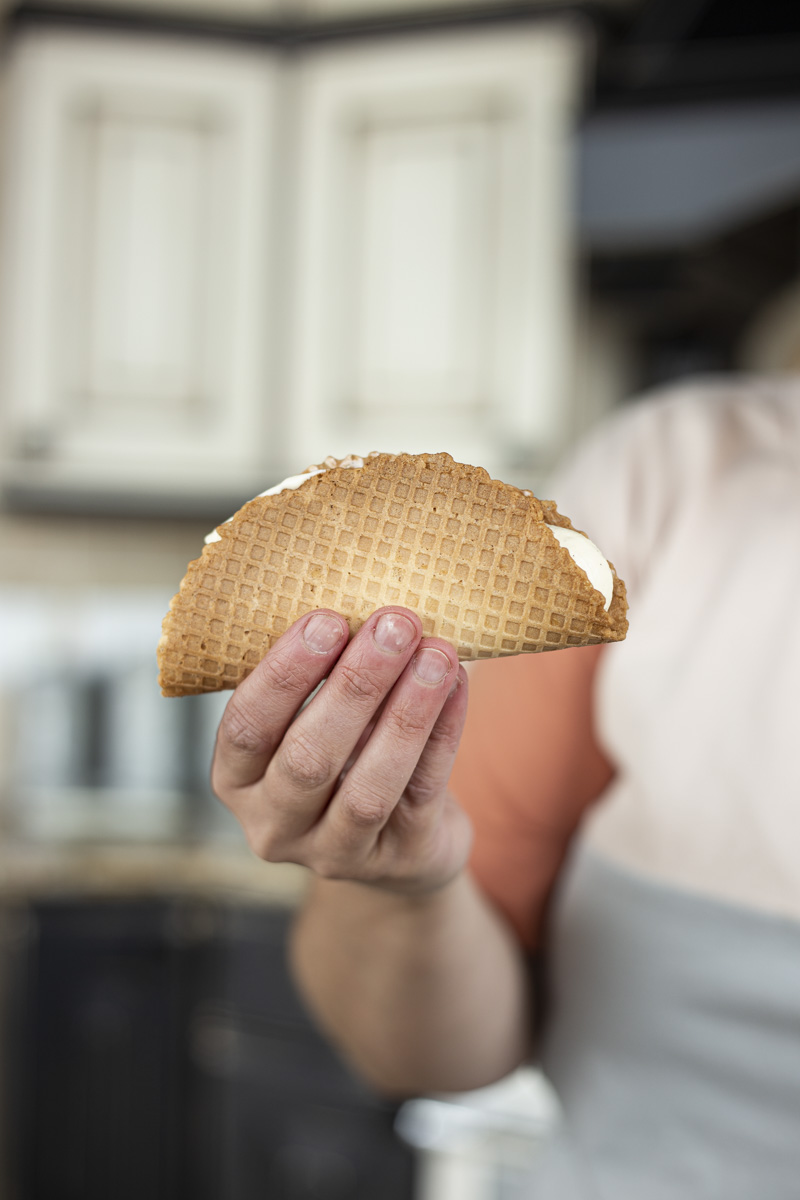
After the shell was finished crisping, we immediately removed it and let it set over a wooden spoon handle- this is when you want to work quickly because the shell will set up FAST! We used a pair of tongs to help shape the shell over the spoon. It took maybe 30 seconds from the time we removed it to the time it was dry, crispy, and ready to be filled with ice cream. Set your shells aside until you’re ready to fill them- they will stay crispy and fresh for a couple of days, stored uncovered and at room temperature.
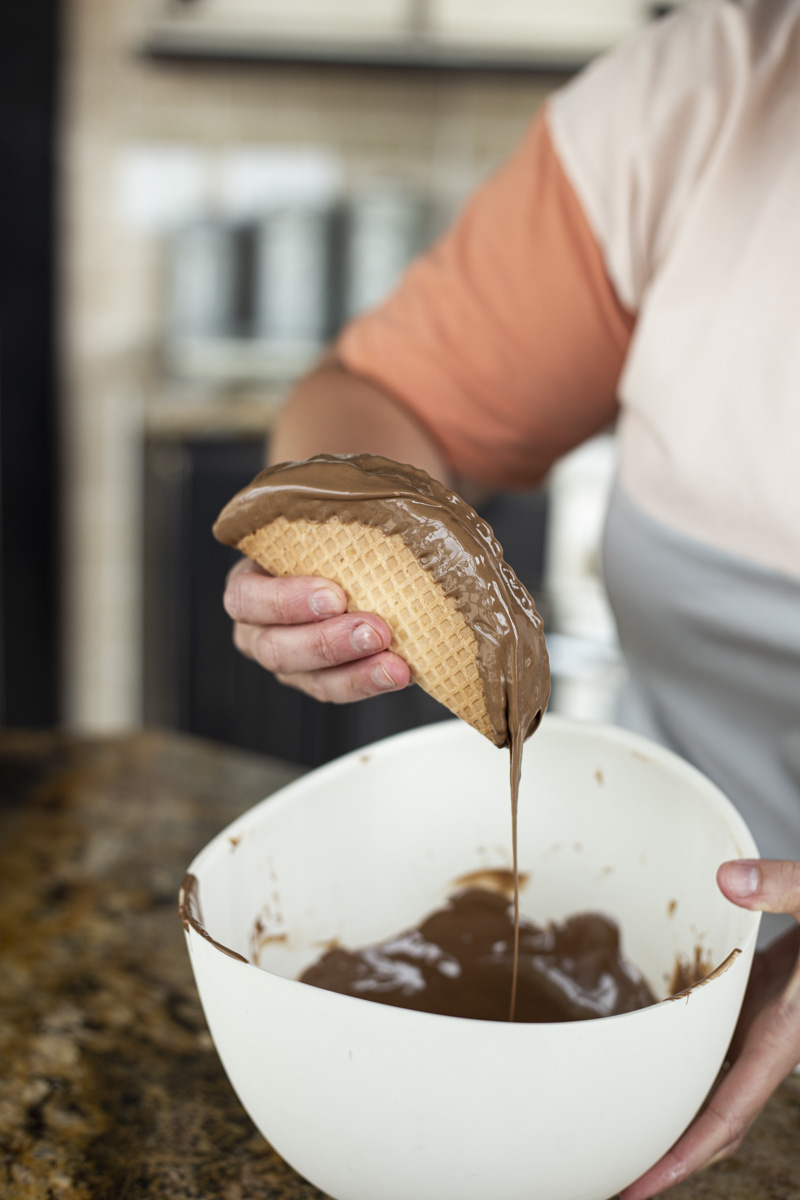
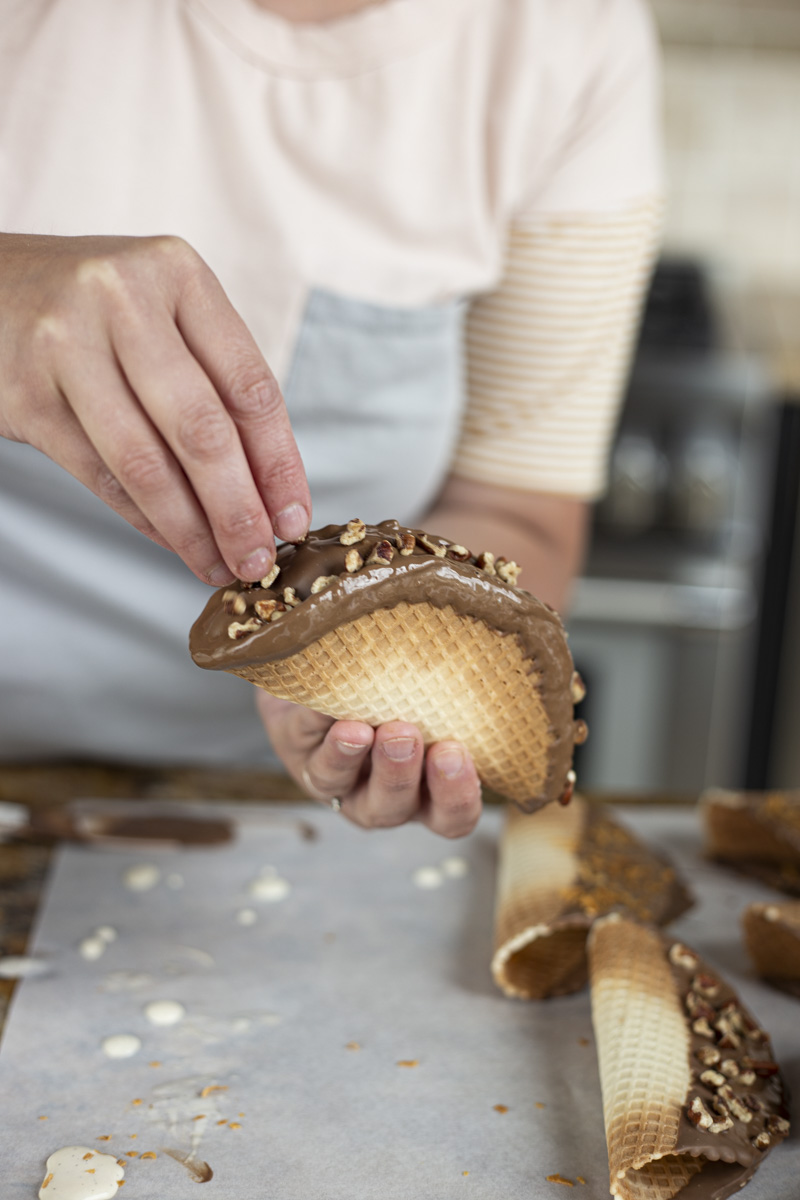
STEP 2: FILL YOUR CHOCOTACOS (technique 1)
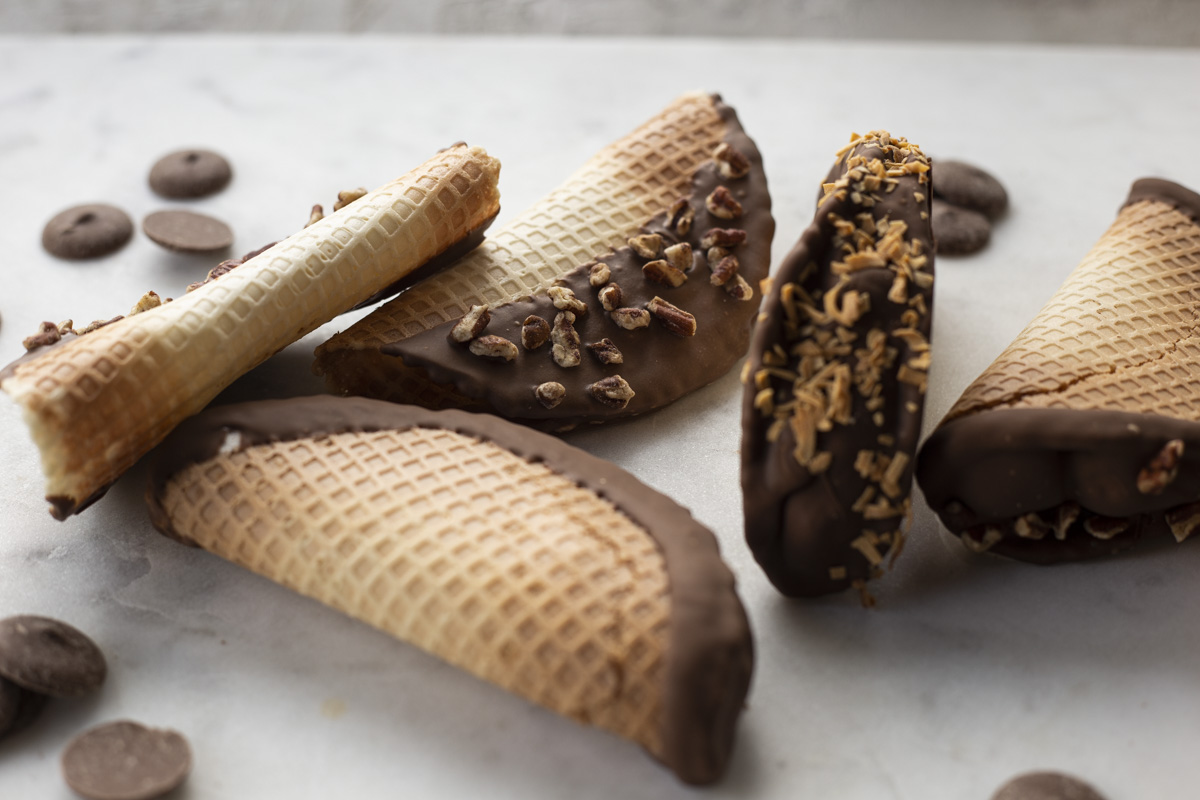
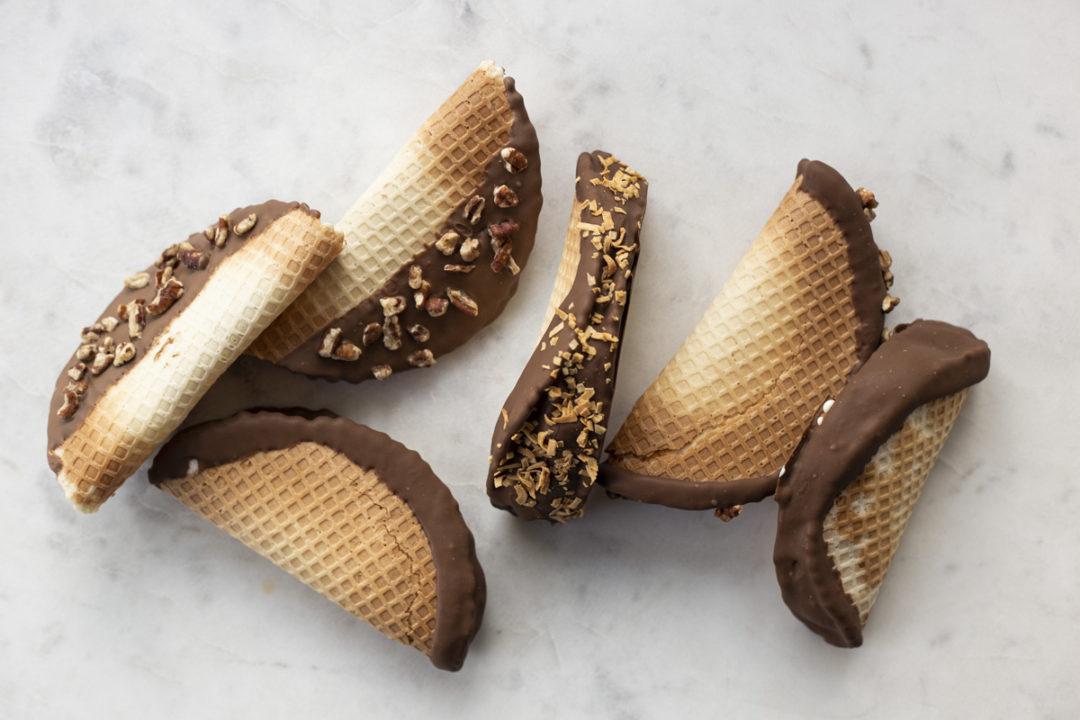
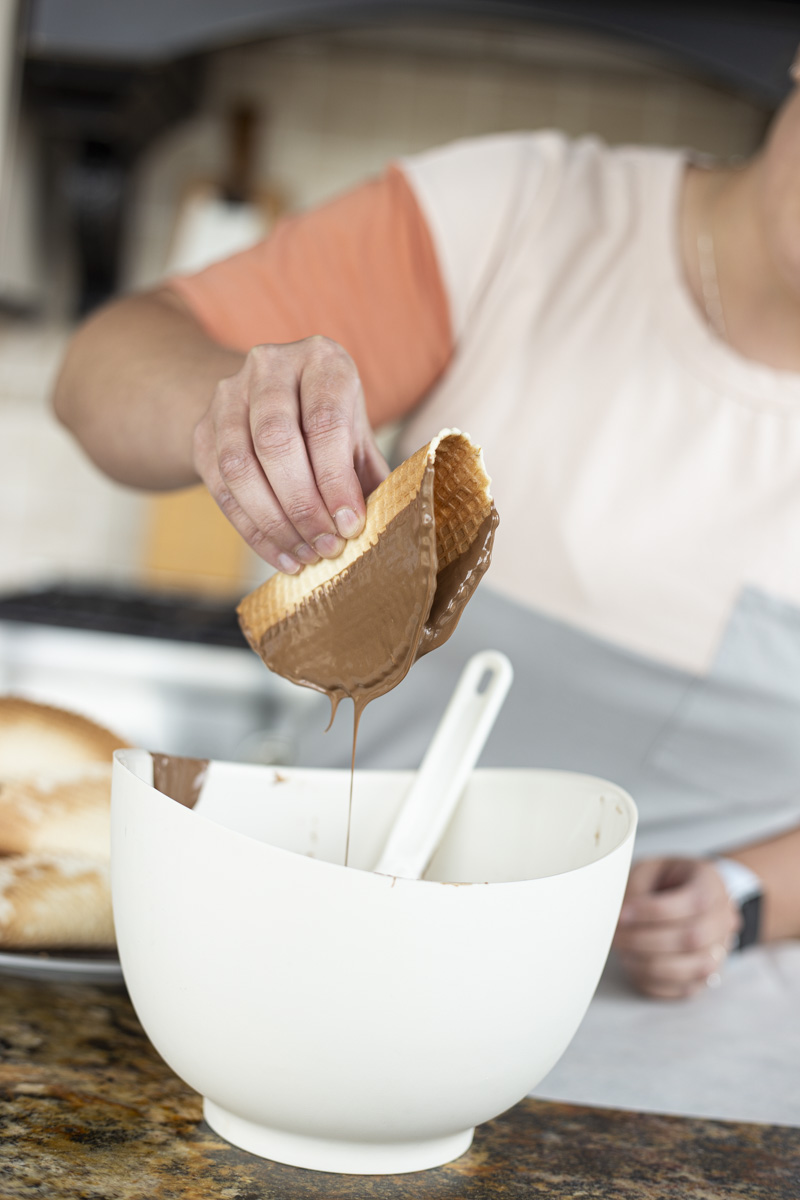
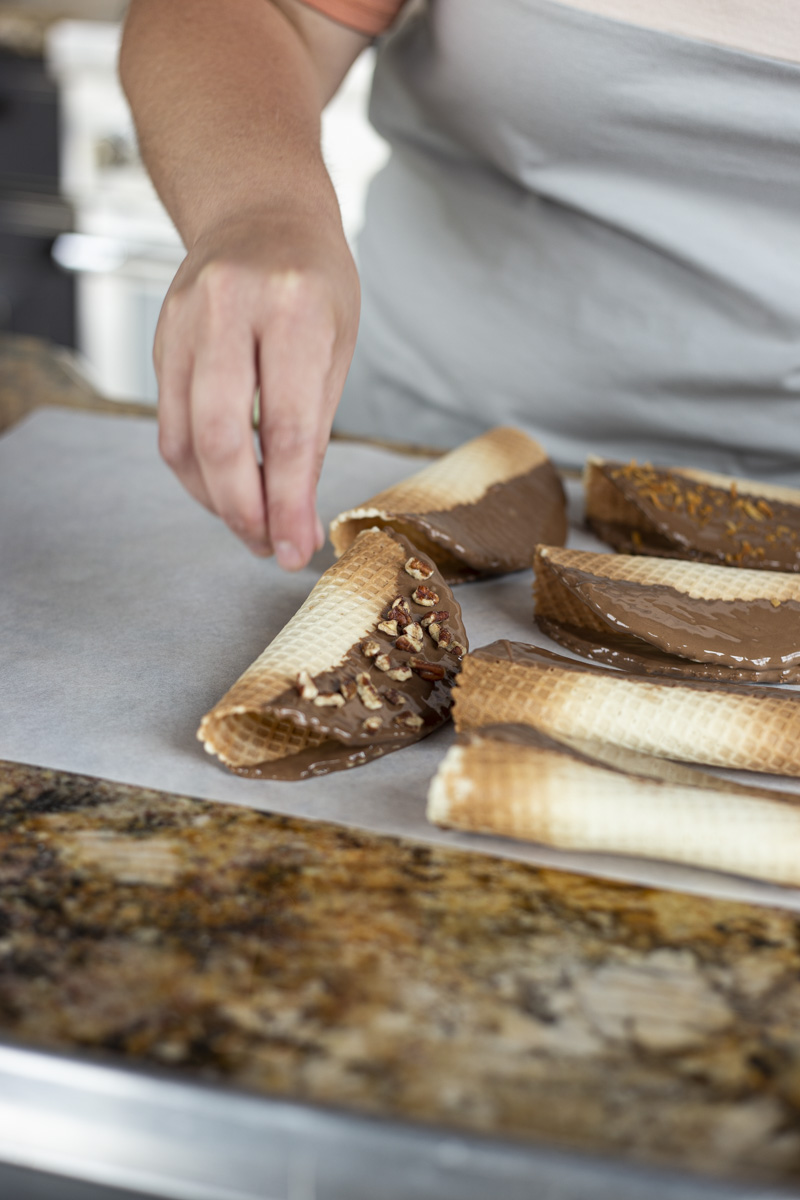
When it came to filling our taco shells with ice cream- we tried two different techniques. The first (pictured above)- is when we dipped our shells about halfway into melted chocolate, then added toppings to some (we used nuts and toasted coconut), let them set, and then filled them with ice cream and put them back into the freezer to harden. With this technique, the ice cream isn’t “sealed” into the shell with chocolate so after it hardens in the freezer, it’ll need to be served immediately as the ice cream will start melting out the open ends of the shell.
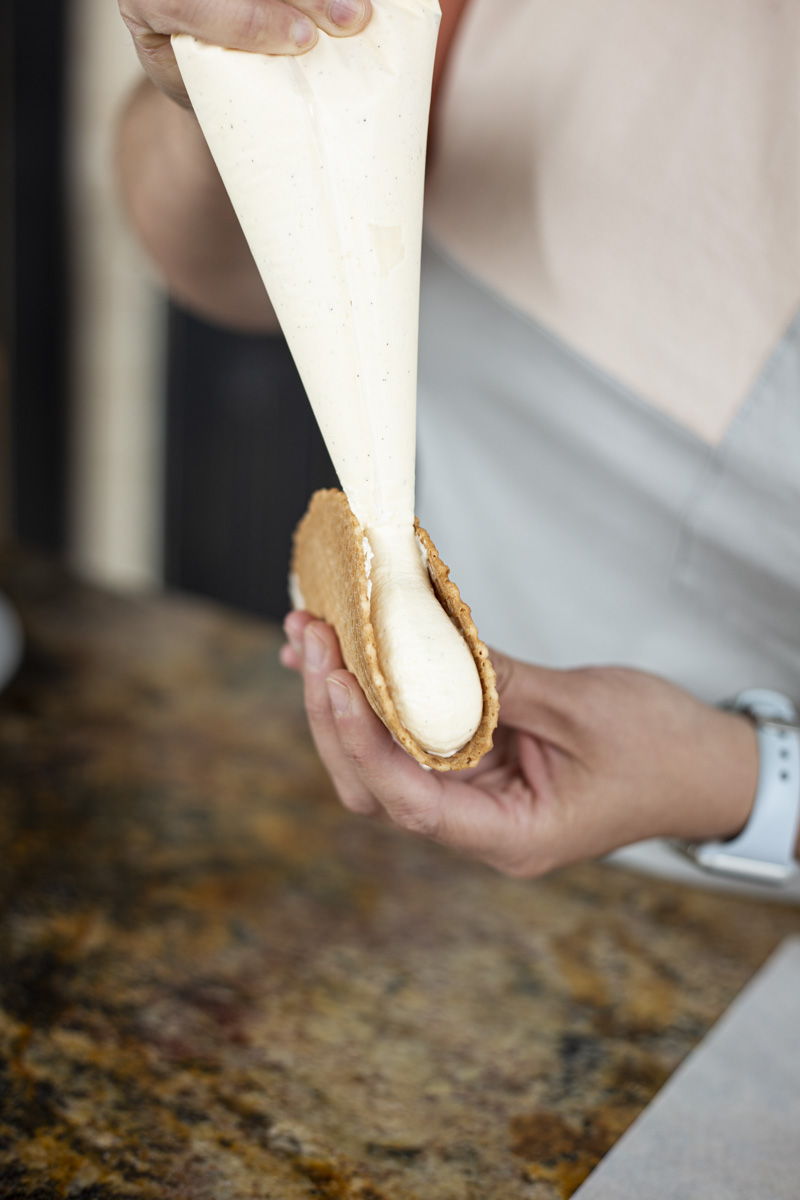
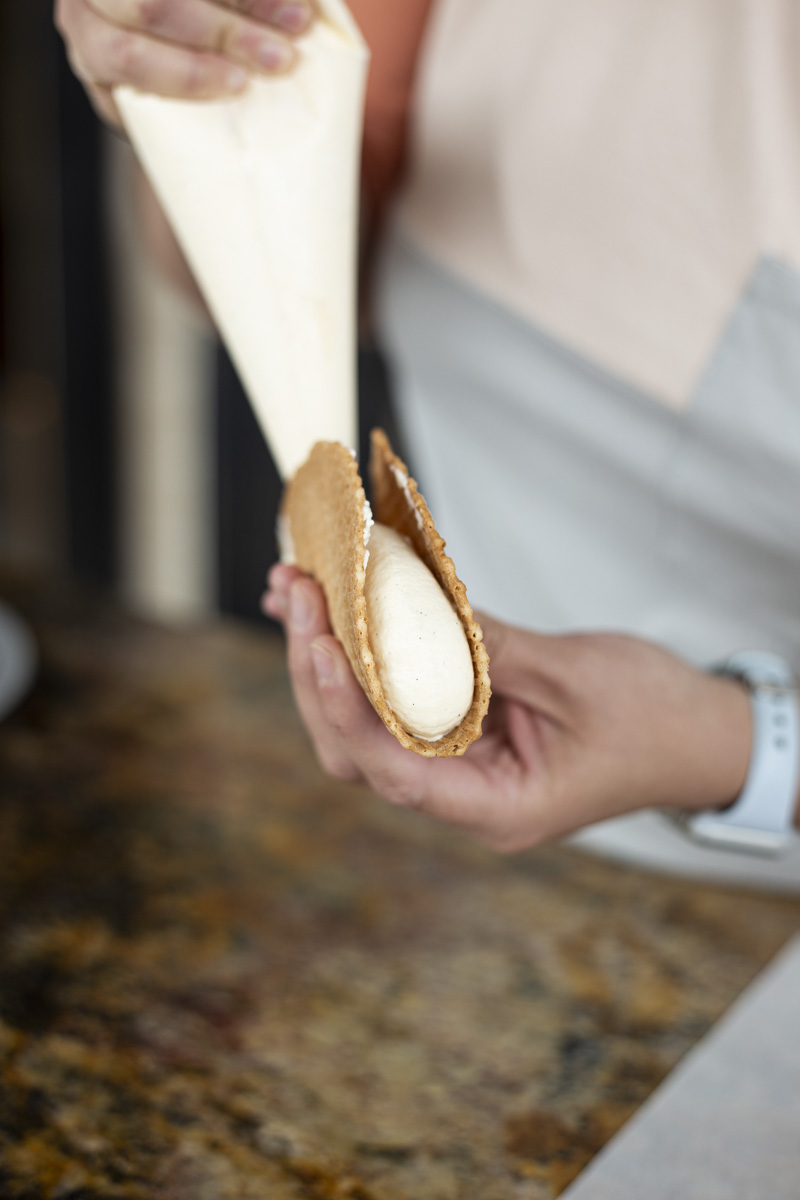
STEP 2: FILL YOUR TACOS (technique 2)
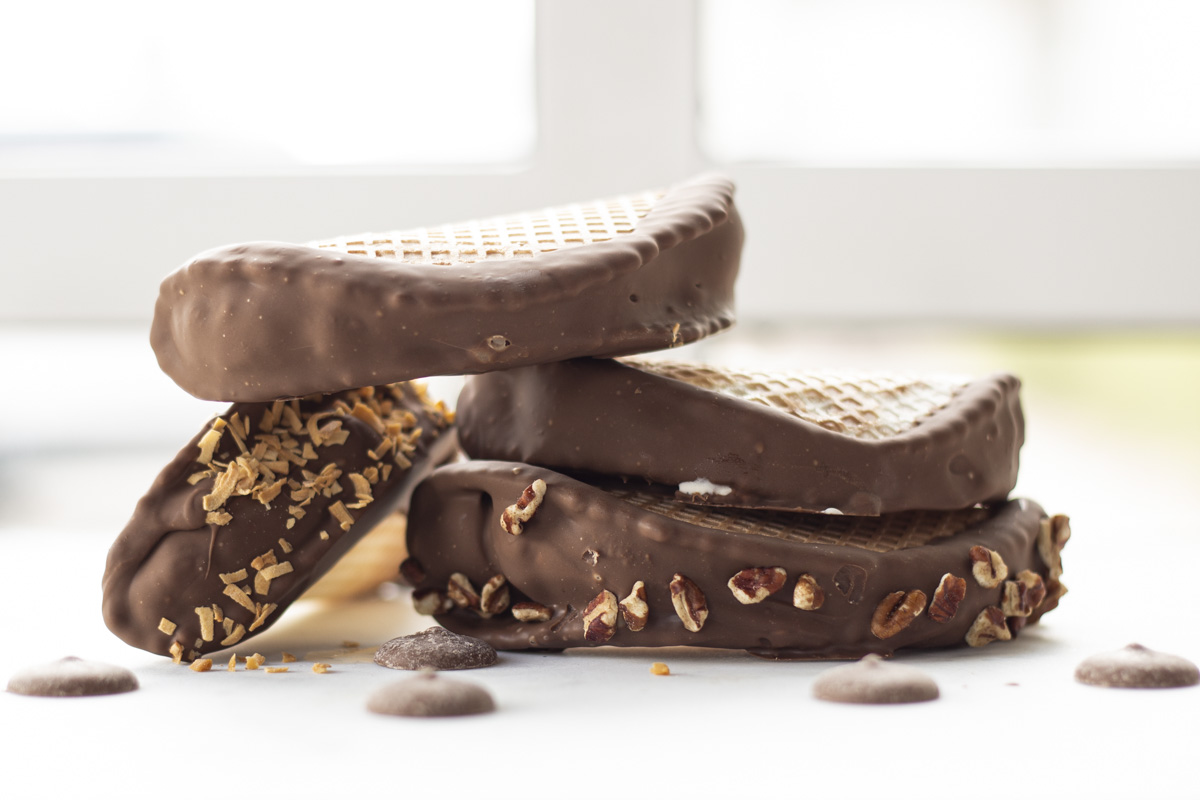
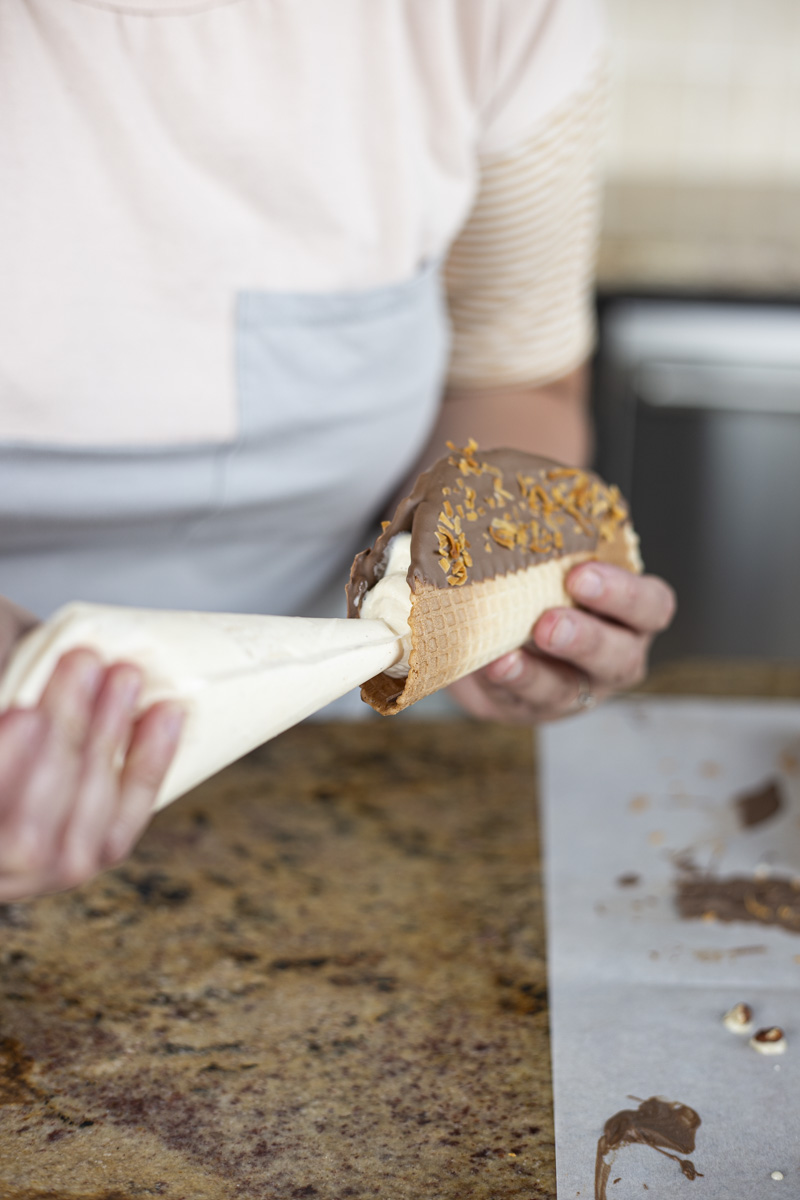
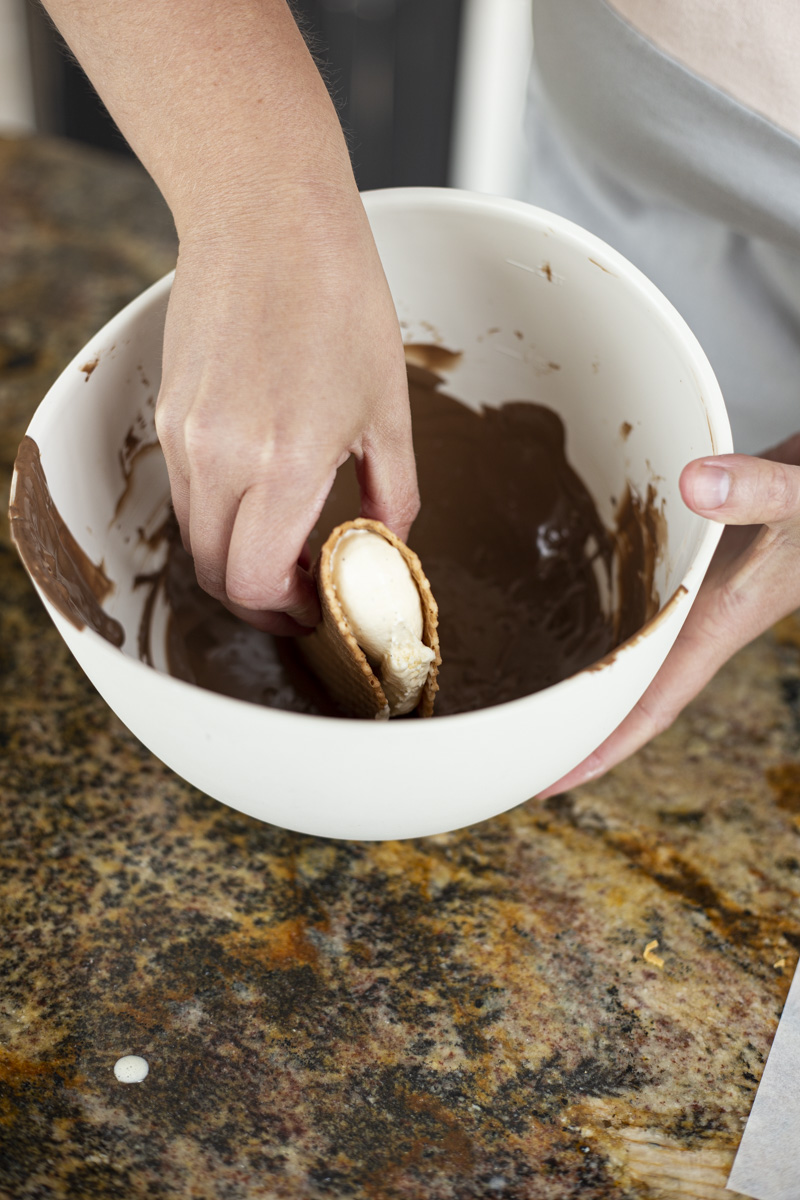
The second time around, we filled our plain shells with ice cream (we just used half a gallon of store-bought vanilla bean ice cream, let it soften slightly at room temperature, and then loaded it into a pastry bag to pipe into the shells. Otherwise, the shells are delicate and can break if you try adding your ice cream with a scoop or spoon), and let them harden in the freezer. Once hardened, we dipped the entire exposed edge into melted chocolate, thus “sealing” the ice cream inside, and added toppings (again using chopped nuts and toasted coconut. We also left some plain). After this step, we placed all the tacos into the freezer until ready to serve.
The original Choco Taco has chocolate all along the inside of the shell as well, but for the sake of time, we only did the edges. Feel free to get adventurous with the chocolate! We used compound chocolate that was easy to melt and use for dipping (our go-to is Callebaut Snaps), but you can get really fancy and temper some amazing couverture chocolate as well (click here for instructions on tempering chocolate). The shells could also be stuffed with whipped cream instead of ice cream for a lighter dessert!
Have fun! And enjoy your freshly made chocotacos!