
Your dutch oven is the right pan for just about anything you want to make. The deep flavors it adds to your cooking can’t be simulated in any other way! We love the earthy, deep components it naturally adds to all cooking. Soups, stews, beans, braised meat, pizza, cheesy potatoes- it’s all better in the dutch oven. But the star for today: DESSERT!
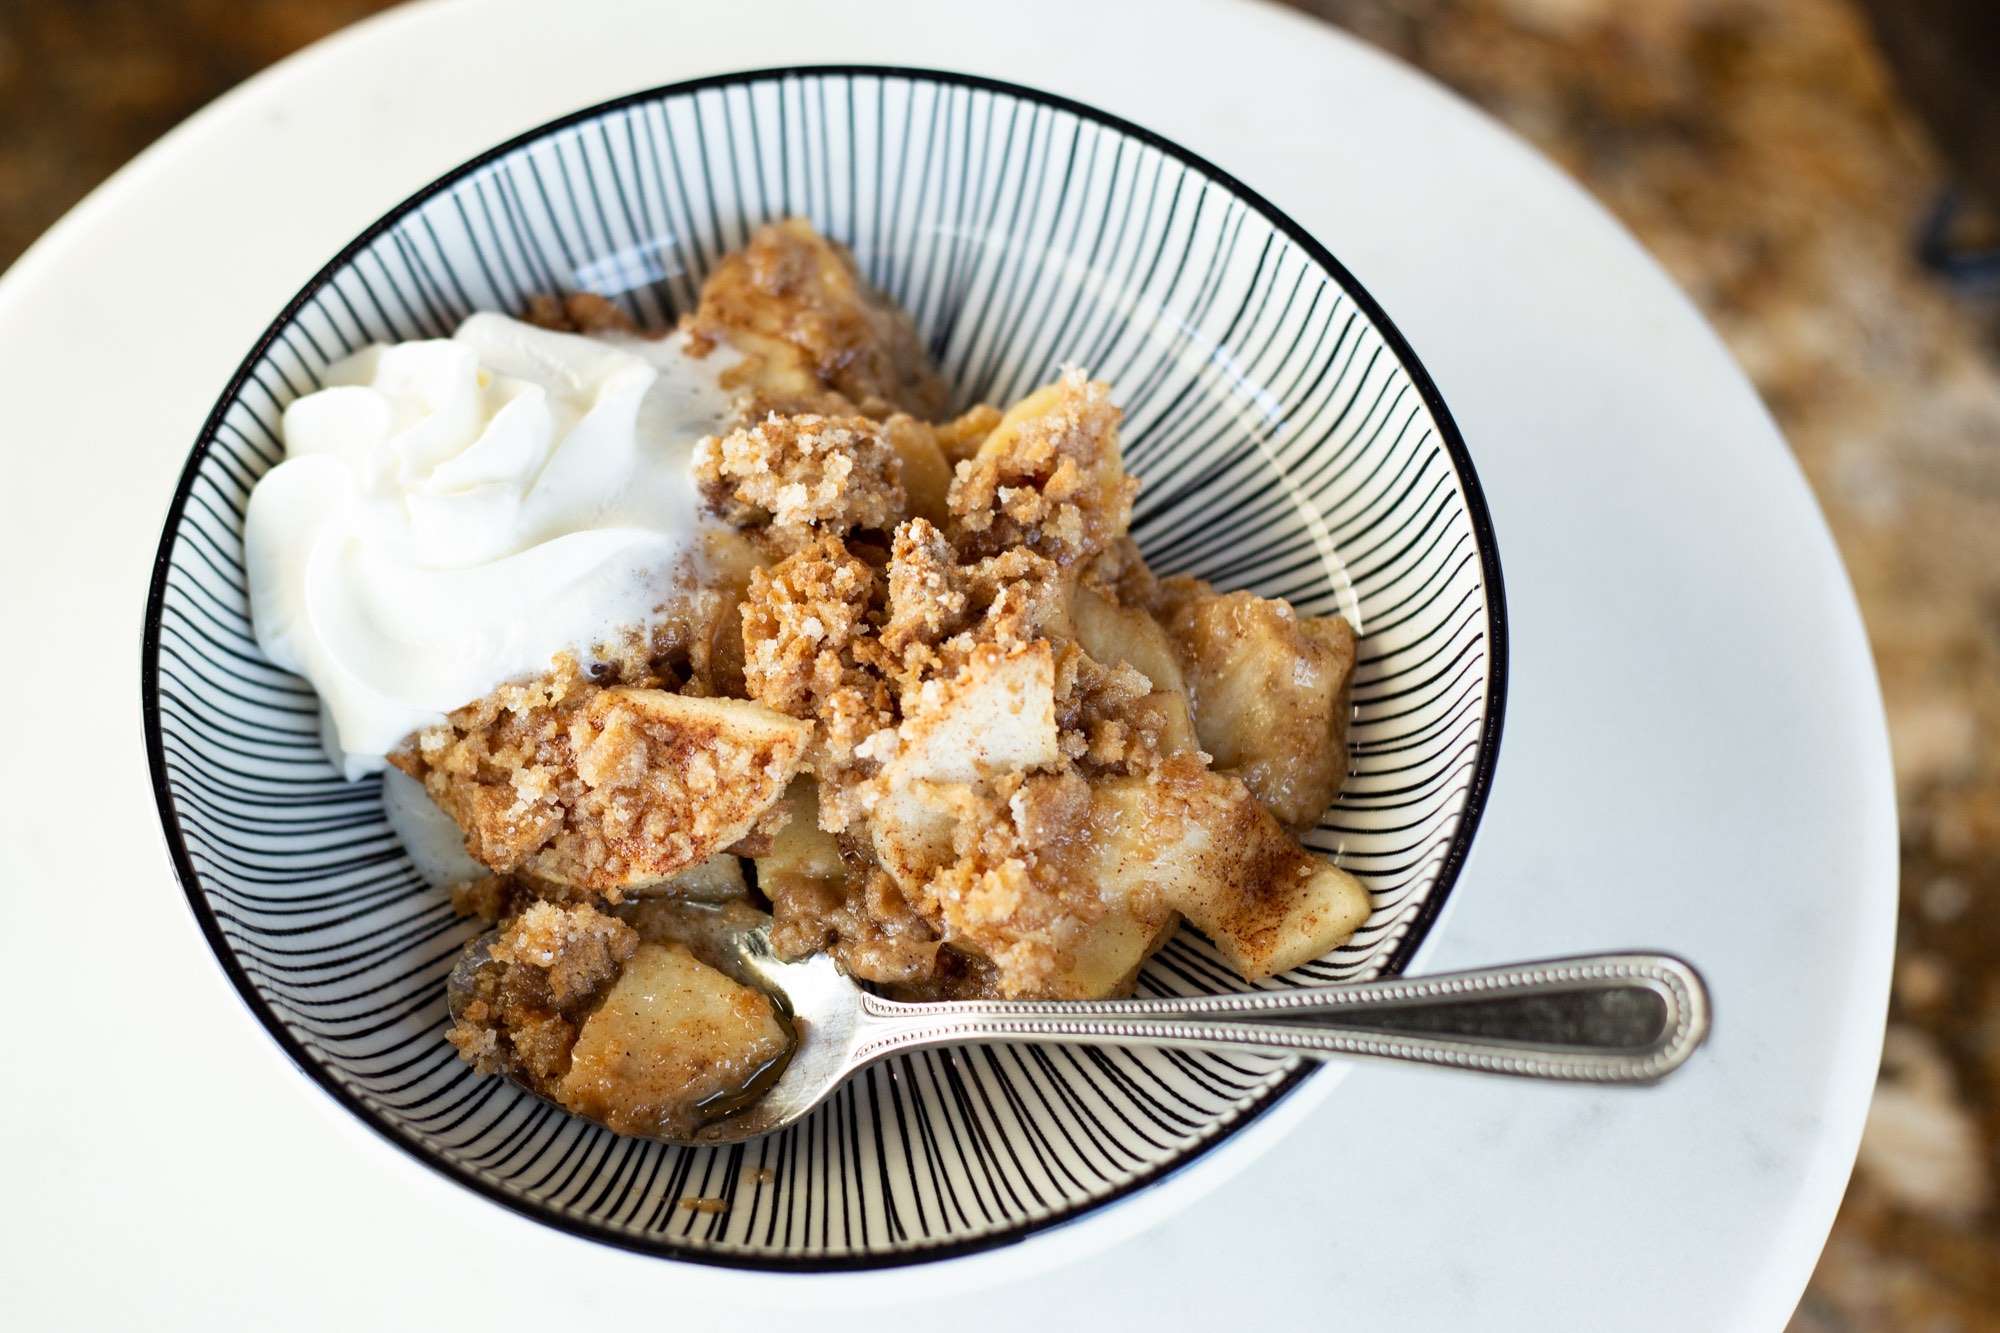
This Apple Betty has layers of graham cracker, sugar and tart apples. The apples soften those graham crackers, creating ooey gooey layers of decadence. The top gets a nice crispy crust, which pairs so nicely with the softened apples. The recipe is simple- you just need 5 things! But it’s the simplicity that makes this so special. And really lets the dutch oven flavor come through!
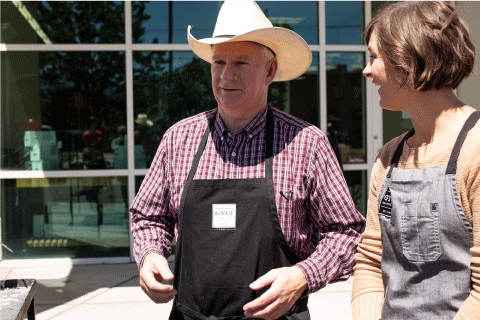
Our friend, coworker, and dutch oven aficionado, Chuck, is back to share this family favorite recipe.
Ingredients
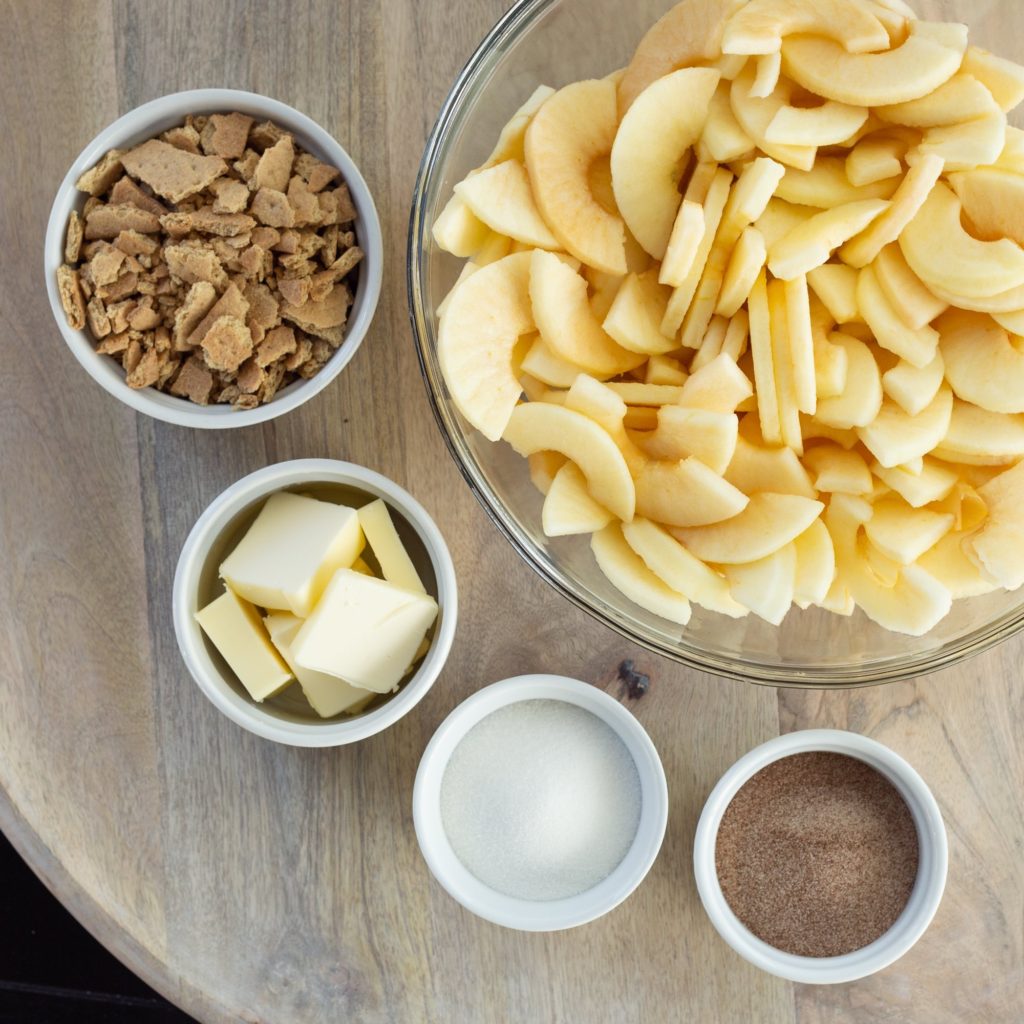
- 8 medium apples- chuck likes the taste and texture of a gala apple. Peel and slice your apples to get them ready. We can’t recommend this apple slicer/peeler enough.
- 3 cups graham crackers- crumbled into coarse crumbs. And we mean course. You’ll want those big chunks- they will hold their shape and texture better when they start cooking with the apple- making large bites of perfectly soaked graham cracker with tender apple.
- 1 cup sugar
- 1 cup melted butter
- Cinnamon Sugar mix (1 T cinnamon + 1/2 cup sugar)
Get the Right Equipment
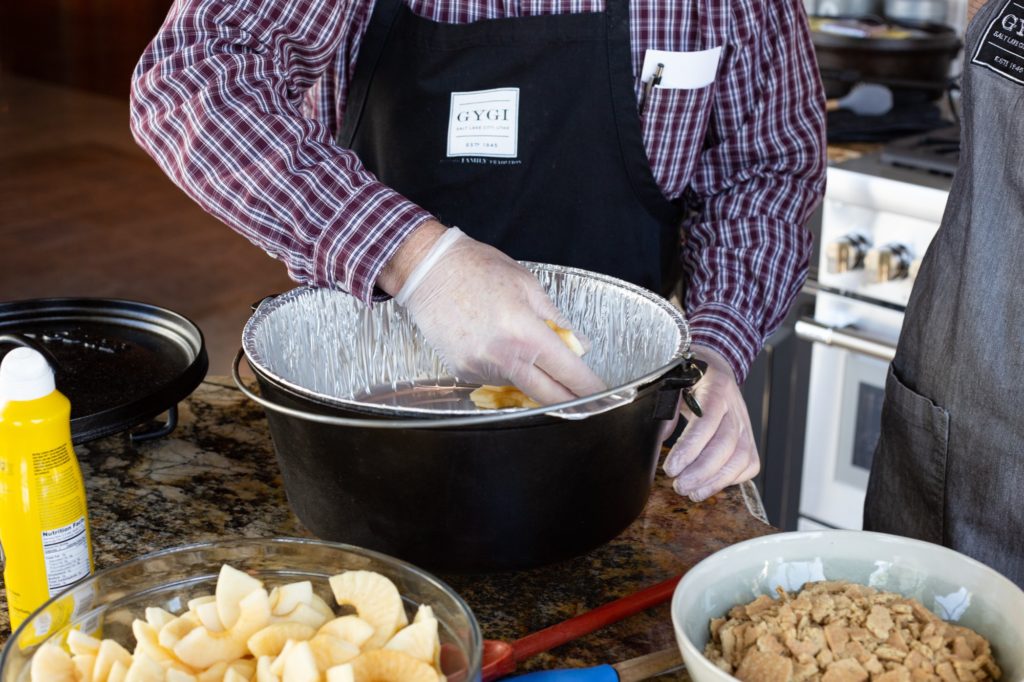
- A 12″ dutch oven is a great size for this recipe. You could easily double, triple or even quadruple if you’re feeding a big crowd. Just use a larger pan.
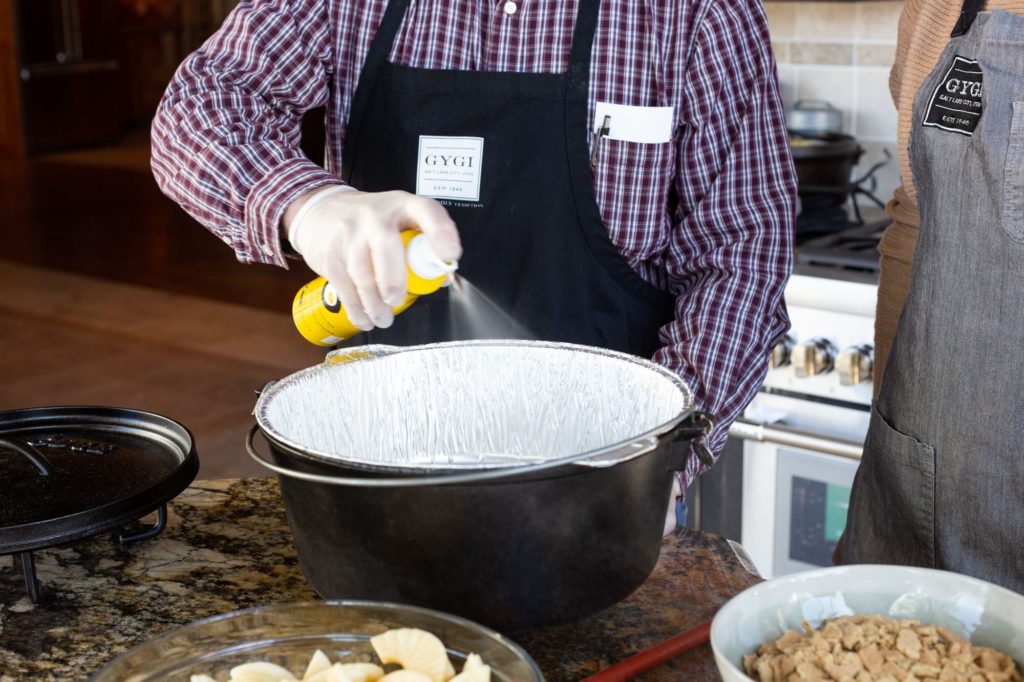
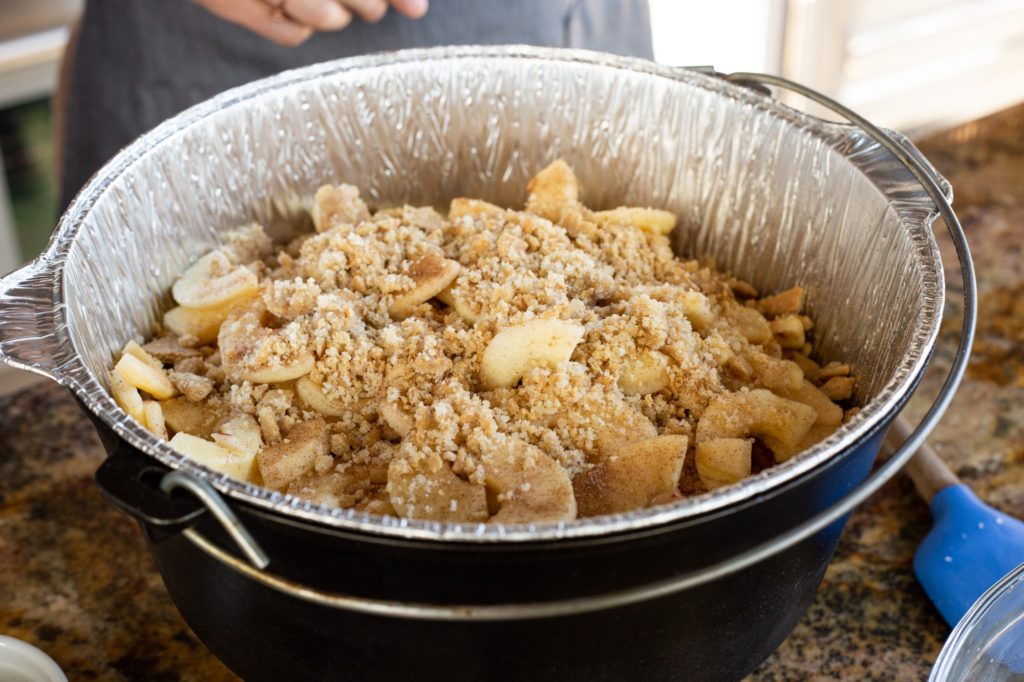
- You’ll need to prep your dutch oven. We decided to use a dutch oven pan liner for this recipe. The obvious perks are the easy, simple clean up. Just take out the liner and toss it in the garbage. Done. We also love the handles included in these liners, they are user friendly, sturdy and make cooking in the outdoors so much easier.
- Give your liner a spray of Lodge Seasoning Spray – this spray is ideal for your dutch oven cookware. It coats your pan with oil, perfect for keeping up that hard-earned seasoning. Because it is propellent free (unlike most other spray-on cooking oil) it won’t build up a sticky layer on your cookware. We love using this with all our dutch oven cooking.
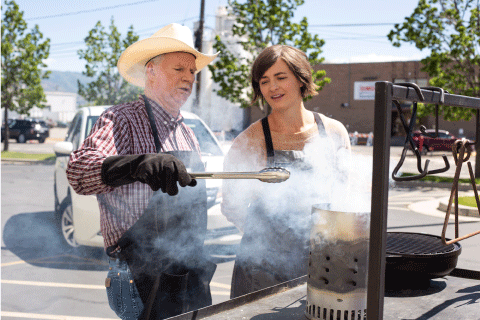
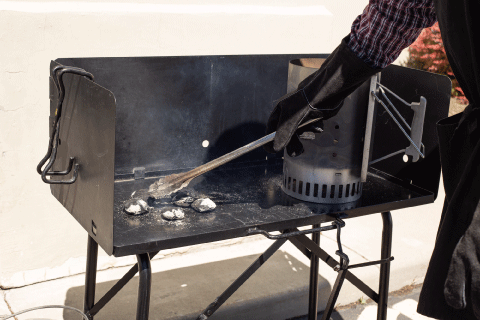
- You’ll also want to get your briquettes started up. Read about Chuck’s preferred method for activating your charcoal. We are using the 12″ dutch oven, so we’ll need 25 briquettes. Chuck shared his temperature chart and charcoal placement guide in this blog post. You can refer to that if you are using a different sized pan.
Assembling Your Apple Betty
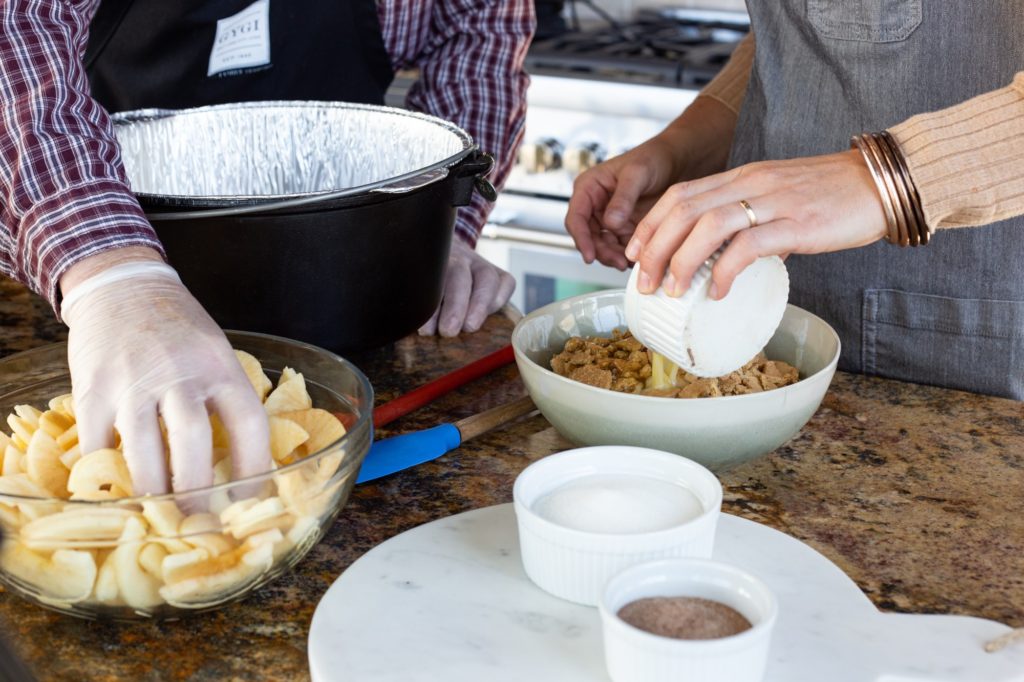
- Mix your butter and sugar into your coarsely ground graham crackers. And resist the urge to snitch those delicious morsels.
- Begin with laying your apples in a single layer along the bottom of the pan.
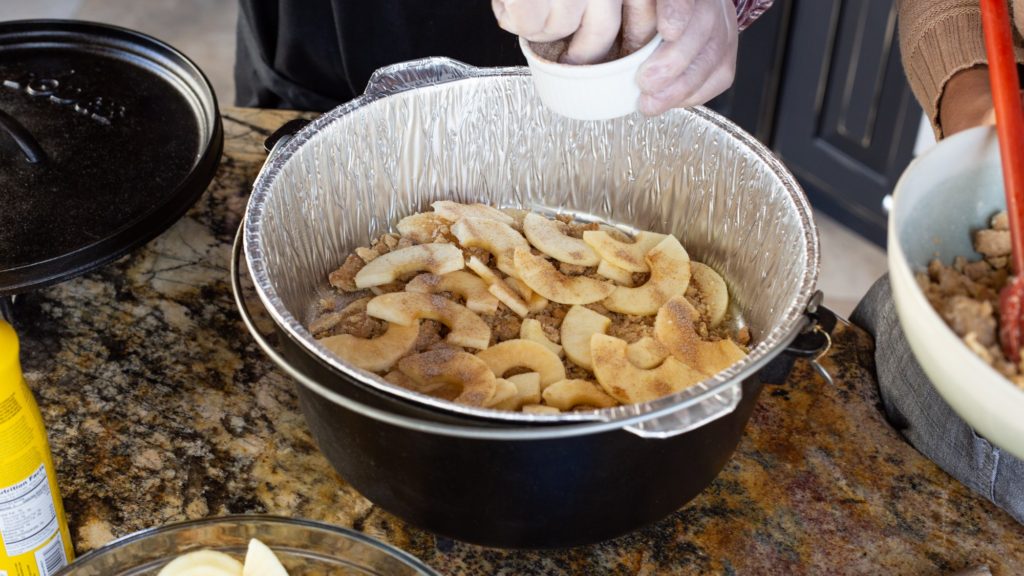
3. Use your fingers to dust the top of the apples with a coating of cinnamon sugar.
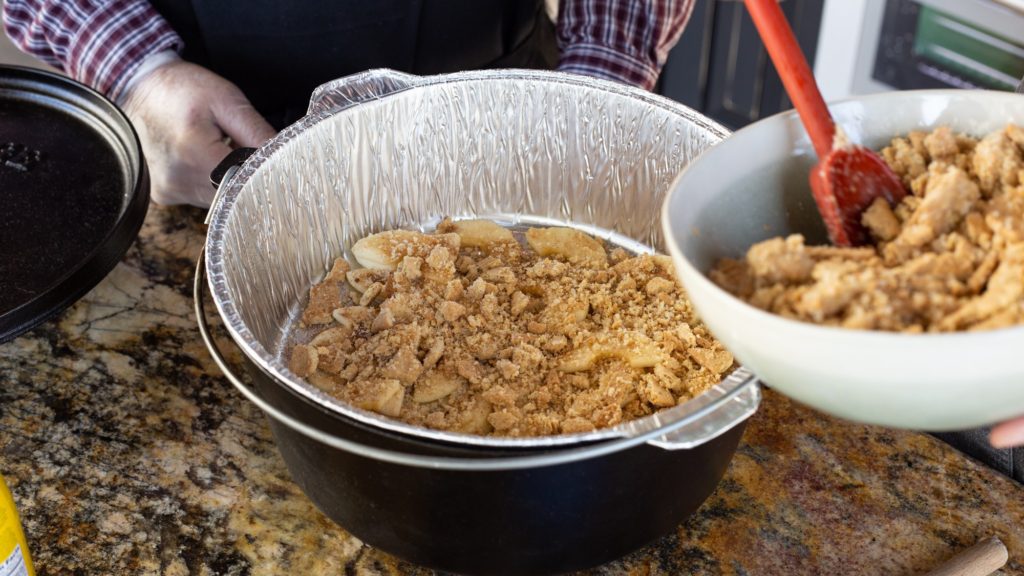
4. Then spoon a layer of graham cracker mixture over the apples.
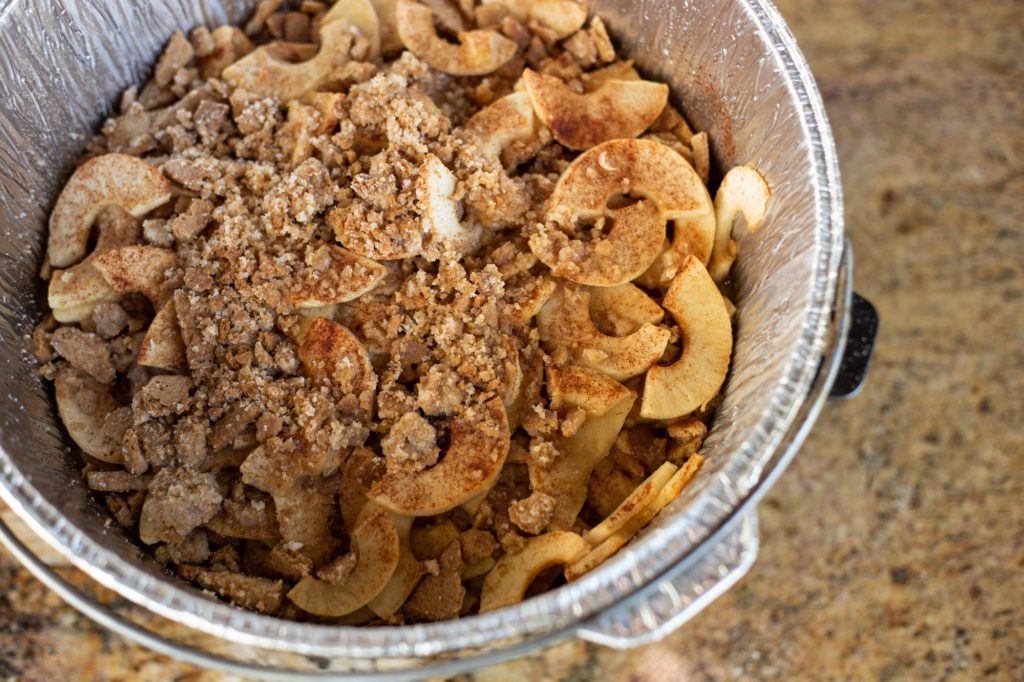
Continue this pattern: apples, cinnamon +sugar, graham crackers. Keep going until you’ve used all the ingredients, ending with a layer of graham cracker. We did 5 layers here, but honestly however many layers you get is just great! Just make certain you have enough topping to cover the top. This will become crispy and crunchy – so don’t skimp on the very top layer.
Cooking your Apple Betty
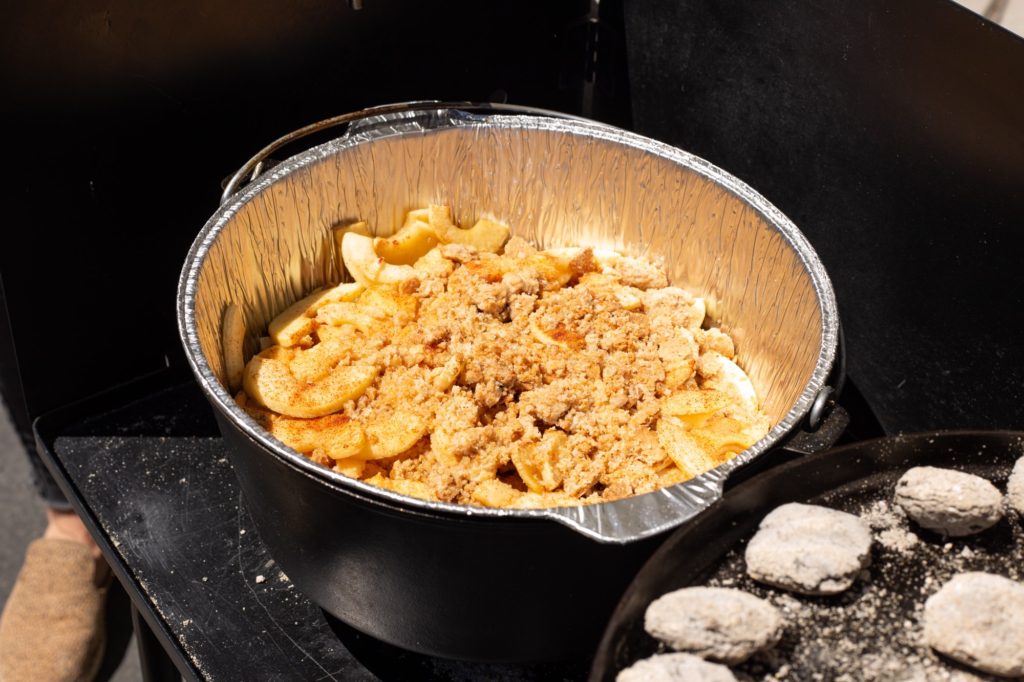
This recipe will cook for 45 minutes at 350°. We used a 12″ dutch oven, which means we needed 25 briquettes. 8 on the bottom and 17 on the top. Read this briquette guide if you’re using a different sized pan.

We let this cook for 30 minutes before we took a little peek to make sure it was all humming along nicely. At the 30 minute mark, you’ll definitely start to notice the smells and flavors melding together, but the apples are still quite crisp. And the top is definitely not browned enough. Pop the lid back on, and let those briquettes keep doing their job.
We let it cook for 15 more minutes, before removing the coals and taking that baby inside. You’ll want to eat it warm, and it serves especially well with a dollop of whipped cream or a little vanilla ice cream.

If you don’t have a dutch oven at home, or you’re not quite ready to venture into the world of dutch oven- you could make this in your oven in an oven safe pan.
Start your briquettes- for a 12" dutch oven you'll need 25. Prep your pan or pan liner with some non-aerosol cooking spray or butter. Stir the graham cracker crumbs, melted butter and sugar together. Place the apple slices in a single layer on the bottom of the pan. Sprinkle the cinnamon sugar over the apples. Spoon some of the graham crackers over the apples. Keep layering - apples, cinnamon sugar, graham crackers- until you've used them all up, ending with a layer of graham cracker. Place 8 coals on your cooking surface, then put the dutch oven over the coals. Place the other 17 around the perimeter of the lid, and the rest in the middle of the lid. Bake your dessert for 45 minutes. Remove the coals and you're ready to eat. It's best eaten when it's warm. Add a little whipped cream or ice cream to the top and enjoy! You can bake this dessert in a 350° oven for 45 minutes. Dutch Oven Apple Betty
 (No Ratings Yet)
![]() Loading...
Loading...Ingredients
Instructions
Notes
We hope you love connecting with the outdoors, good food and great memories with this soon-to-be favorite recipe – The Apple Betty.

Kasja
June 18, 2020 at 11:17 pmIf cooking it in the oven, what temperature and length of time do you recommend?
candaceheward
July 1, 2020 at 4:23 pmHi Kasja,
The chicken should be cooked at 325 for about 45 minutes, depending on the size of the chicken thighs. Use a thermometer to make sure they are cooked adequately.