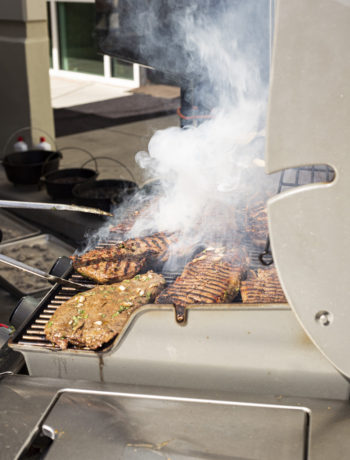
Cooking in the great outdoors brings us a lot of joy, but there’s just something extra special about cooking in a Dutch oven. The seasoning from a Dutch oven gives a depth to the flavor, and with the lid sealing in the moisture, the consistent conduction of heat, and the variety of options for heat source- the cast iron oven is a vessel for a wide variety of foods. We think part of the charm is the amount of time it takes, there is an investment involved. And it certainly does demand your attention, but isn’t that what fills our food with love? To us, Dutch oven cooking not only fuels your body, it feeds your soul.
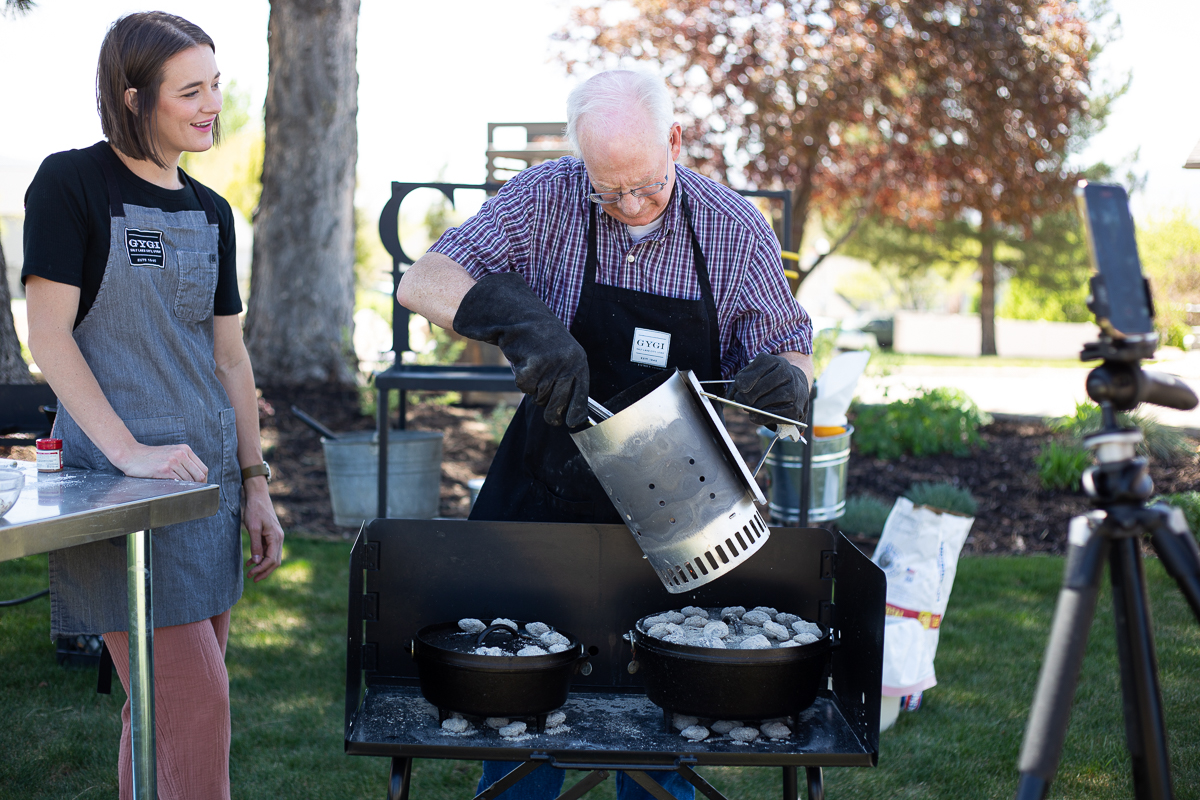
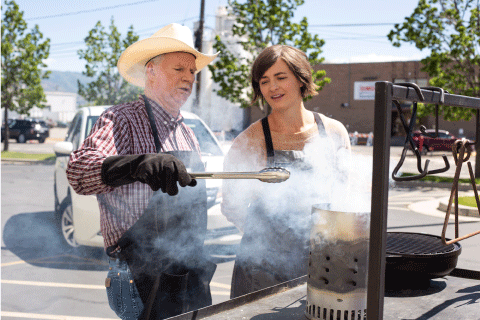
But there can be a bit of a learning curve when it comes to Dutch oven cooking, so we enlisted the help of our friend, co-worker, and Dutch oven expert, Chuck, to give us the nitty gritty on cooking in your cast iron oven.
Starting with the Right Equipment
MUST HAVES:
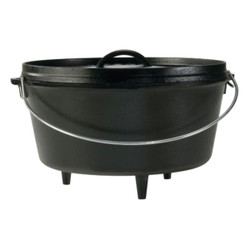
- A quality, cast-iron Dutch oven is an heirloom piece that if used correctly, will only get better with time. A 12″ deep is the most popular size, but they come in a variety of sizes and are quite easy to care for.
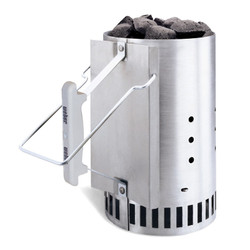
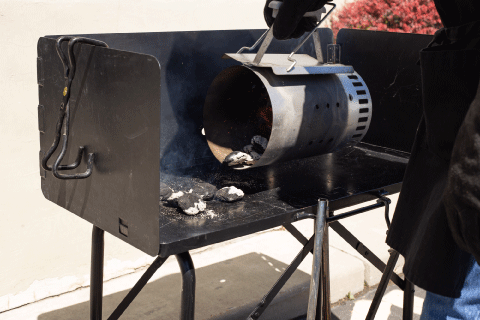
- Briquette Chimney– makes lighting and heating your briquettes so simple. Just pile them inside the can, heat them from the bottom and wait 5-10 minute for them to activate.
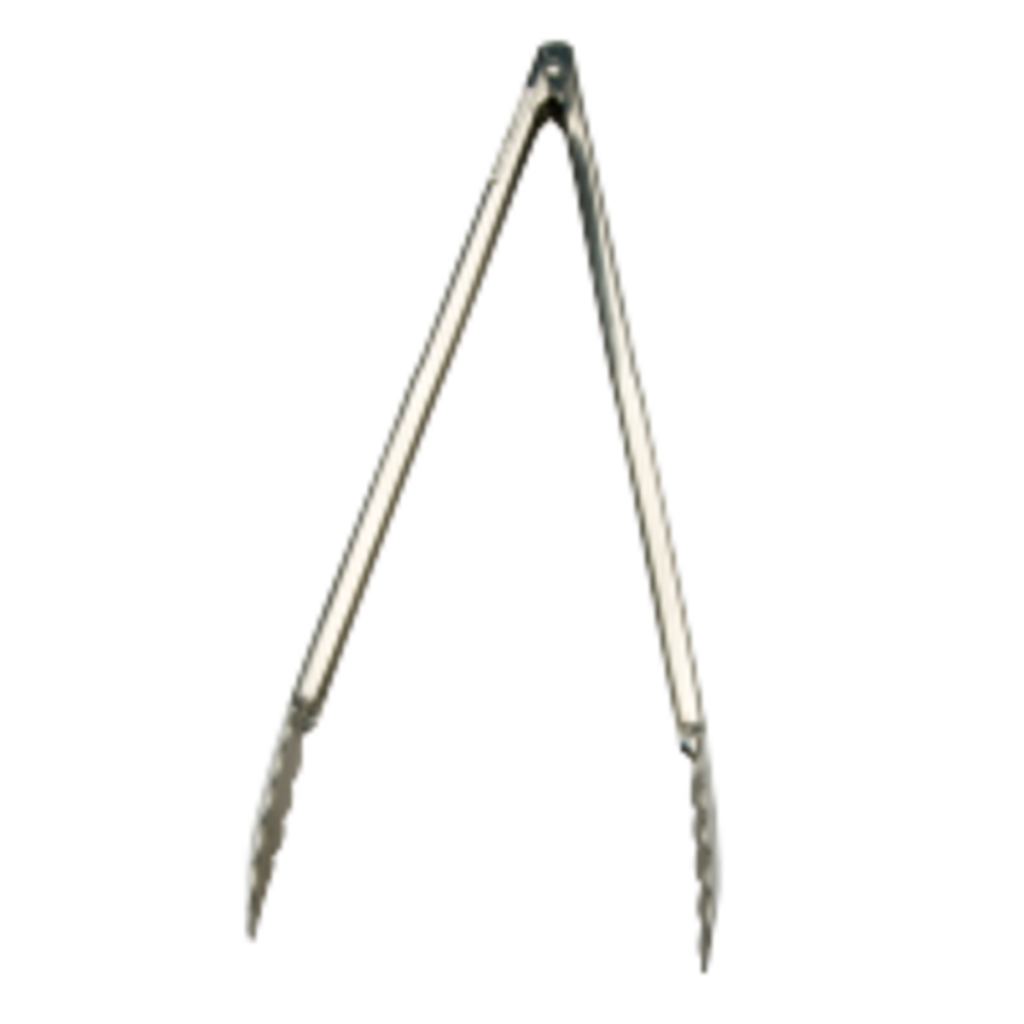
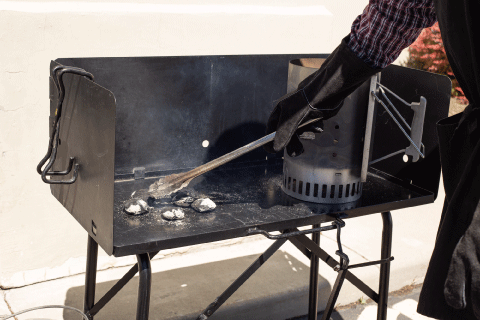
- Long tongs– you’ll need these to help place the briquettes on the cast iron oven. The longer the better, we love this simple pair.
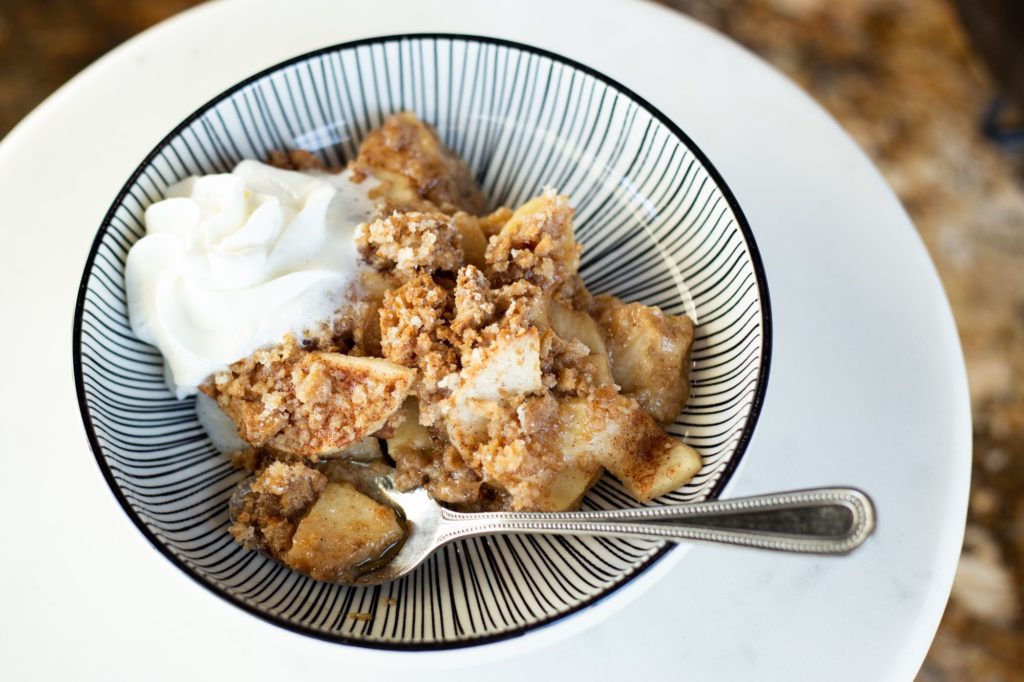
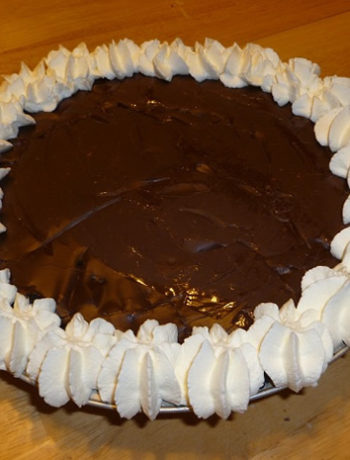
- 10″– 4 quarts: Side dishes, beans, vegetables, dessert, small roasts
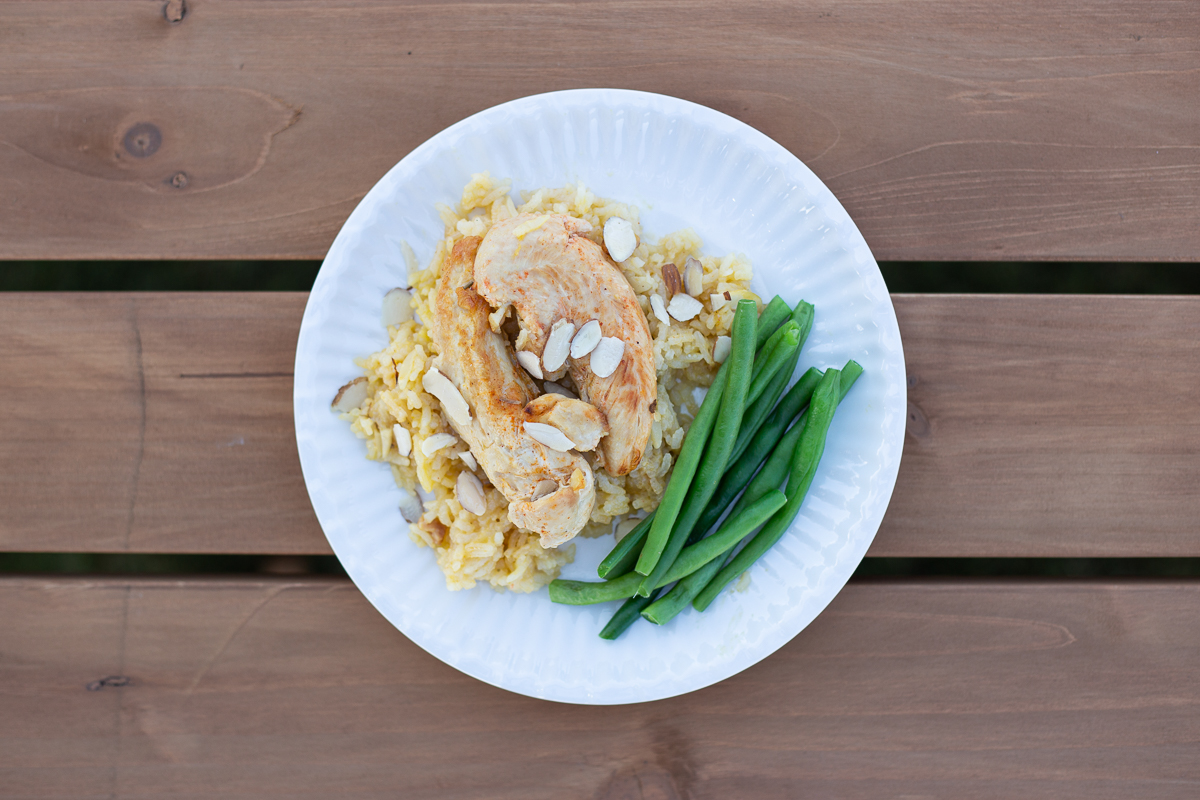
- 12″– 6 quarts: roasts, poultry, fish, stews, potatoes, beans, rolls, potatoes, breads, desserts
- 12″ deep– 8 quarts: rib roasts, ham, whole chicken, stew, potatoes, beans, rolls, bread, desserts)
- 14″ – 10 quarts- larger roasts, chicken, stews, potatoes, rolls, breads, desserts
- 16″ – 12 quarts- large quantities of meat, stew, potatoes, rolls, bread, dessert
NICE TO HAVES:
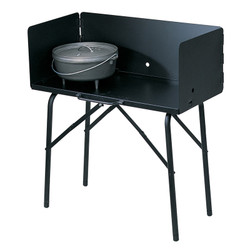
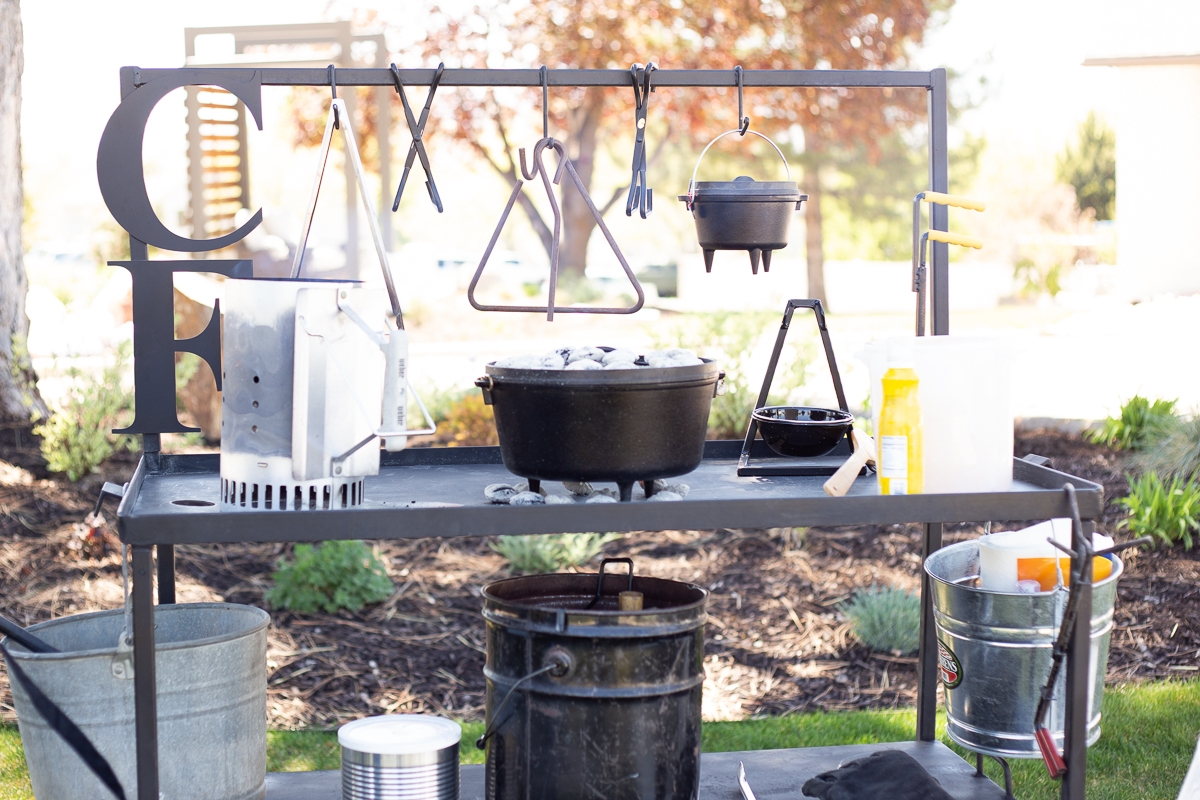
- A Dutch oven table like this (foldable, lightweight, built in wind guard) makes the process a little more simple and straightforward- the briquettes can sit right on top of the table, and you can put the cast iron oven right on top of the briquettes.
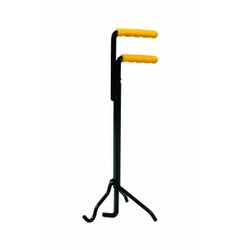
- A Dutch oven lid lifter helps keep the ash out of your food- you can leave it attached while you’re cooking. You can even use it to move the whole oven by the handle.
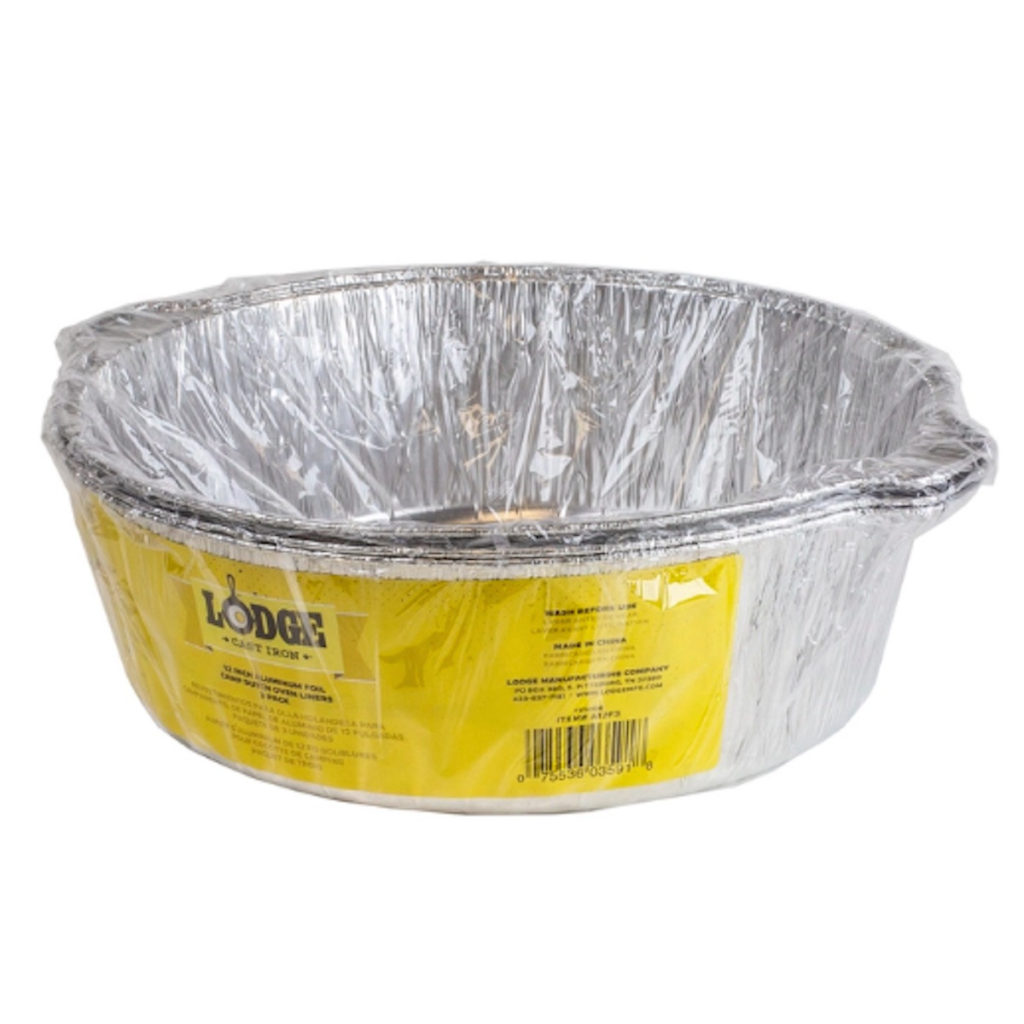
- Using an oven liner makes clean up a breeze. Just take it out of the pan and throw it away! Done.
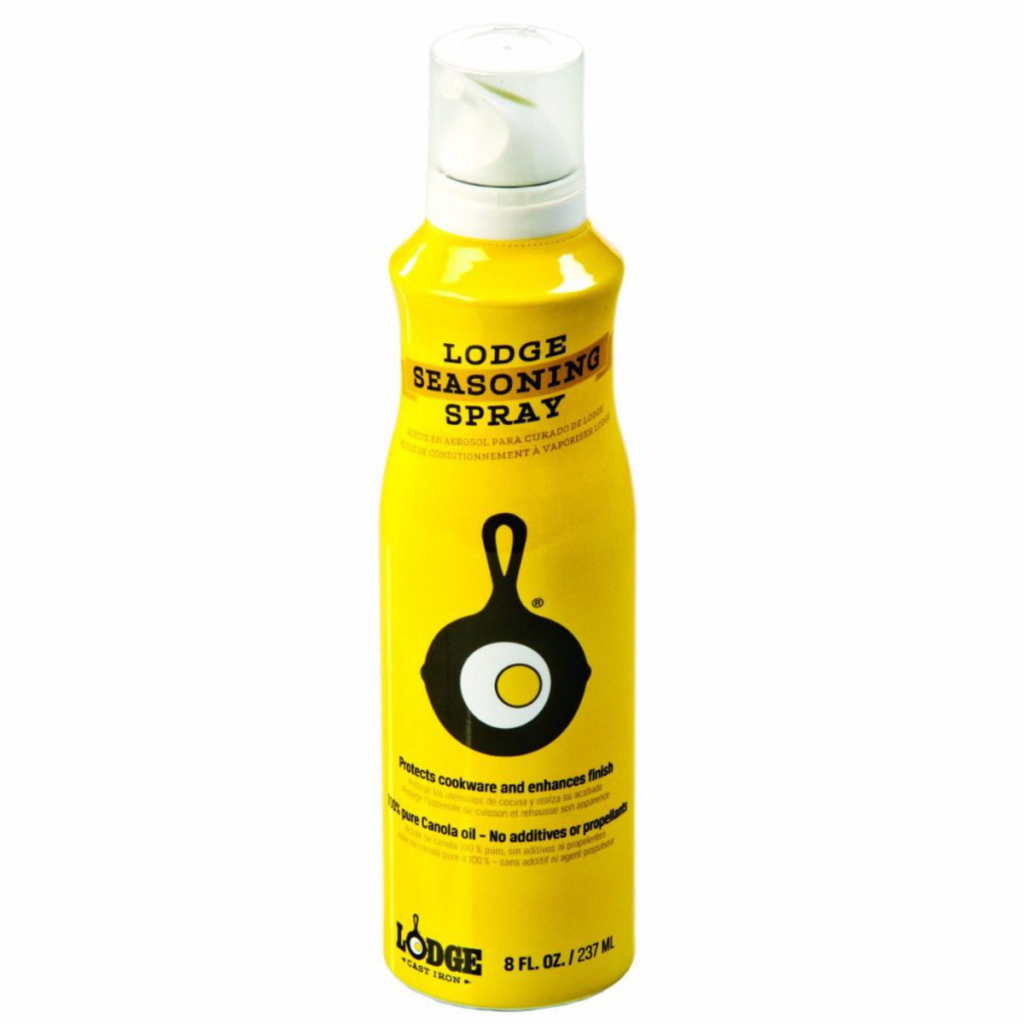

- The Lodge Seasoning Spray is pure convenience in a can. You can use it to help with the seasoning process of your Dutch oven cookware. Use it before you start cooking, wipe it clean and spray it again to season after cooking. Because it is propellent free, it won’t build up residue over time like other cooking sprays.
- This handy little lid stand give you a great place to set your lid while you’re working in your pot, or you can use your lid upside down like a griddle. We’re all about these multi-use tools!
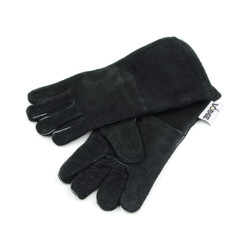
- Wearing leather gloves gives you confidence and protection while using your Dutch oven.
Substitutes for Dutch Oven Cooking
While it’s great to have a set up like Chuck’s with all your supplies at the ready, sometimes cooking in the Dutch oven requires some ingenuity. When you’re out camping, or cooking at the park here are some ideas when you need to think in a pinch:
Item
- charcoal starter
- lId holder
- fire starter
- tongs
- lid lifter
- dish cloth
- cast iron griddle
- small shovel
Substitute
- metal bucket or #10 can
- flat rock
- newspaper
- two sticks
- pliers
- clean t-shirt
- inverted Dutch oven lid
- hub cap
Cooking with Briquettes
Cooking with briquettes can seem like a big mountain to climb, but the flavor of briquettes and cast iron together make an unbeatable combo. It just can’t be beat.
Prepping your Briquettes:
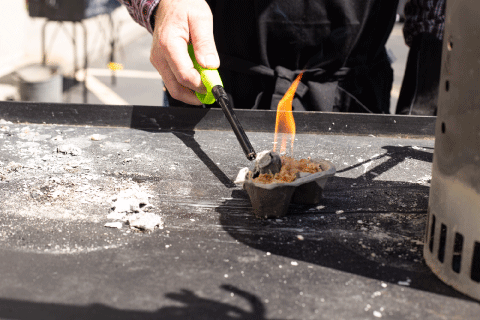
Chuck prefers starting his briquettes with a charcoal chimney. Just pour in the amount you’ll need, and heat them from the bottom up. He made his own starters with egg cartons, wood shavings and canning wax. But you can also use a set of these starters, or just start a little fire with wood. Allow the briquettes to heat until they start to develop white ash around the edges. Then you can dump out a few briquettes to make a bed of coals for the bottom of the oven, use your tongs to arrange them evenly.

How Many Briquettes Should I Use?
Every briquette produces about 20° of heat. You want 1/3 of your heat on the bottom, and 2/3 on the lid.
If you are using a standard sized Dutch oven, you can follow this handy chart Chuck has been working on for years- perfecting each amount to get you consistent results:
| Dutch Oven Size | 325° | 350° | 375° | 400° | 425° | 450° |
| 8 inch | Top: 10 Bottom: 5 Total: 15 | Top: 11 Bottom: 5 Total: 16 | Top: 11 Bottom: 6 Total: 17 | Top: 12 Bottom: 6 Total: 18 | Top: 13 Bottom: 6 Total: 19 | Top: 14 Bottom: 6 Total: 20 |
| 10 inch | Top: 13 Bottom: 6 Total: 19 | Top: 14 Bottom: 7 Total: 21 | Top: 16 Bottom: 7 Total: 23 | Top: 17 Bottom: 8 Total: 25 | Top: 18 Bottom: 9 Total: 27 | Top: 19 Bottom: 10 Total: 29 |
| 12 inch | Top: 16 Bottom: 7 Total: 23 | Top: 17 Bottom: 8 Total: 25 | Top: 18 Bottom: 9 Total: 27 | Top: 19 Bottom: 10 Total: 29 | Top: 21 Bottom: 10 Total: 31 | Top: 22 Bottom: 11 Total: 33 |
| 14 inch | Top: 20 Bottom: 10 Total: 30 | Top: 21 Bottom: 11 Total: 32 | Top: 22 Bottom: 12 Total: 34 | Top: 24 Bottom: 12 Total: 36 | Top: 25 Bottom: 13 Total: 38 | Top:26 Bottom: 14 Total: 40 |
| 16 inch | Top: 22 Bottom: 12 Total: 24 | Top: 24 Bottom: 12 Total: 36 | Top: 24 Bottom: 14 Total: 38 | Top: 27 Bottom: 13 Total: 40 | Top: 28 Bottom: 14 Total: 42 | Top: 30 Botto,: 14 Total: 44 |
Sauteing, Frying or Boiling– place all the briquettes on the bottom only
Simmering- 2/3 on bottom (16) , 1/3 on top (8)
Baking- 1/3 on bottom (8) , 2/3 on top (16)
Deep Dish Dutch Oven – add some extra heat by putting one or two more briquettes on the top
Using a non-standard sized Dutch oven: use this equation to help you determine how many briquettes to use. You take the size of the oven, multiply that by two, then divide it into thirds. So for a 12 in Dutch oven, multiply 12 x 2= 24, divide by 3= 8. Put 8 on the bottom, and 16 on the top.
Placing your briquettes
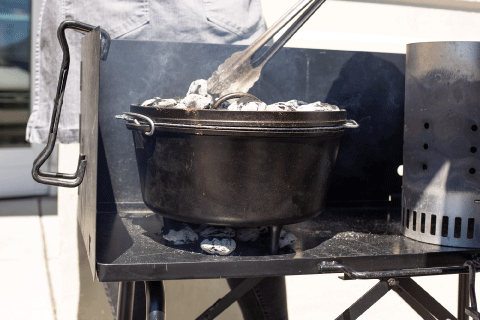
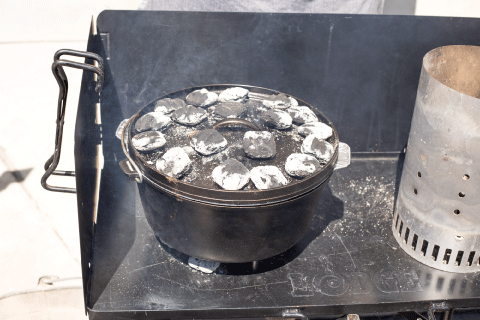
You’ll want to spread your briquettes around the bottom of the cast iron oven, don’t extend your coals beyond the edges of the pan. On the top, you’ll want to make a ring around the edge, and place the extras in the middle.
Caring for and Seasoning your Dutch Oven

A Dutch oven, when cared for correctly, can last for generations! Here are Chuck’s ideas for taking great care of your cast iron pans.
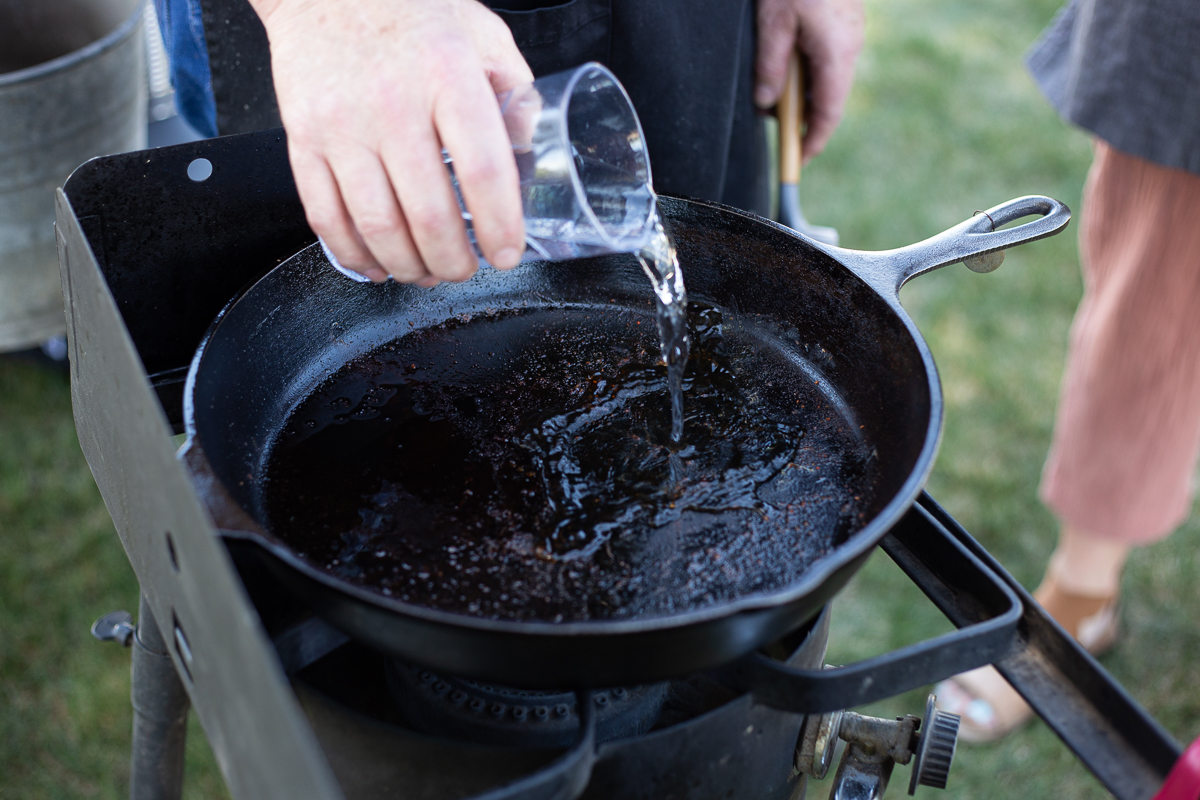
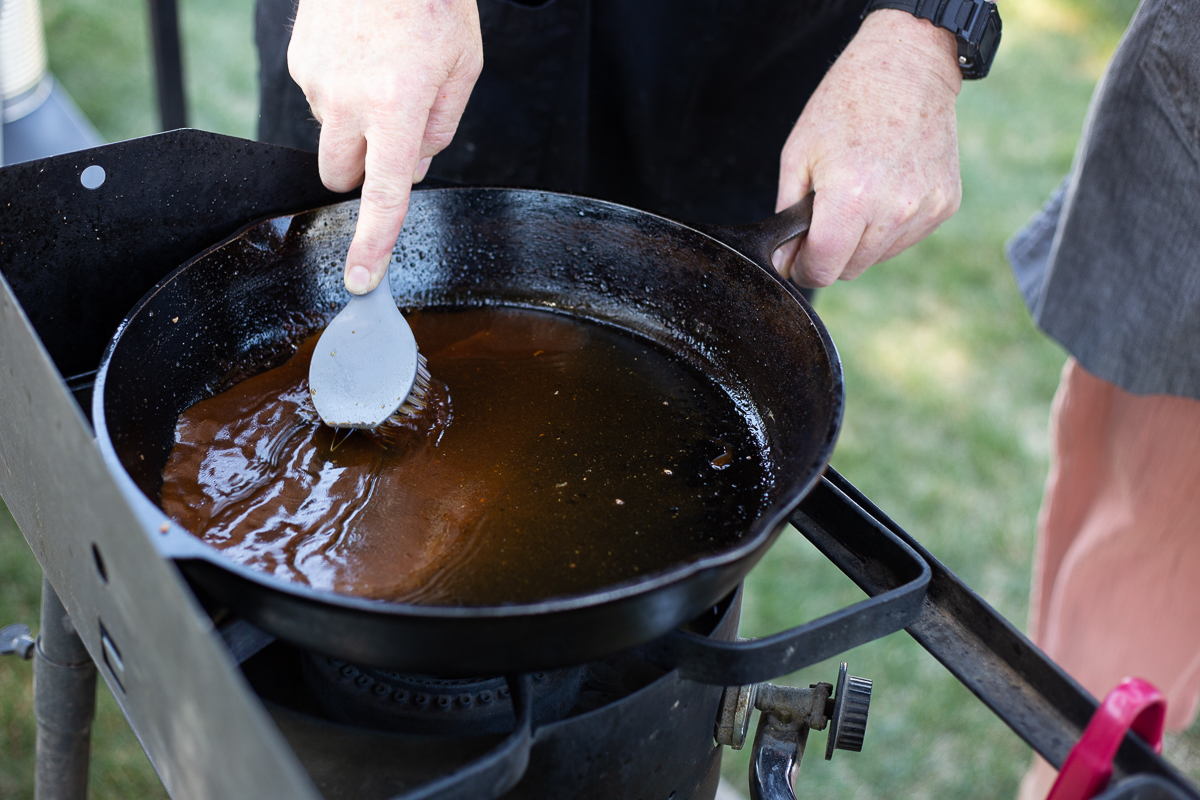
- When washing your pan, just some nice warm water and a stiff Dutch oven scrub brush are all you need to clean it up. You’ll want to avoid dish soap and other cleansers as they will remove that hard-earned seasoning your Dutch oven needs! You can use a plastic scraper, just don’t scrape away all your seasoning.
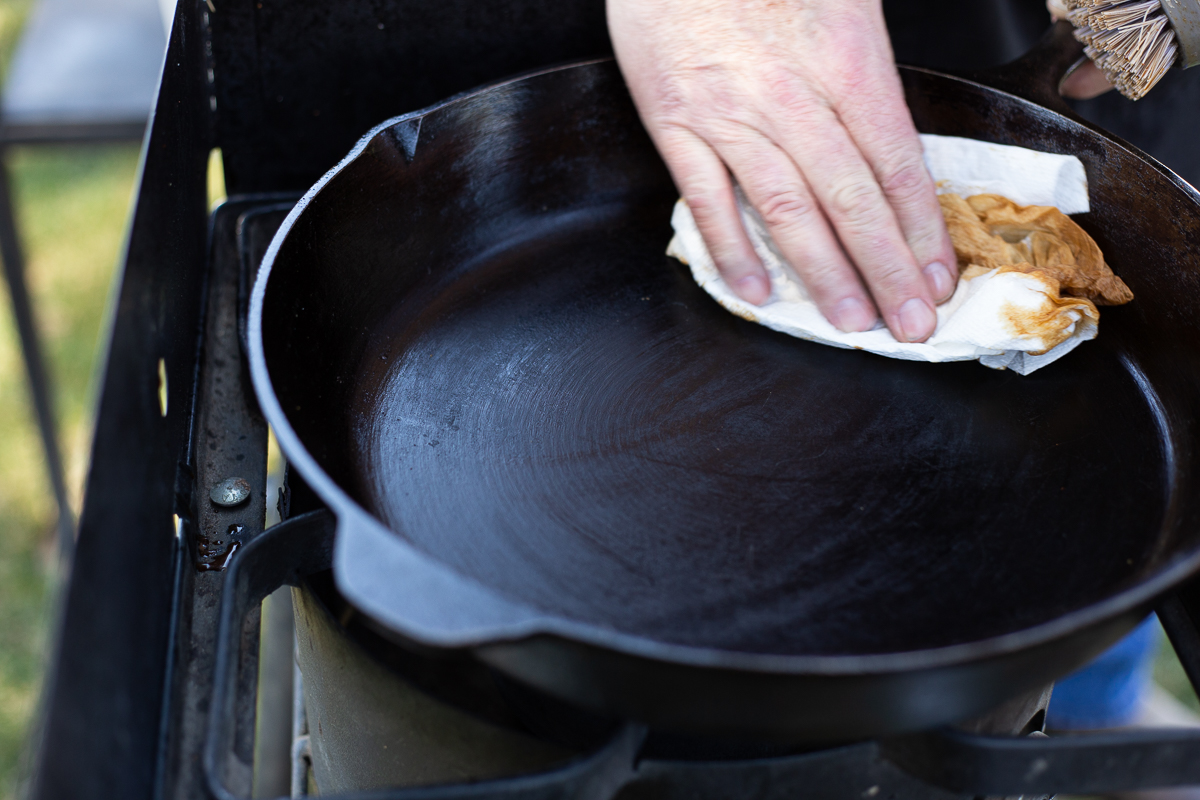
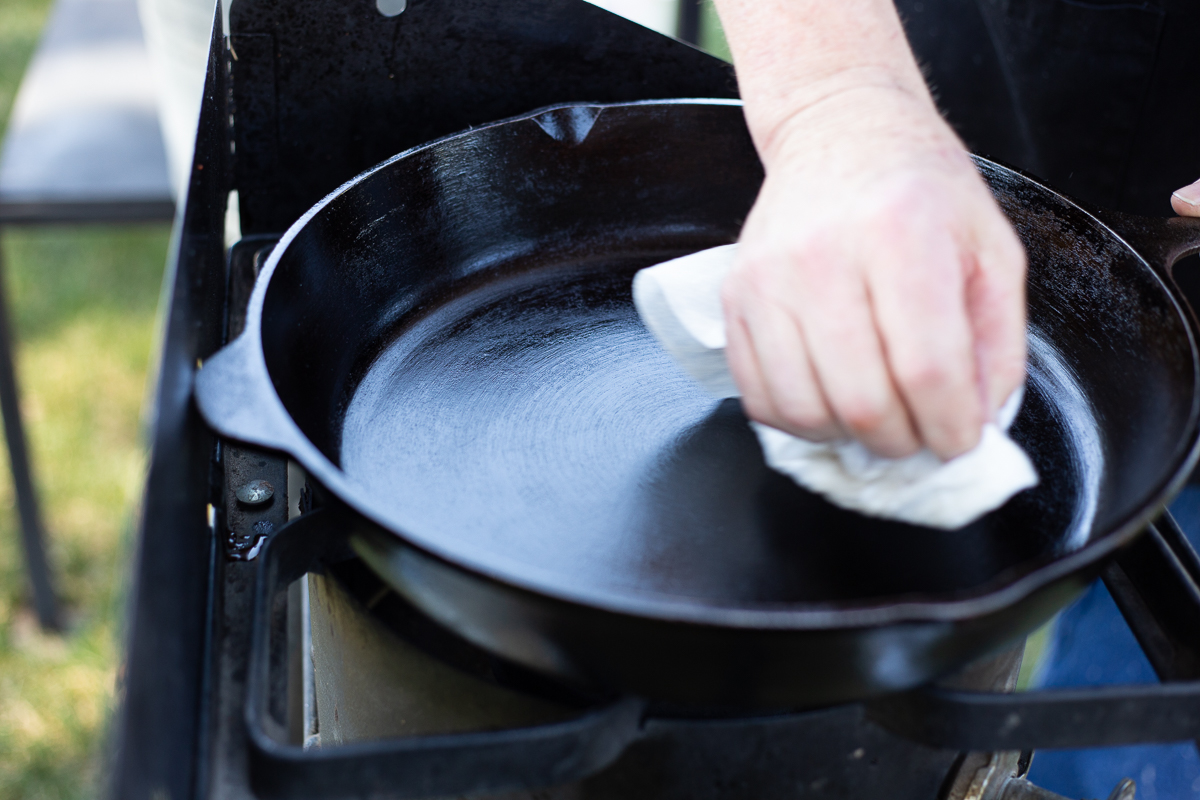
- After washing, wipe it out with a paper towel until the towel wipes clean.
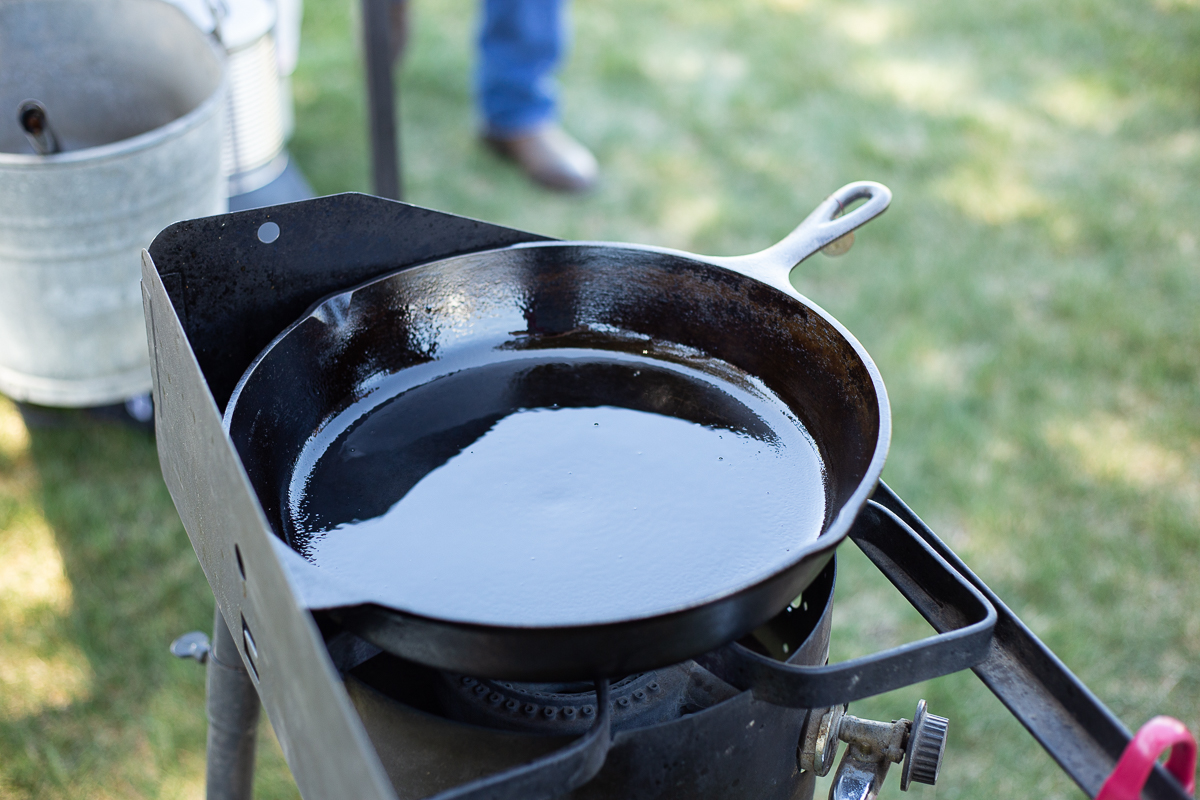
- To preserve all that good seasoning. Chuck recommends spraying your cleaned pan with Lodge Seasoning spray– after you’ve finished washing your pan. Just spray a light layer and wipe it down with a paper towel. You can also use some vegetable oil to season the pan- just don’t use any other types of non-stick spray- the propellants in other sprays will build up a sticky layer on your pan over time. Flavored oils, like olive or peanut, tend to go rancid over time, so don’t use those.
- Chuck gives his Dutch oven collection their own room in the house! That’s commitment- but his reasons are valid. You want to avoid temperature extremes (high heat and extreme cold). A cool, dark place is ideal. The corner of a storage room, the back of the closet- just keep them out of the garage and the shed.
- When storing your Dutch oven, Chuck likes to fold a paper towel, and place it between the lid and the pan. This allows just a little air flow to help avoid any moisture from condensing. Moisture and cast iron do not mix. That creates rust, and that can be a pain to remove.
- If your pan does get some rust spots, Chuck said you can just scrub that spot with water, a scrub brush and steel wool. You’ll want to just keep scrubbing until all the rust is removed, then treat it with oil or seasoning spray.
Things you Should and Should Not Do with your Dutch Oven
“Should Do”
- Season a new Dutch oven (if not pre-seasoned)
- Put oil on the inside and outside
- Re-season a Dutch oven when needed
- Wash with warm water and a stiff brush as needed
- Clean your Dutch oven as soon as possible after use
- Apply a small amount of oil after cleaning oven (preferably while oven is still warm)
- Make sure your Dutch oven is completely dry after cleaning it
- Store in a cool, dry place with the lid ajar and paper towel between lid and oven
- Check the lid and make sure it is sealed, but turns easily while in use
- Allow your Dutch oven to cool naturally after cooking in it
- Keep matching lids and ovens together
- Do as much cooking in your Dutch oven as you like
“Should Not Do”
- Store food in your Dutch oven
- Try to heat up frozen food in your oven
- Pour cold water in a hot oven
- Use steel wool on your oven after it has been seasoned
- Burn food out of your oven over a camp fire (this will ruin your seasoning)
- Store you oven wet
- Use flavored oils, like olive oil peanut oil when seasoning and storing (they get rancid faster)
- use a spray oil (like Pam) the propellants stick to your pan
- Be afraid to try something new or different while cooking different recipes