ADJUSTING YOUR KITCHENAID MIXER WITH THE DIME TEST
If you are seeing a lot of ingredients left in the bottom of your KitchenAid bowl, there is a chance that your beater post needs to be adjusted. We suggest doing this by completing the dime test. Here’s what you’ll need: a screwdriver, dime, and your mixer fitted with the bowl and paddle attachment.
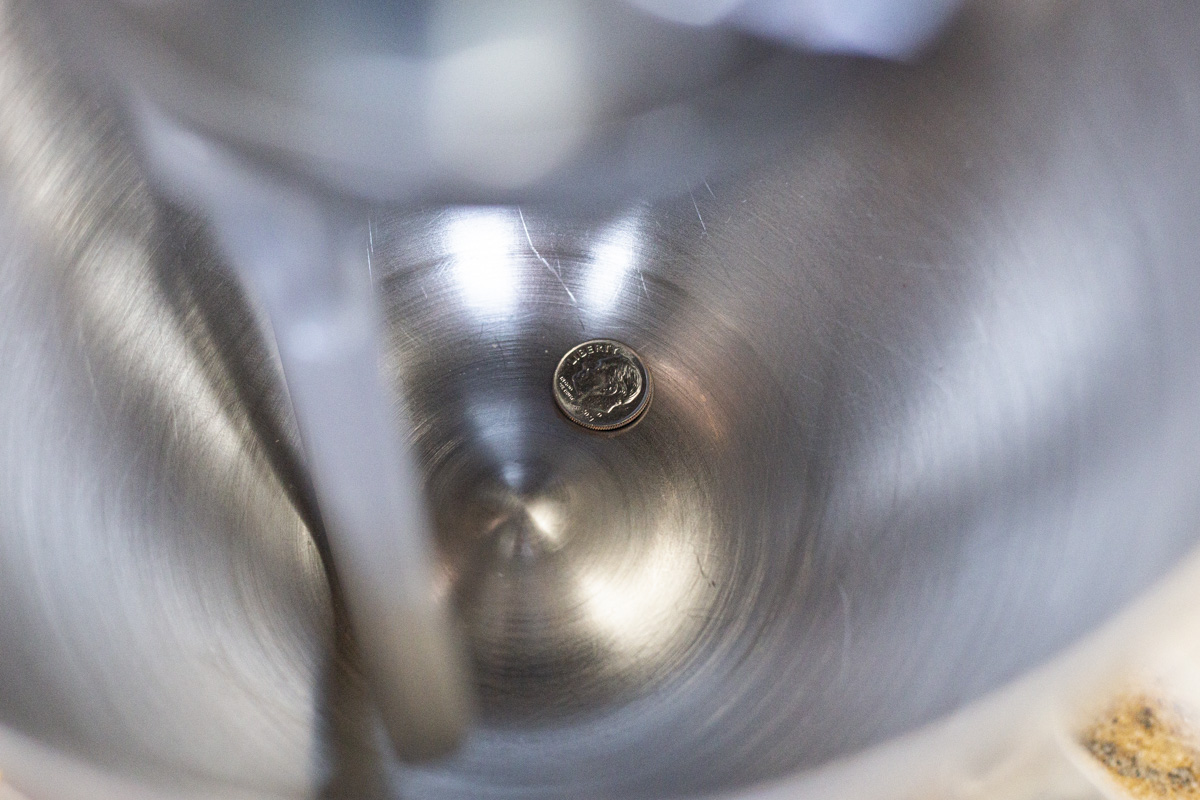
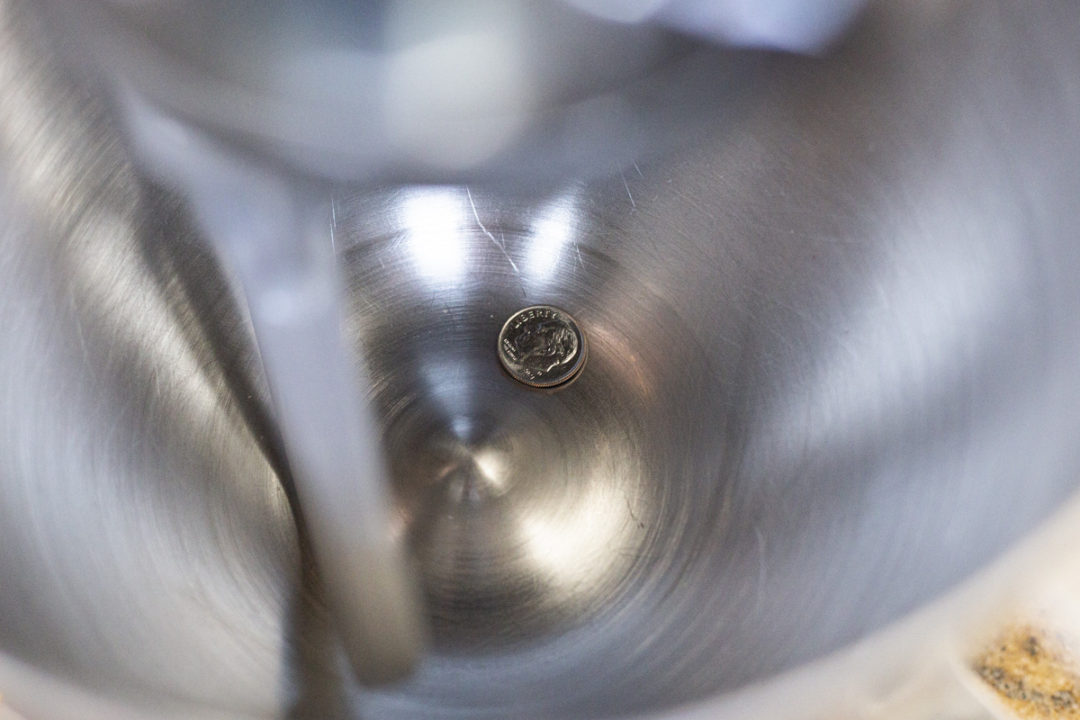
Start by putting the dime in the bowl. Lower the head of your tilt-head mixer, or raise the bowl of your bowl-lift mixer. Turn the mixer to the “stir” setting. Watch what happens to the dime. If the dime gently moves ¼-½ inch around the bowl each time the beater makes contact with it, that means your mixer is good to go! If it doesn’t make contact with the dime or if it gets stuck underneath the beater, you’ll need to adjust it. Here’s how:
- Unplug your mixer
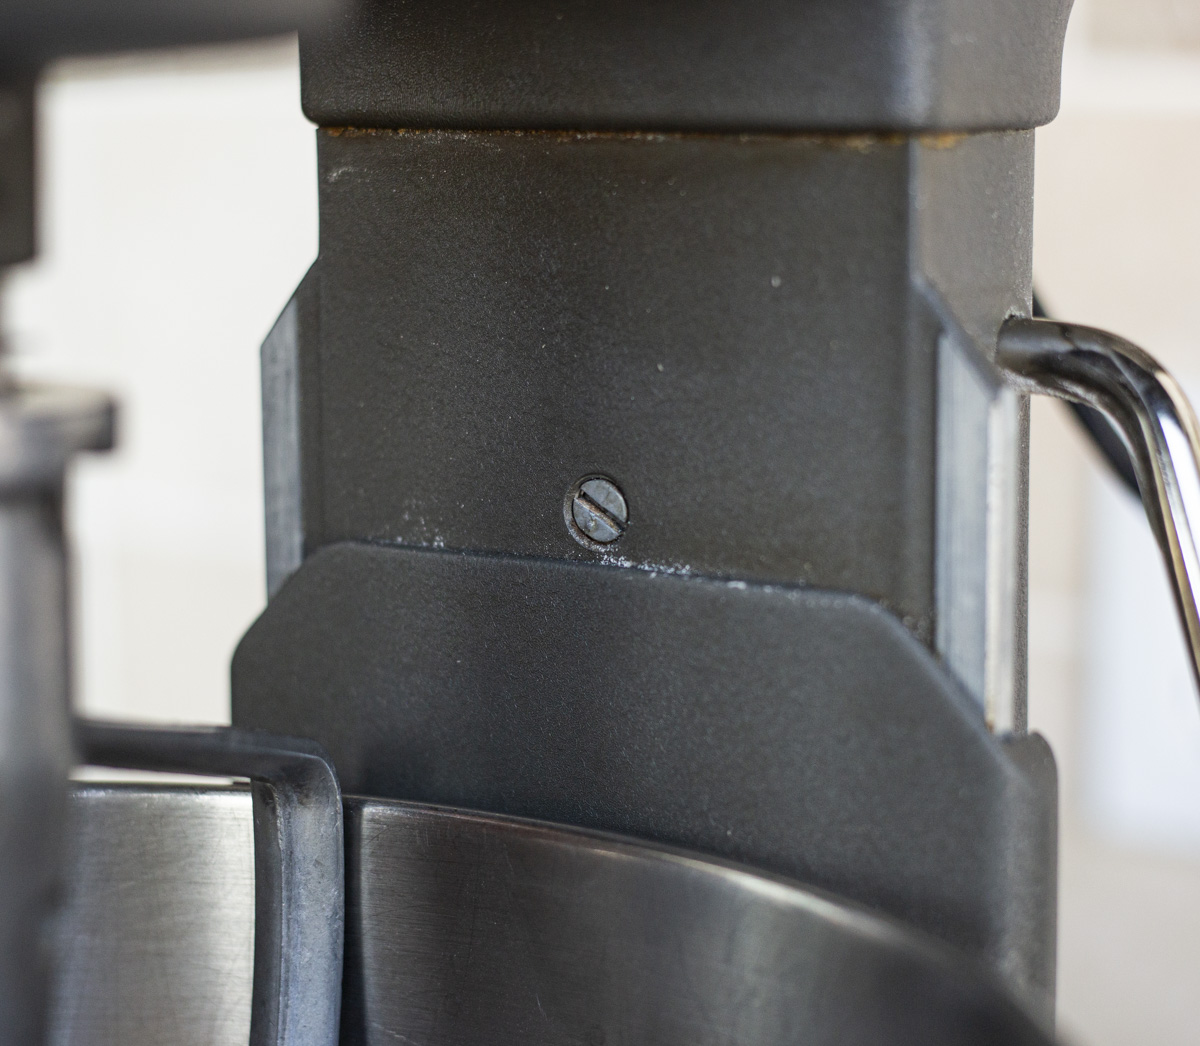
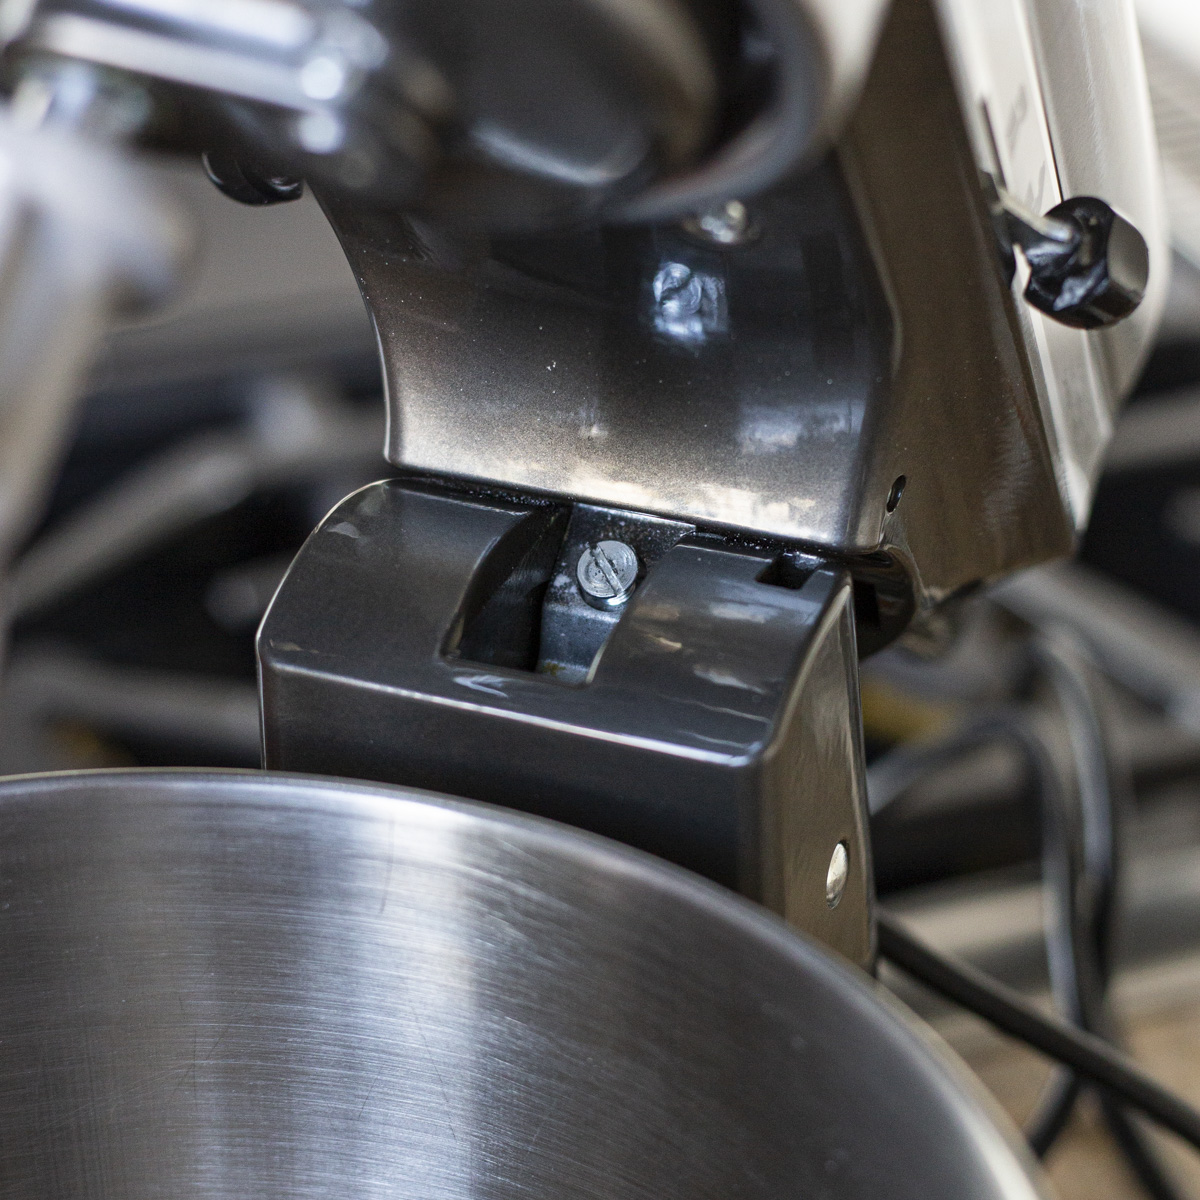
- Tilt the head of the mixer back or lower the bowl to expose the adjustment screw
- If the mixer is too high, turn the screw ¼ to the right (clockwise). If it’s too low, turn the screw ¼ to the left (counter-clockwise).
- Plug your mixer in and perform the test again. Repeat steps if additional adjusting is needed.
And that’s it. Congrats! You’ve completed the dime test. For more information on KitchenAid mixers, check out The Gygi Guide to KitchenAid Mixers where we give you all of our tips and tricks on using your mixer more efficiently and how to maintain it for years to come.