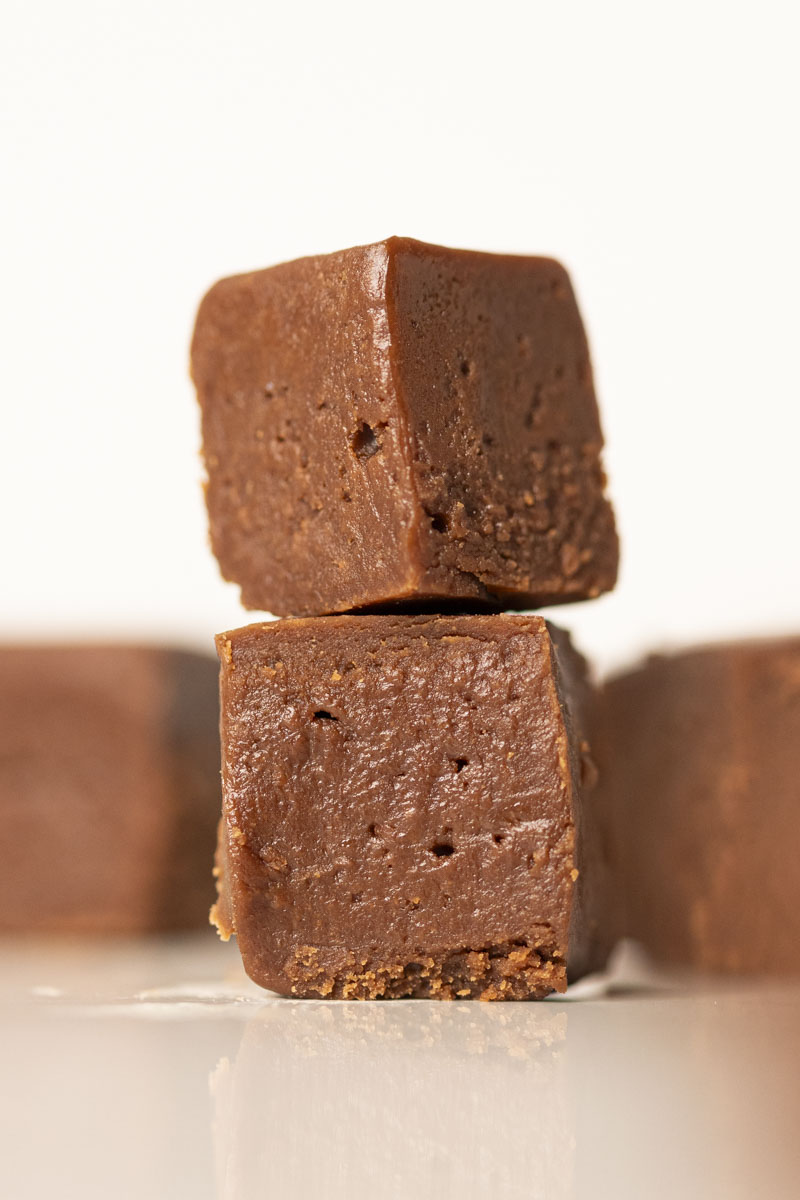
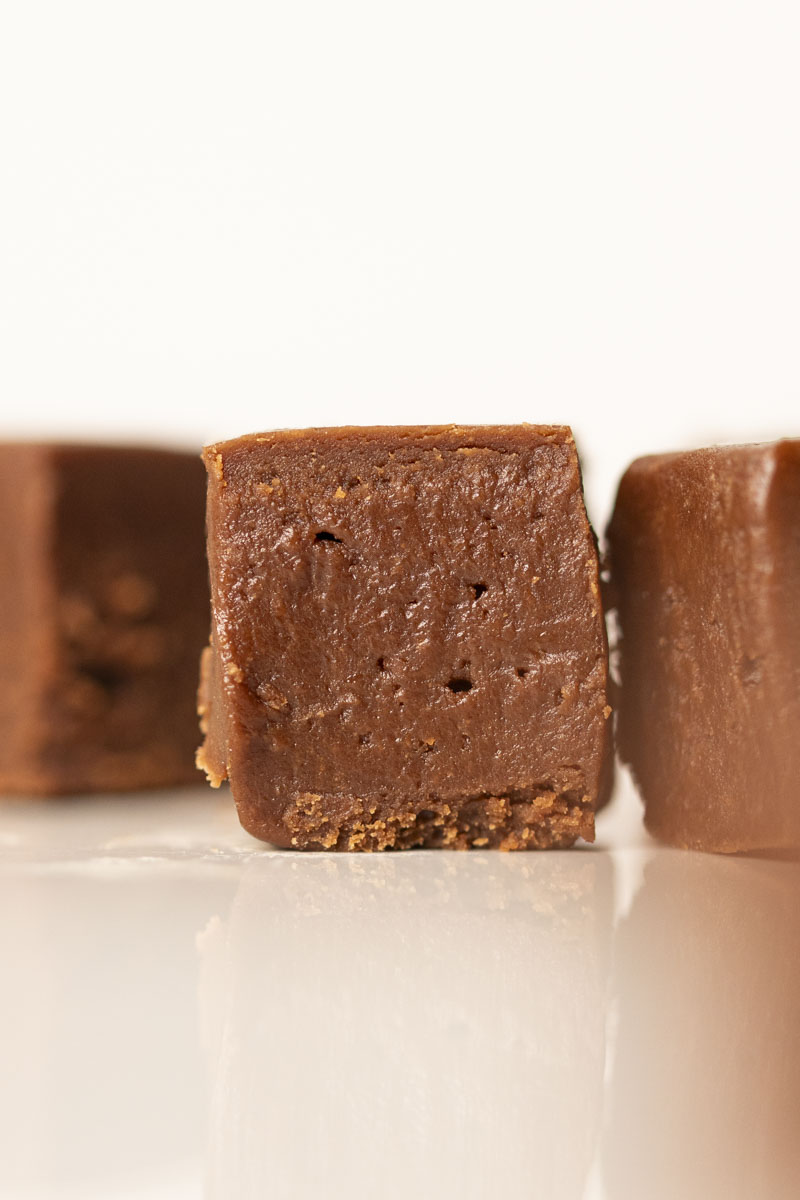
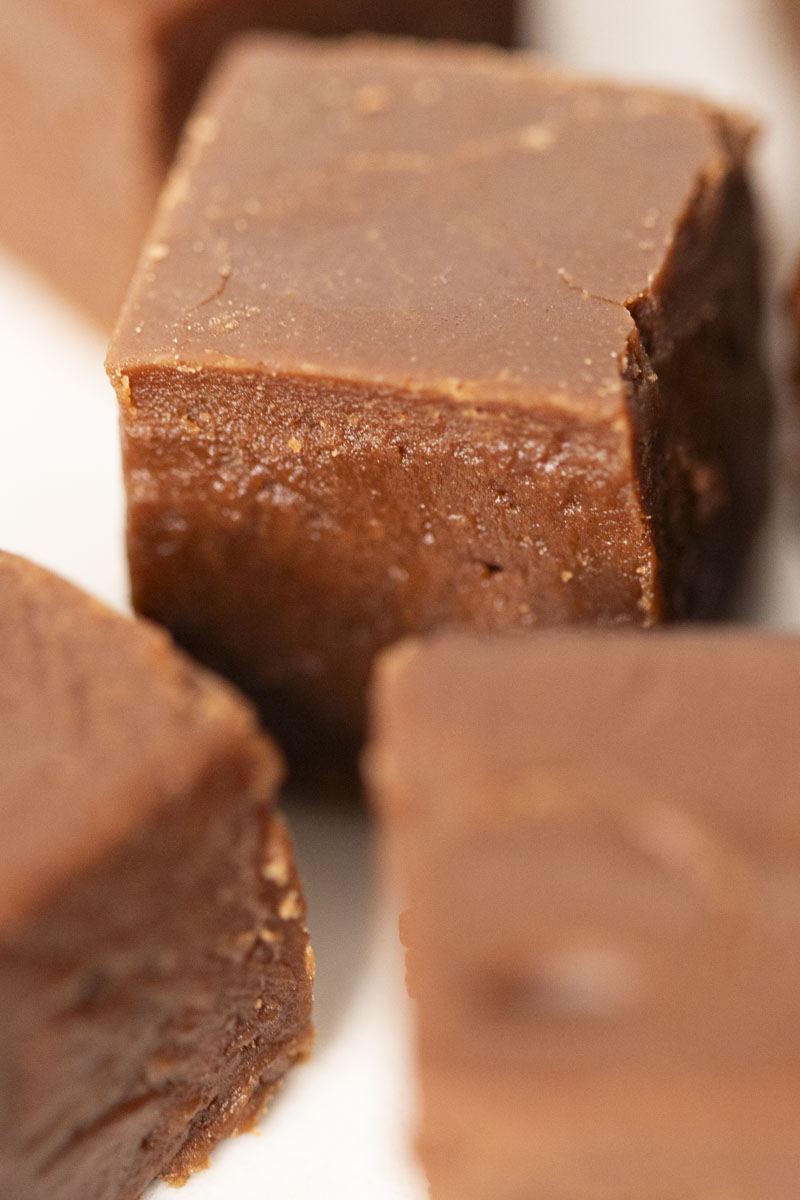
Looking to tackle a new chocolate recipe? We found the perfect solution with this Chocolate Fudge from Chef Rebecca Millican. This fudge is irresistible with a blend of rich flavor and velvety texture. With just a handful of simple ingredients, a little effort, and some attention to the details, you can make this go-to dessert for any occasion. And by following her tips and tricks you can enjoy a luscious fudge that sets to perfection. Use this recipe to wow your guests and elevate your cooking prowess.
Here are some of the most important tips to follow for making fudge:
Make sure your equipment is meticulously clean. Bits of stuck-on food can cause your fudge to crystalize
Monitor the temperature with a candy thermometer. The temperature indicates how much water is left in the mixture. Too low a temperature will result in a soft or runny fudge. Too high a temperature will give you a hard, crumbly texture.
Wash down undissolved sugar crystals from the sides of the pan. Use a wet pastry brush to clean the sides of the pan. Undissolved sugar crystals can cause the mixture to crystalize.
Avoid stirring once the mixture comes to a boil. Another key part of a successful fudge texture is when you stir the mixture. Stirring the sugar and milk during the initial stages of cooking helps the sugar to dissolve. MAKE SURE THE SUGAR DISSOLVES COMPLETELY BEFORE THE MIXTURE COMES TO THE BOIL. Once the mixture comes to the boil, it’s time to put the spoon down. If you continue stirring once the mixture is boiling, you are encouraging the development of sugar crystals. Sugar crystals can ruin the texture of your fudge.
Cool properly and beat thoroughly. Cool the mixture to 110℉. If the mixture cools below 110℉, you are likely to get a coarse or crumbly texture. If the mixture is above 110℉, you are likely to get a texture that is softer than desired. Beat the mixture until you see visible signs of crystallization: The mixture thickens. The mixture loses its glossiness.
Note on beating: the mixture must be beaten/agitated. This is what causes tiny sugar crystals to form, giving fudge its creamy texture. This can be accomplished by various methods.
1. Allow the mixture to cool in the pan, (may take 1-2 hours) then stir/beat the mixture with a strong spoon or spatula.
2. Pour the mixture onto a marble slab, but do not scrape the bit clinging to the bottom and sides of the pan. Cooling will happen rapidly. Test temperature with a probe thermometer or with your “built-in” thermometer. Work with mixture over and over itself with a bench scraper or triangle scraper.
3. Pour the mixture into the clean bowl of a standing mixer. Set aside to cool, undisturbed (may take 1-2 hours). Beat with the paddle attachment, checking frequently.
Prepare an 8x8” pan by lining it with butter-coated parchment or foil. Place the sugar, milk and corn syrup in a medium saucepan and stir well. Place over medium heat. Stir occasionally to help the sugar dissolve. Wash sides of pan with a pastry brush dipped in water. (Make sure the sugar dissolves before the mixture comes to the boil.) Bring the mixture to a boil. Attach a clip-on candy thermometer. Do not stir any more at this point. Monitor the mixture and watch for it to reach 230℉. Add the butter, chocolate, salt and vanilla and bring the temperature up to 235℉. Remove from heat and set aside, undisturbed, to cool. Once the mixture has cooled to 110℉, mix it with a sturdy spoon until it loses most of its sheen. Mix in the nuts, if using. Pour/scrape the mixture into the prepared pan and let it cool fully before slicing.Chocolate Fudge with Rebecca Millican
 (No Ratings Yet)
![]() Loading...
Loading...Ingredients
Instructions