Colored compound chocolate is a delightfully creative way to elevate your festive treats and table spreads. Whether you’re a seasoned chocolatier, or a novice in the world of chocolate making, using colored compound chocolate for dipping and in molds opens up a whole new world of possibilities. You can easily craft unique and visually appealing confections.
To begin, let’s explore the versatility of compound chocolate. Unlike real chocolate (aka couverture chocolate), compound chocolate is usually made with cocoa powder and some sort of vegetable oil instead of actual cocoa butter. This makes it easier to melt and way more stable to work with—no tempering required. It’s an easy choice for molding and shaping chocolate, accessible for beginners, while also providing an even more experienced chocolatier with an efficient and convenient option.
For the best color, we love the convenience of pre-colored compound chocolate. It comes in a huge variety of options, and all the different colors and vibrant hues allow you to create a spectrum of confections. You can make a treat to suit any theme you can think of. Is the colored chocolate you chose maybe a little too vibrant? That’s not a problem! Just mix in a little bit of melted white compound chocolate to help tone it down.
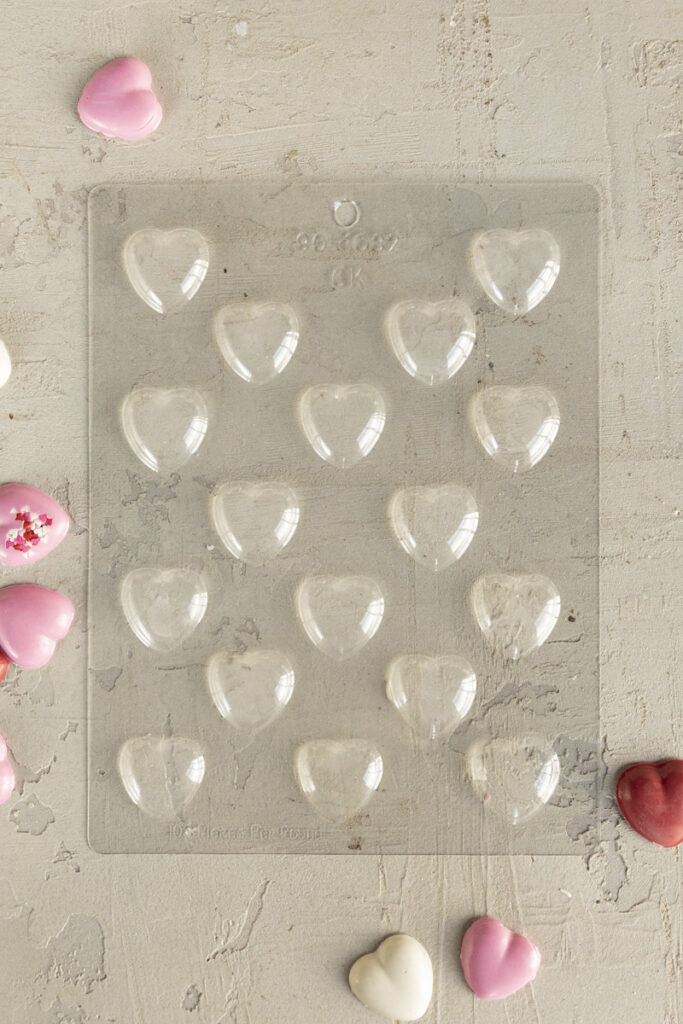
Now, let’s delve into the process of using colored compound chocolate and molds for festive treats. First, make sure you choose high-quality chocolate molds. They come in a range of sizes and shapes from basic hearts and flowers to more intricate patterns like dinosaurs, donuts, and toy robots. But before melting your chocolate, make sure your molds are clean and completely dry. Moisture will seize your chocolate!
Next, choose your compound chocolate. The vibrant reds and pinks are perfect for Valentine’s Day, but you can experiment with a myriad of different color combinations for other occasions. One note though, if you have some in your pantry, some of the colored compound chocolates might have a bit of white residue on the wafers. Don’t worry! It’s just a little sugar or fat bloom, and it doesn’t make the chocolate unusable. If you melt this chocolate, it will still come out perfectly bright and colorful.
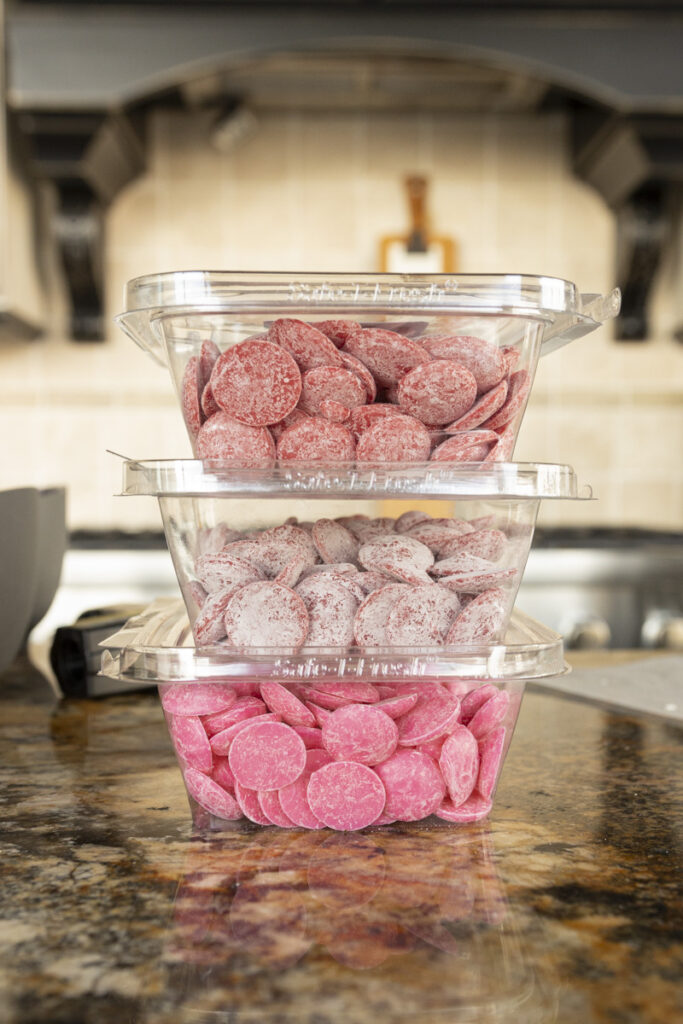
Then start melting your compound chocolate. You can use any method you prefer, but we like using a silicone bowl in short increments in the microwave. You want to stir after every increment until all of the pieces are smooth and melted. Be cautious not to overheat the chocolate, as this can affect the texture and appearance. Once melted, carefully pour colored chocolate into the molds, ensuring even distribution. Tap the molds down on the counter to get rid of any air bubbles. Then allow the chocolate plenty of time to set up. This usually takes about 30 minutes to an hour, depending on the size of the molds, the thickness of the chocolate, and the conditions of the room.
To add some extra creativity, you could layer different colors into the mold. Or trace the details with one color of chocolate and fill the rest with a contrasting color. Another example, creating a marbled effect by pouring one color on top of another and swirling the colors together with a toothpick. These techniques will add some depth and visual interest to your creations.
Once the colored compound chocolate has hardened, you carefully remove the treats from the molds. The result is a stunning and unique array of festive chocolates that are visually appealing and delicious. They make great standalone treats, could be incorporated into dessert arrangements, or even given as thoughtful gifts for special occasions.

Did you know you can also color your compound chocolate too, instead of purchasing it ready-made? If the pre-colored chocolate isn’t your thing, then just melt the white compound chocolate like usual and add in the desired amount of food coloring. Just make sure the color is an oil-based coloring (water-based food coloring will seize your chocolate). Making your colored compound chocolate means you can get the exact shade and tone you are looking for. It also makes for more gradual saturation if you want to try an ombre technique with your treats. Just know that it will take a lot of food coloring to match the vibrancy of pre-colored chocolate—and adding that much can mess with the viscosity.
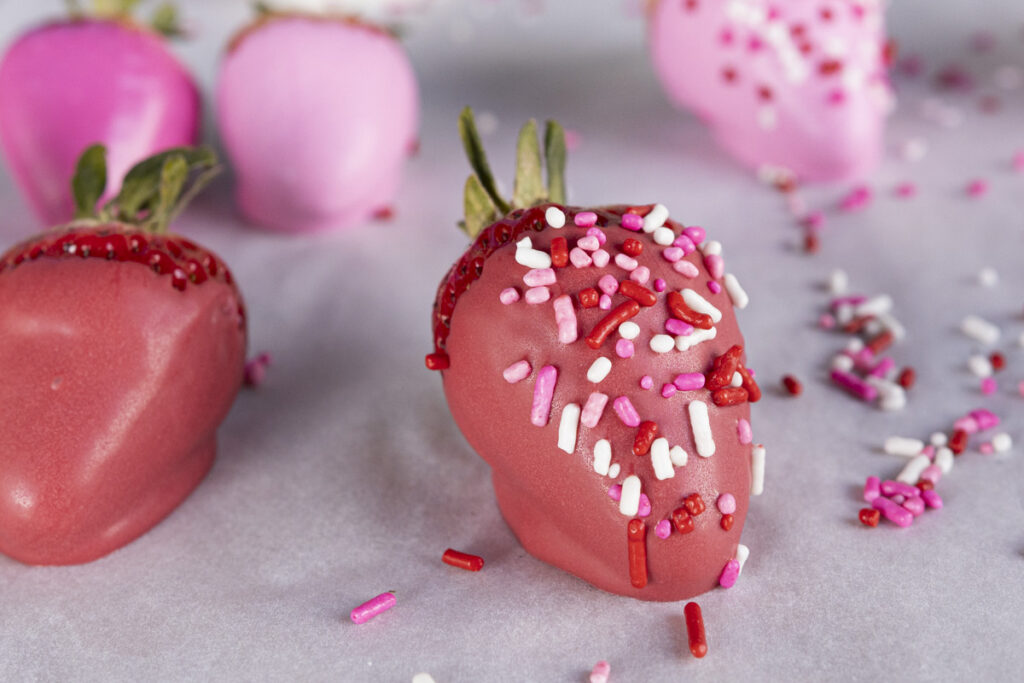
Using colored compound chocolate in molds will open up a world of new possibilities. You can make so many different festive treats and decorations. Whether you’re celebrating Valentine’s Day or any other special occasion, the vibrant colors and easy use make colored compound chocolate a versatile and enjoyable medium for chocolate enthusiasts of all levels. So, don your apron, pick your molds, and let your creativity and imagination run wild. The end result will be stunning and delectable delights for your next celebration that will be completely unique.

No Comments