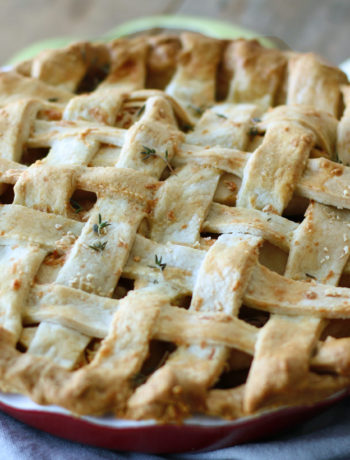
The Ankarsrum Original Assistent is a one-of-a-kind mixer and you’re sure to love it. If you haven’t purchased one yet because you just aren’t sure—that’s ok too. This is a mixer probably unlike anything you have seen before, which is a little bit intimidating. We’ll confess, when we first saw it we thought it might be too advanced. But now, after using it regularly and repeatedly setting up the Ankarsrum for all the different applications, we can’t believe how often we still reach for this mixer.
With its wide range of accessories, you can whisk, mix, knead, grind meat, squeeze citrus, make pasta, and even more. Granted, all that versatility and functionality can mean the setup might feel a little overwhelming for you. How do you know which tools to use and when? Don’t worry! We want to help make this process as simple as possible. So here is a breakdown of the basic setups and when it’s most beneficial to use them.
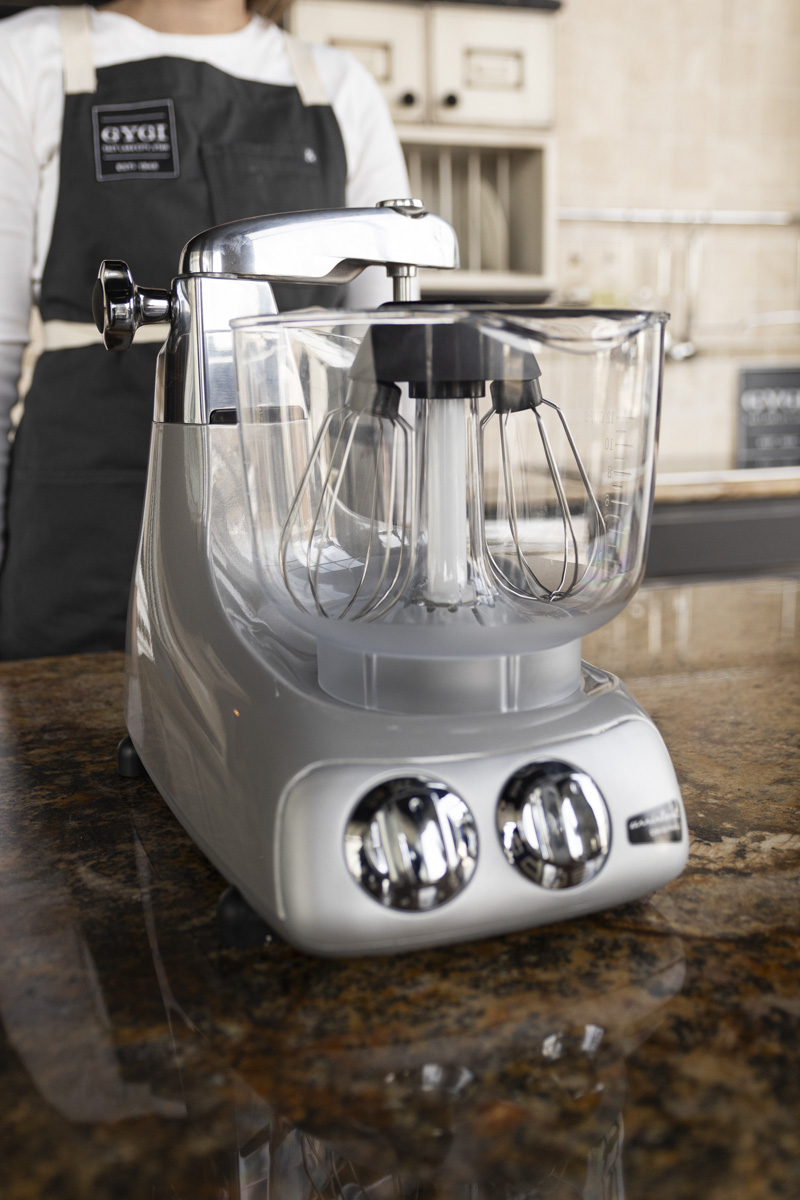
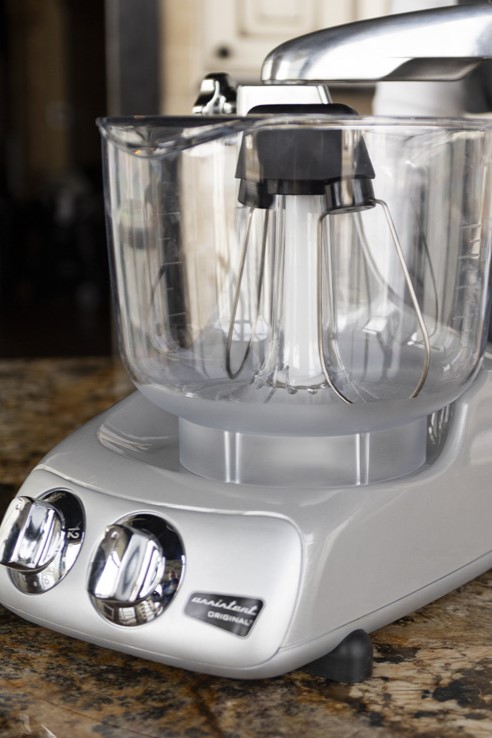
1. Plastic Bowl & Multi-Wire Whisks
Now, to set up for the beater bowl you will need to first place the post down in the base of the mixer and secure it, then place the plastic bowl over the post. Next, you will assemble the whisks by placing the large black gear into the beater housing and then line up the teeth on the whisks and push until you hear a click. Then you want to put the beater assembly on top of the post, making sure to push it all the way down. Done! Now, the capacity of the plastic beater bowl can handle anywhere from 2 to 20 egg whites or 3 to 27 ounces of heavy cream. The more wires on these whisks will make anything you mix light and airy—and in double time. That’s why this assembly is ideal for light, fluffy creams, meringues, light icings, and very soft sponge cake batter. Just know, the minute you start those whisks you can’t walk away or you will almost definitely overmix whatever you are working on.

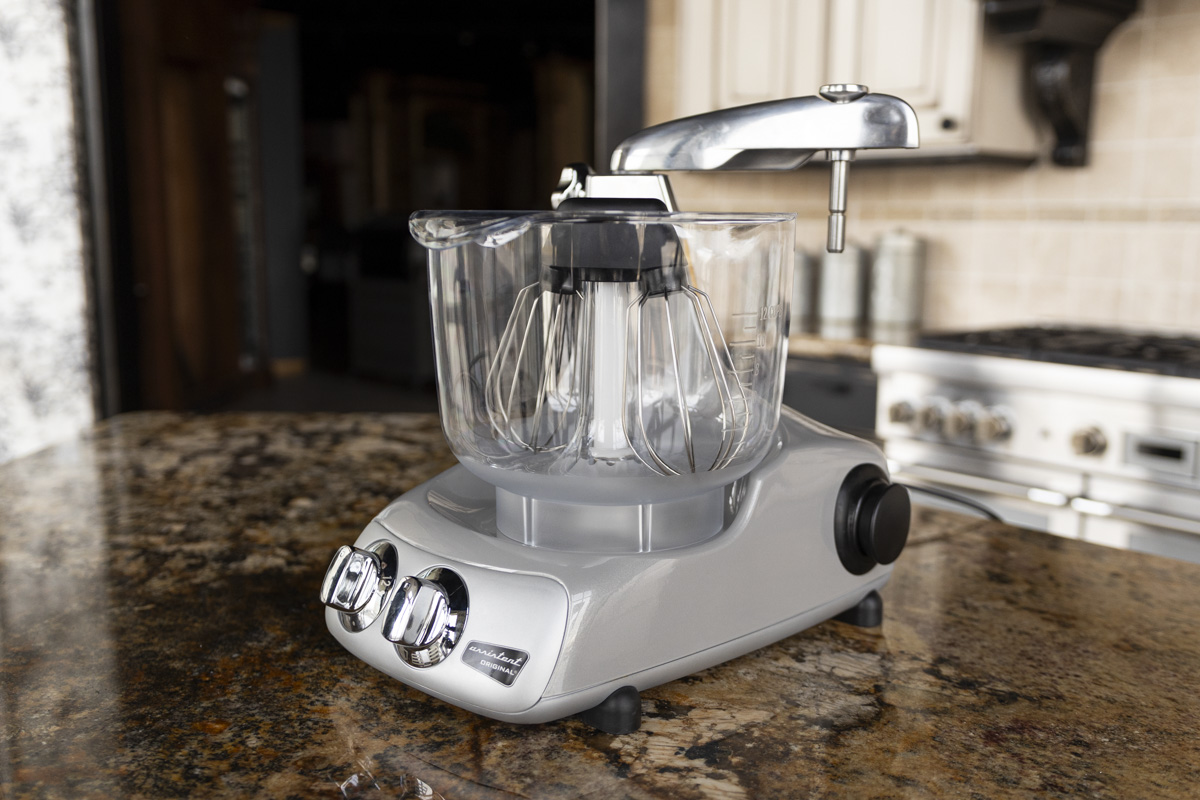
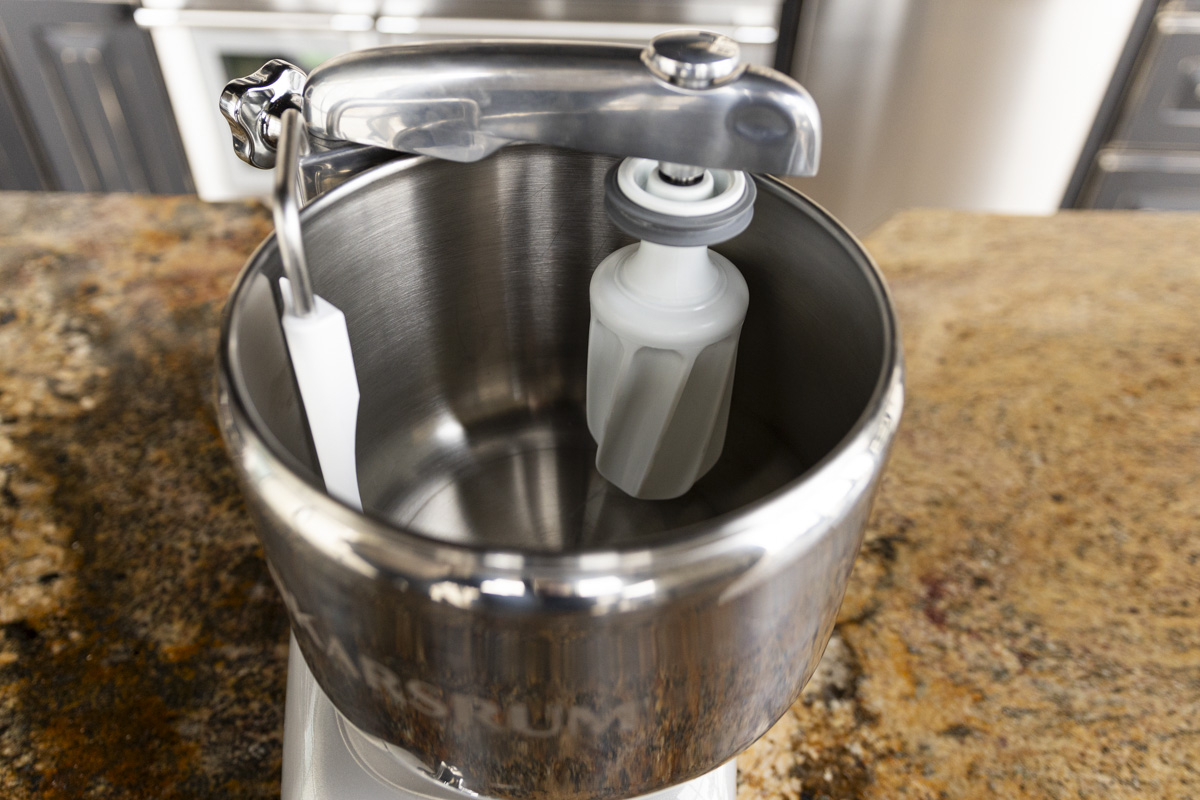
2. Plastic Bowl & Single-Wire Whisks
The single-wire whisks are best for soft cookie dough, shortbread crust, and frosting. The setup for the multi-wire whisks is the same as for the single-wire whisks as outlined above. Secure the post, place the bowl, attach gear and whisks into the assembly, and finally push it down onto the post. Now you are ready to make your soft dough. Just one thing, the biggest tip we can give you is to always make sure your butter is soft—soft enough to leave an imprint if you press your finger into it. If your butter is too cold and too hard it won’t blend and those solid chunks can damage the beater housing.
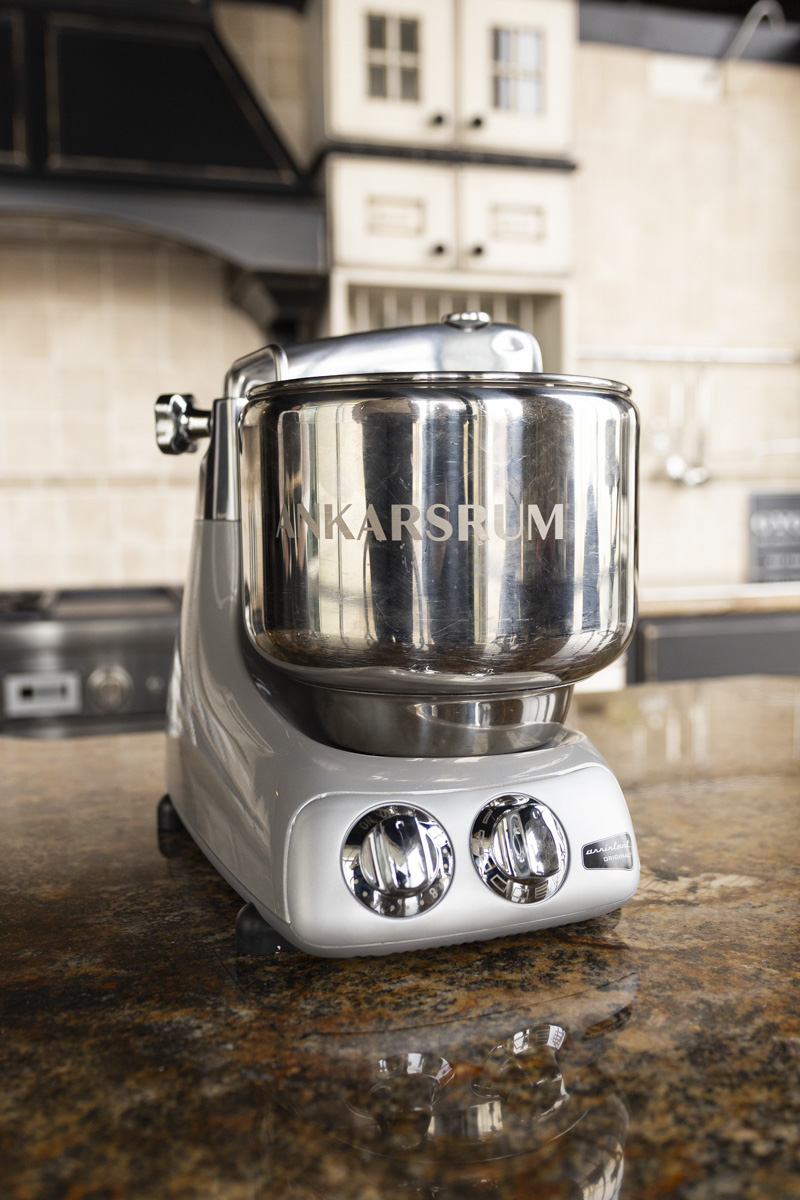
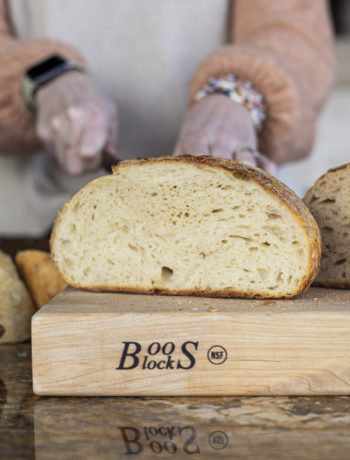
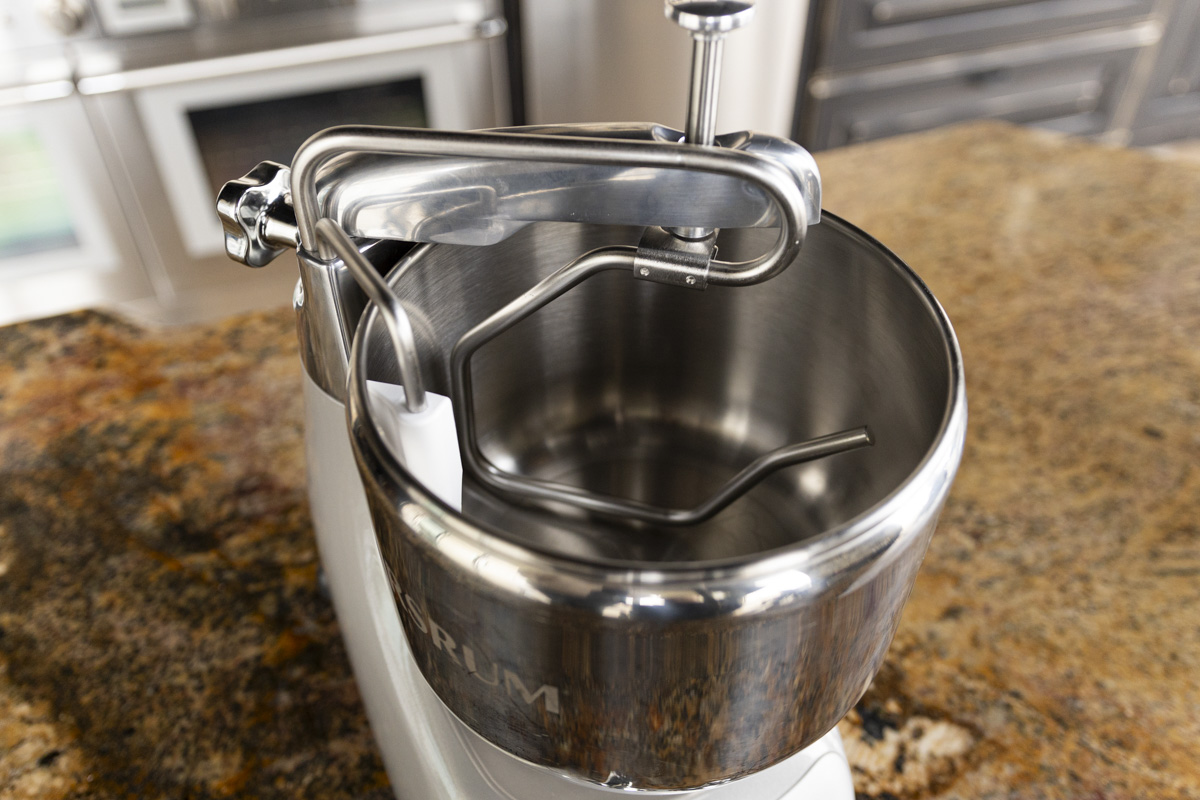
3. Stainless Steel Bowl & Dough Roller
The dough roller, the icon of the Ankarsrum, is always used in combination with the dough knife. This assembly with the stainless steel bowl is designed to replicate the process of working and kneading the dough or batter by hand—the roller is the kneading and the knife is the folding. The method results in a more traditional kneading process which is unique to the Ankarsrum Original Assistent. With this setup, you can make both small and large batches of dough. It’s especially well-suited to making dough with a lot of butter or high liquid content and is also good for making gluten-free dough. It’s important to note, when using the roller, don’t lock the arm in right away. Instead, leave it to rotate along the inner edge of the bowl for a little while until the dough becomes stiff enough to start climbing the walls of the bowl. Then you can place the roller a few centimeters away from the edge of the bowl. Just remember, it doesn’t have to be completely locked into place and will still have a little bit of play. There’s no need to wrench really hard on the knob trying to lock it in place.
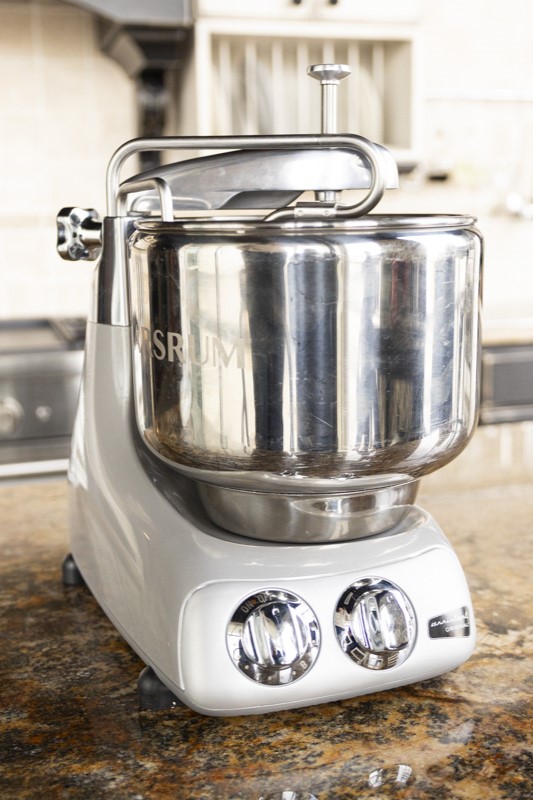
4. Stainless Steel Bowl & Dough Hook
Next up we have the set up with the stainless steel bowl with the dough hook. In connection with the launch of the Original Assistent in the United States, Ankarsrum included the dough hook as an accessory. It proved a popular product, because it’s what Americans were more accustomed to for a lot of bread recipes, and is still supplied today. Once again, the dough hook is always used in combination with the dough knife. But instead of kneading the dough with the roller, the hook works by pulling and stretching the dough. This is the setup to choose if you are working with larger batches or are making a tougher dough. Just know, you may need to help move things along by moving the arm to the middle a few times until the dough starts to form.
Knowing the basics of setting up the Ankarsrum mixer can make all the difference! Now, truth be told, you CAN use just the stainless steel bowl along with the roller and knife for almost any application—meatloaf, butter, cookie, bread, or even large batches of egg whites and whipping cream. It works for everything. Eventually, all the ingredients will blend and mix together at the right speed. That said, we do love using the beater bowl and whisks for quicker applications because the double beaters moving in tandem really do make the tasks so quick and easy. We can’t wait to see what you whip up in your Ankarsrum Original Assistent. What recipe are you excited to try first?