Sugar eggs are a fun, traditional Easter craft that is often saved for years, sometimes generations. The egg white and sugar mixture create a hard egg-shaped shell that is hollowed out after it dries. Traditionally, the inside is decorate with Royal Icing, toys, or keepsakes.
For your convenience, we’ve separated our sugar eggs how-to into two different posts. This post is all about how to make sugar eggs. It will walk you through a step-by-step process of creating the perfect sugar egg shell. If you read this post, we’ll show you unique and creative ways to decorate your sugar eggs. Happy Easter!
What you’ll need
1 egg white
3.5 cups granulated sugar
1/2 cup powdered sugar
Makes about 4 whole eggs when using this mold and saving all the excess mixture after scooping out each center.
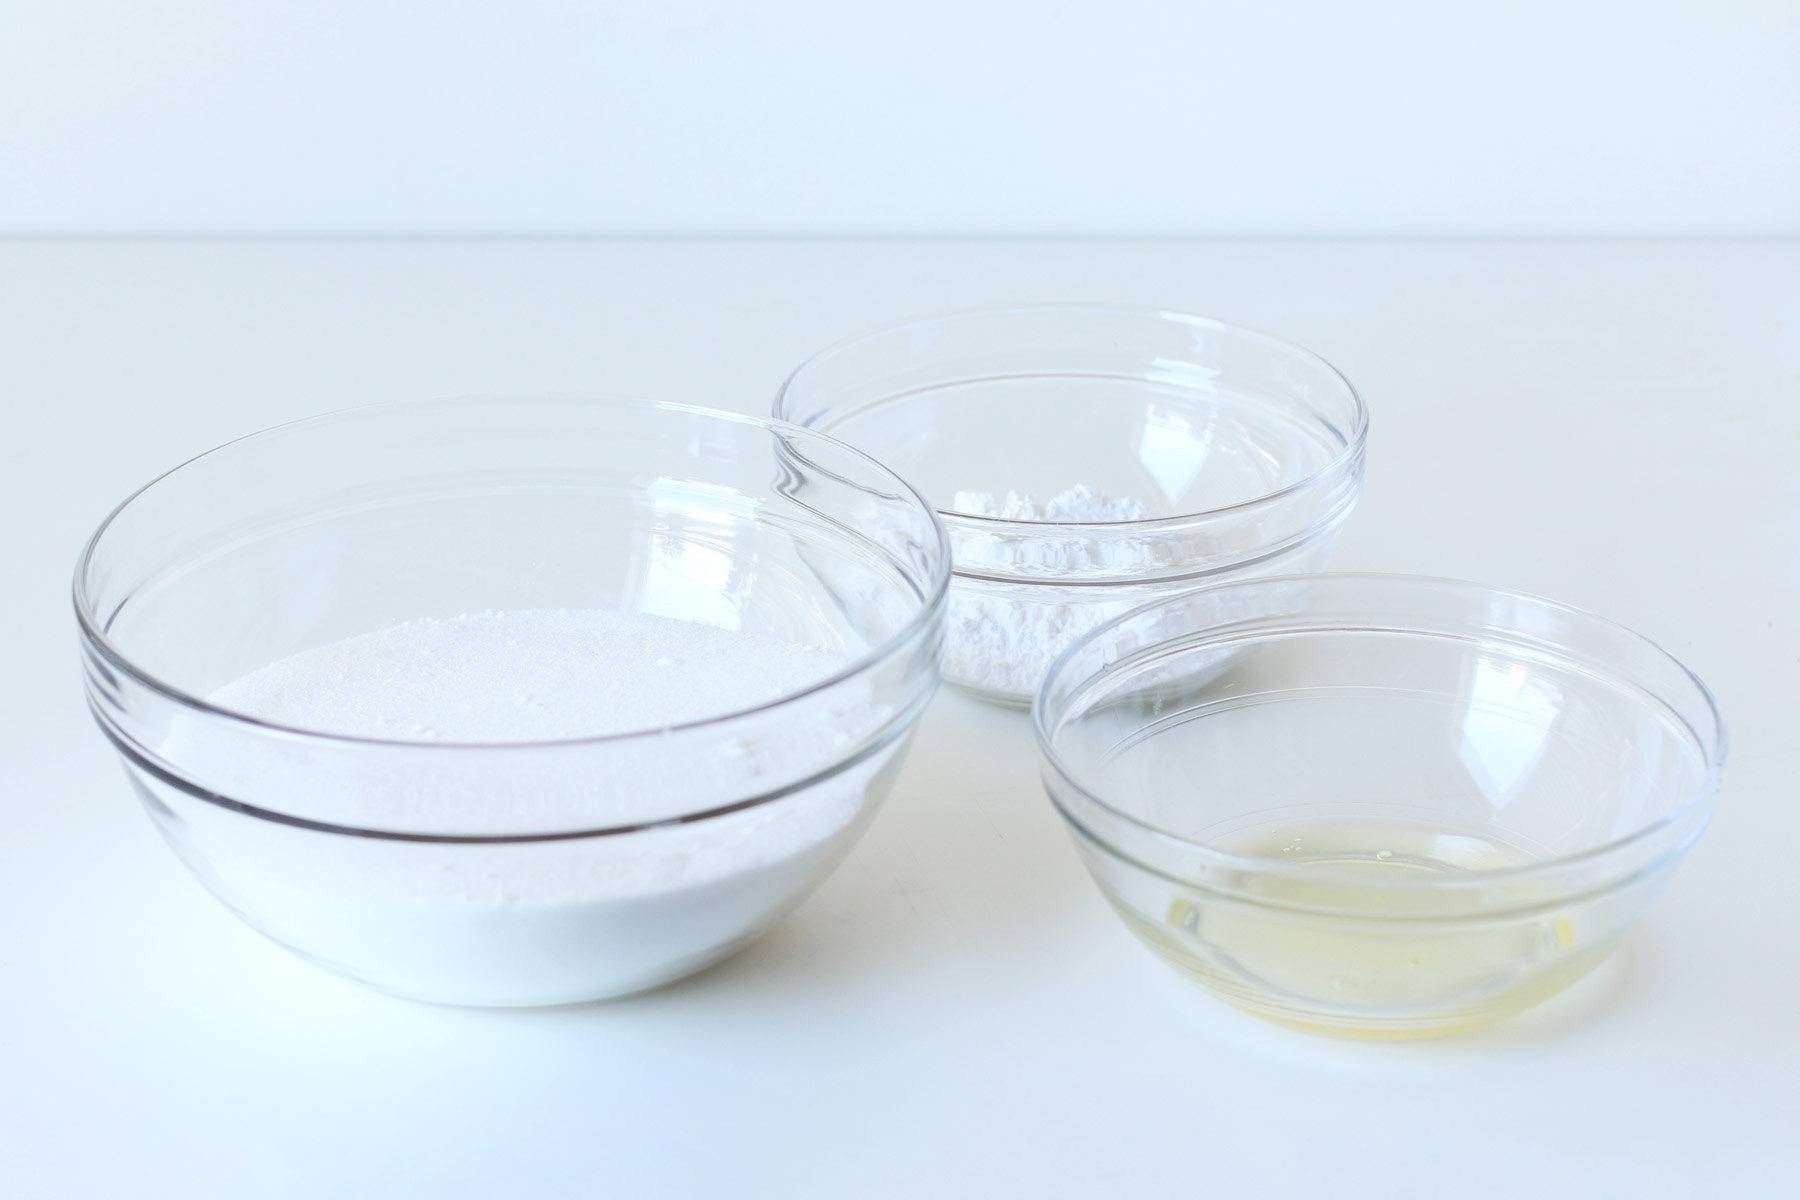
In a mixing bowl, combine the granulated sugar and powdered sugar. Stir both sugars together and make sure they are combined. In a separate bowl, whisk the egg whites until they are frothy. If you want to color your sugar egg, add the food coloring to the egg whites at this point. Remember, when you add the egg white to the sugar the color will lighten quite a bit, so make your color darker than you want your final product to be.
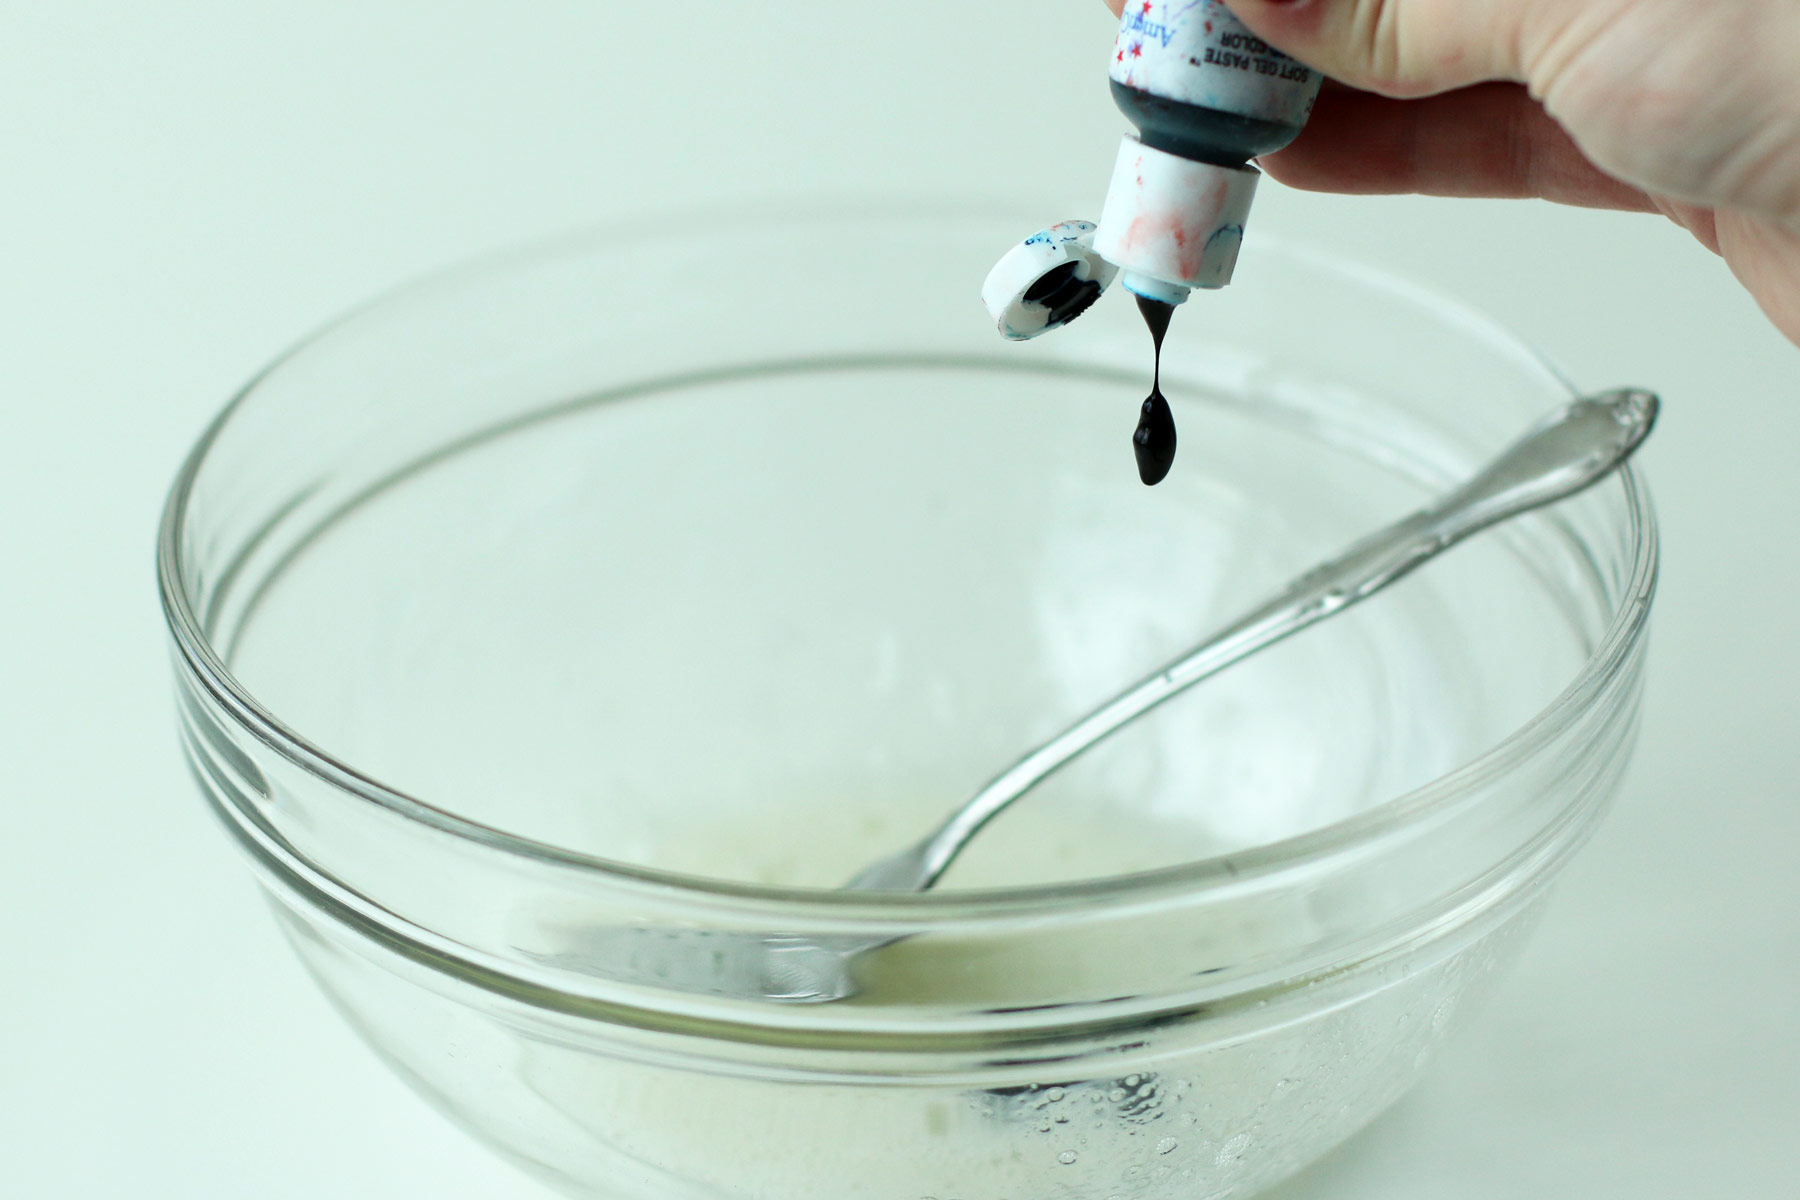
After the egg whites are colored and frothy, add them to the sugar mixture and combine well.
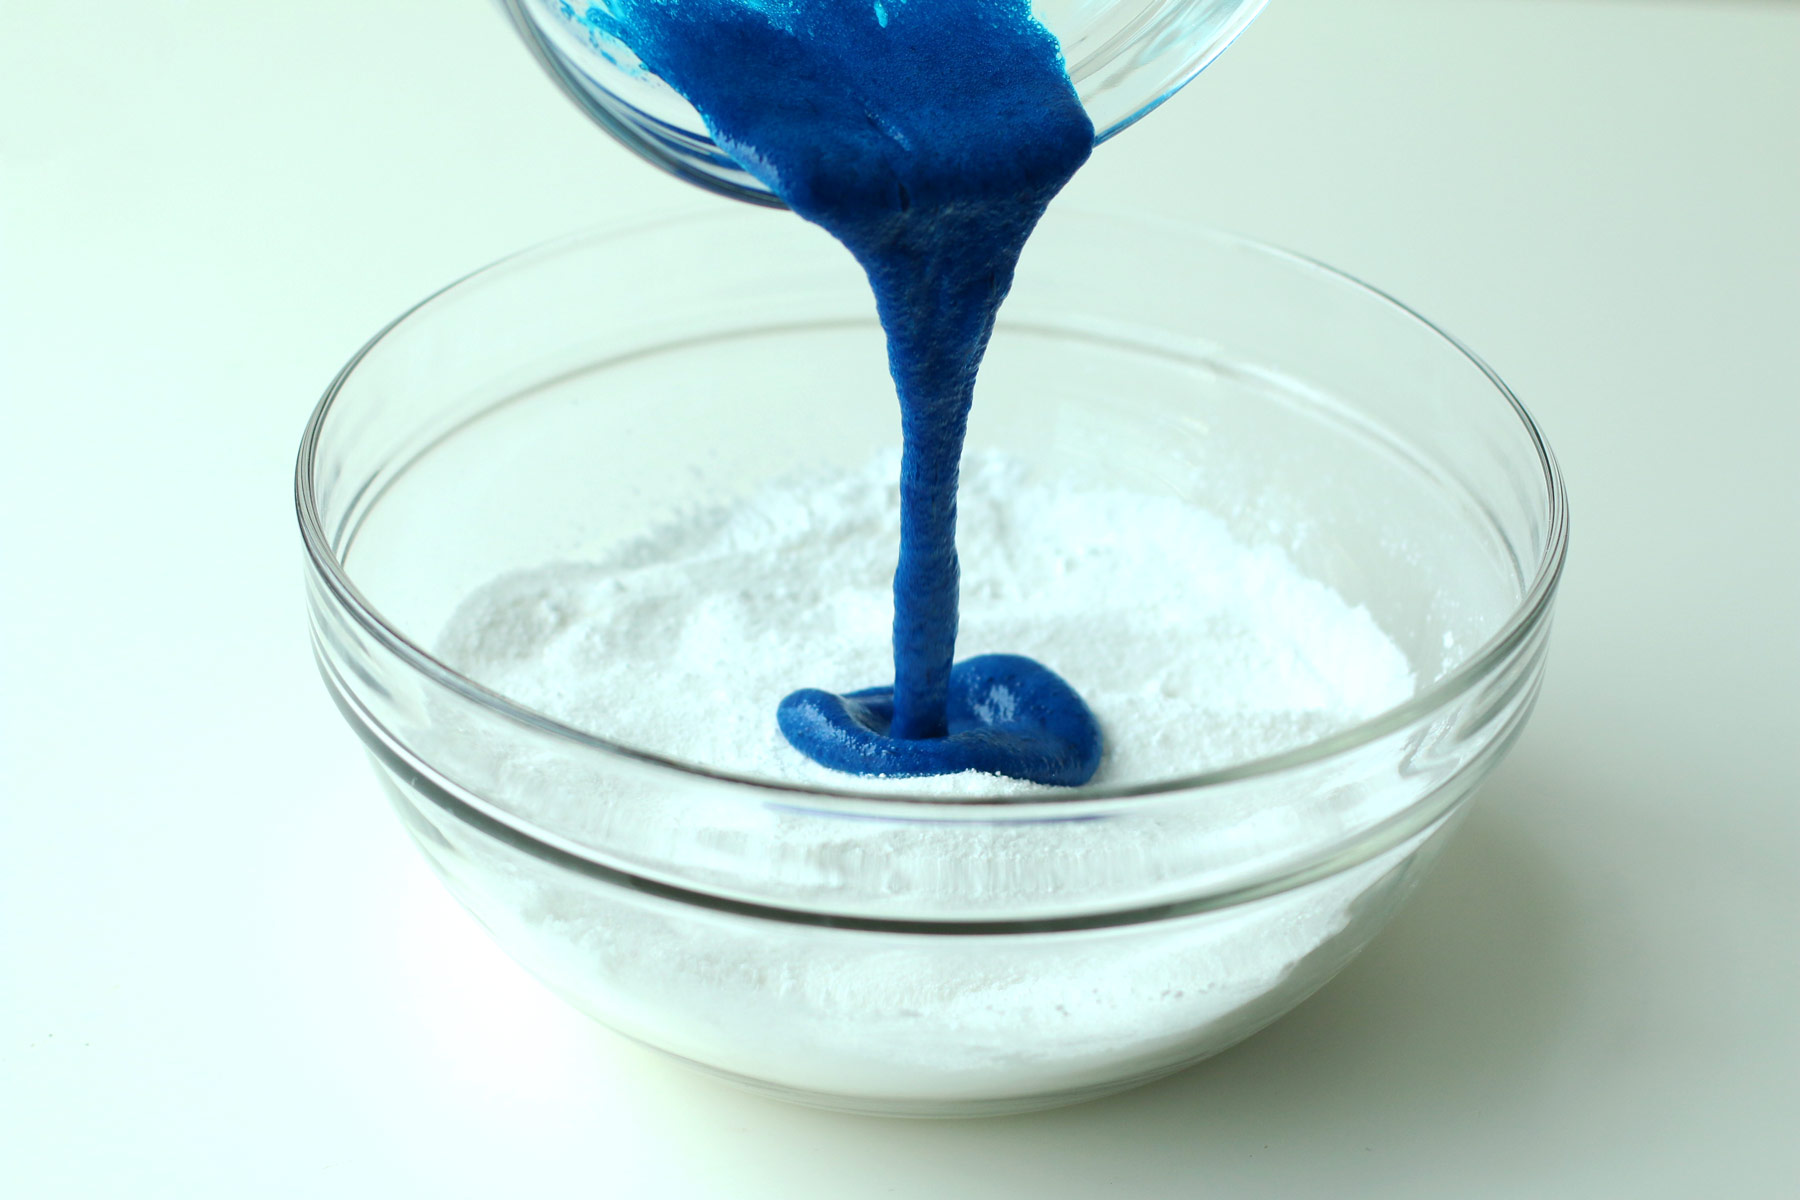
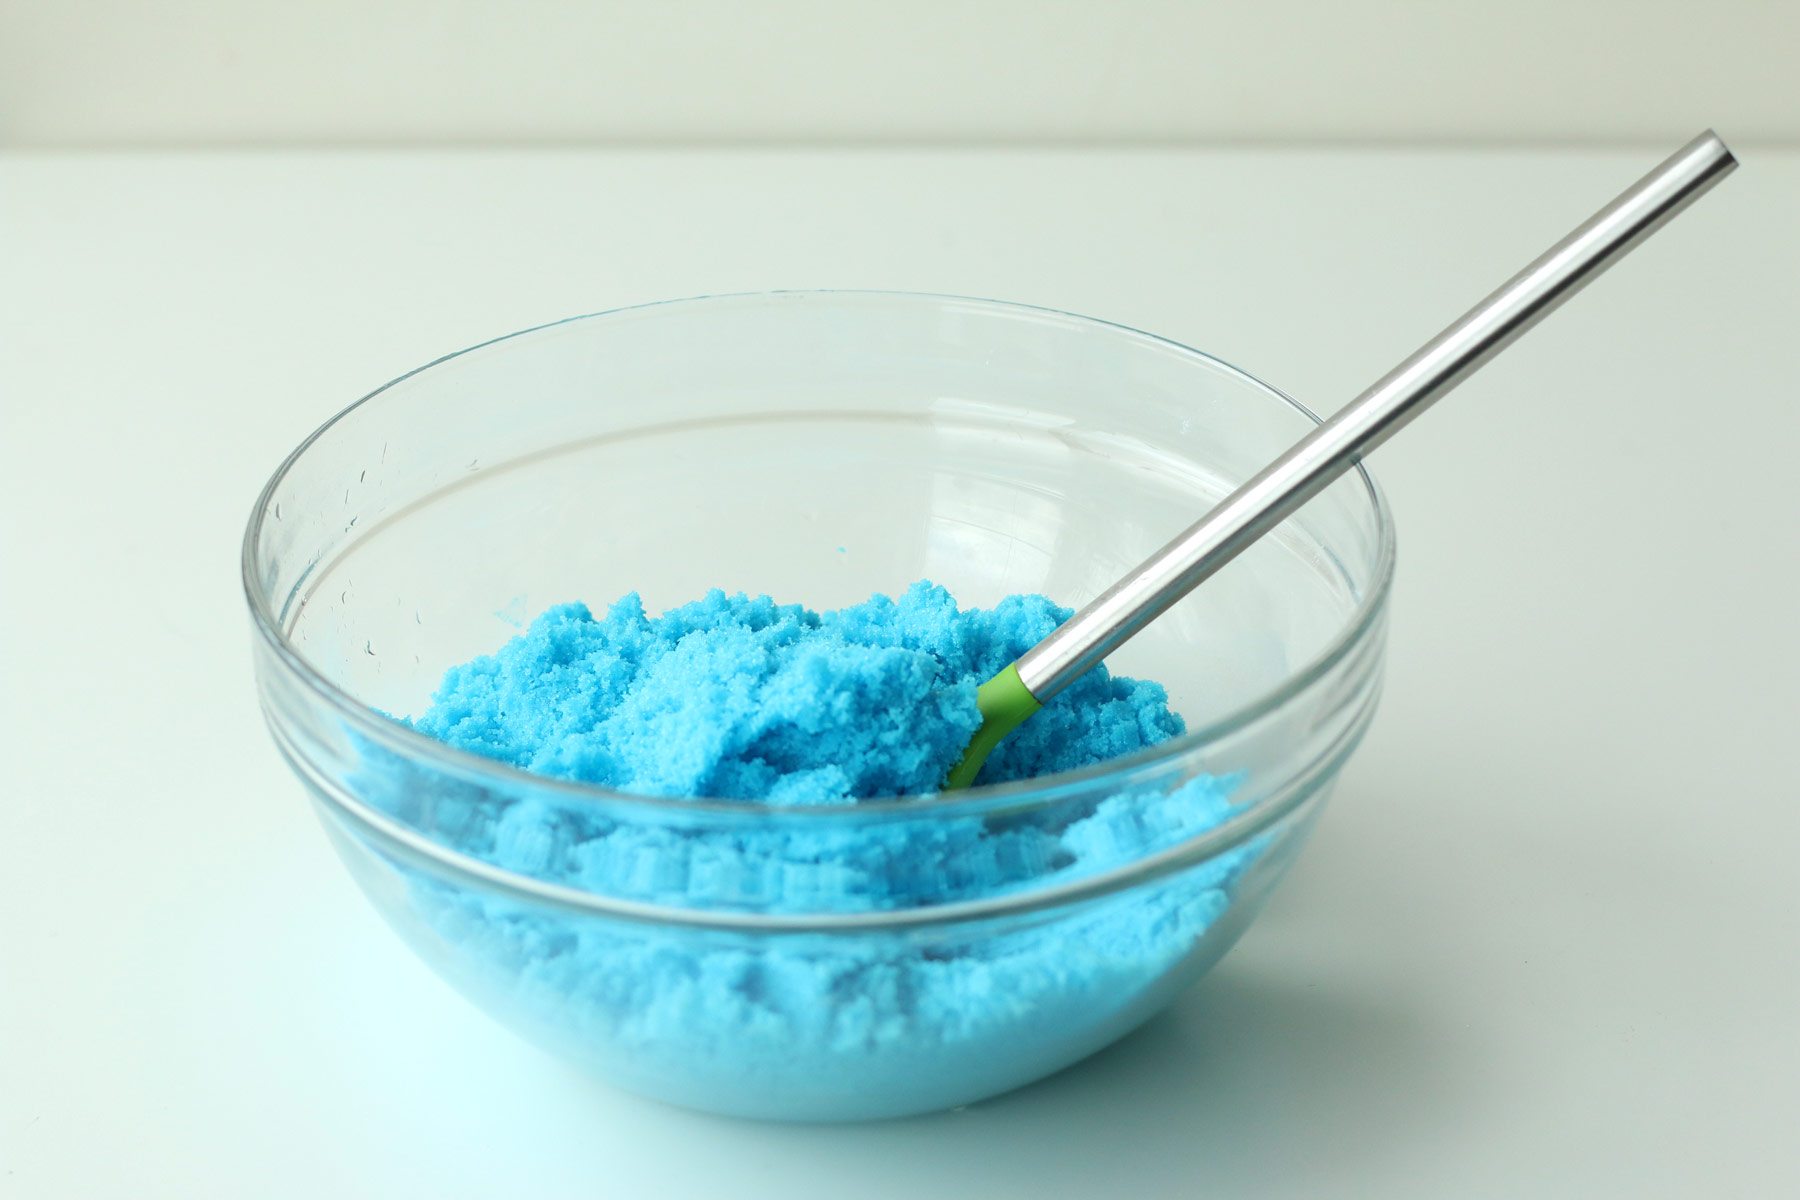
Mix together until the egg whites are completely mixed evenly throughout the sugar mixture. This can take a good 10-minutes to combine evenly and smoothly. The sugar will have the consistency and texture of damp sand. You’ll want the sugar mixture to clump in your hand if you squeeze it. Resist putting in extra moisture, this can make your sugar egg too wet to set-up properly.
Next, fill the egg molds with the mixture. Make sure there are no air bubbles in the mold. Scrape off the excess amount with a dough scraper for a smooth edge. Scrape the excess sugar mixture back into the bowl to reuse later. Place a damp paper towel over the left over mixture and cover the bowl with plastic wrap to prevent it from drying out.
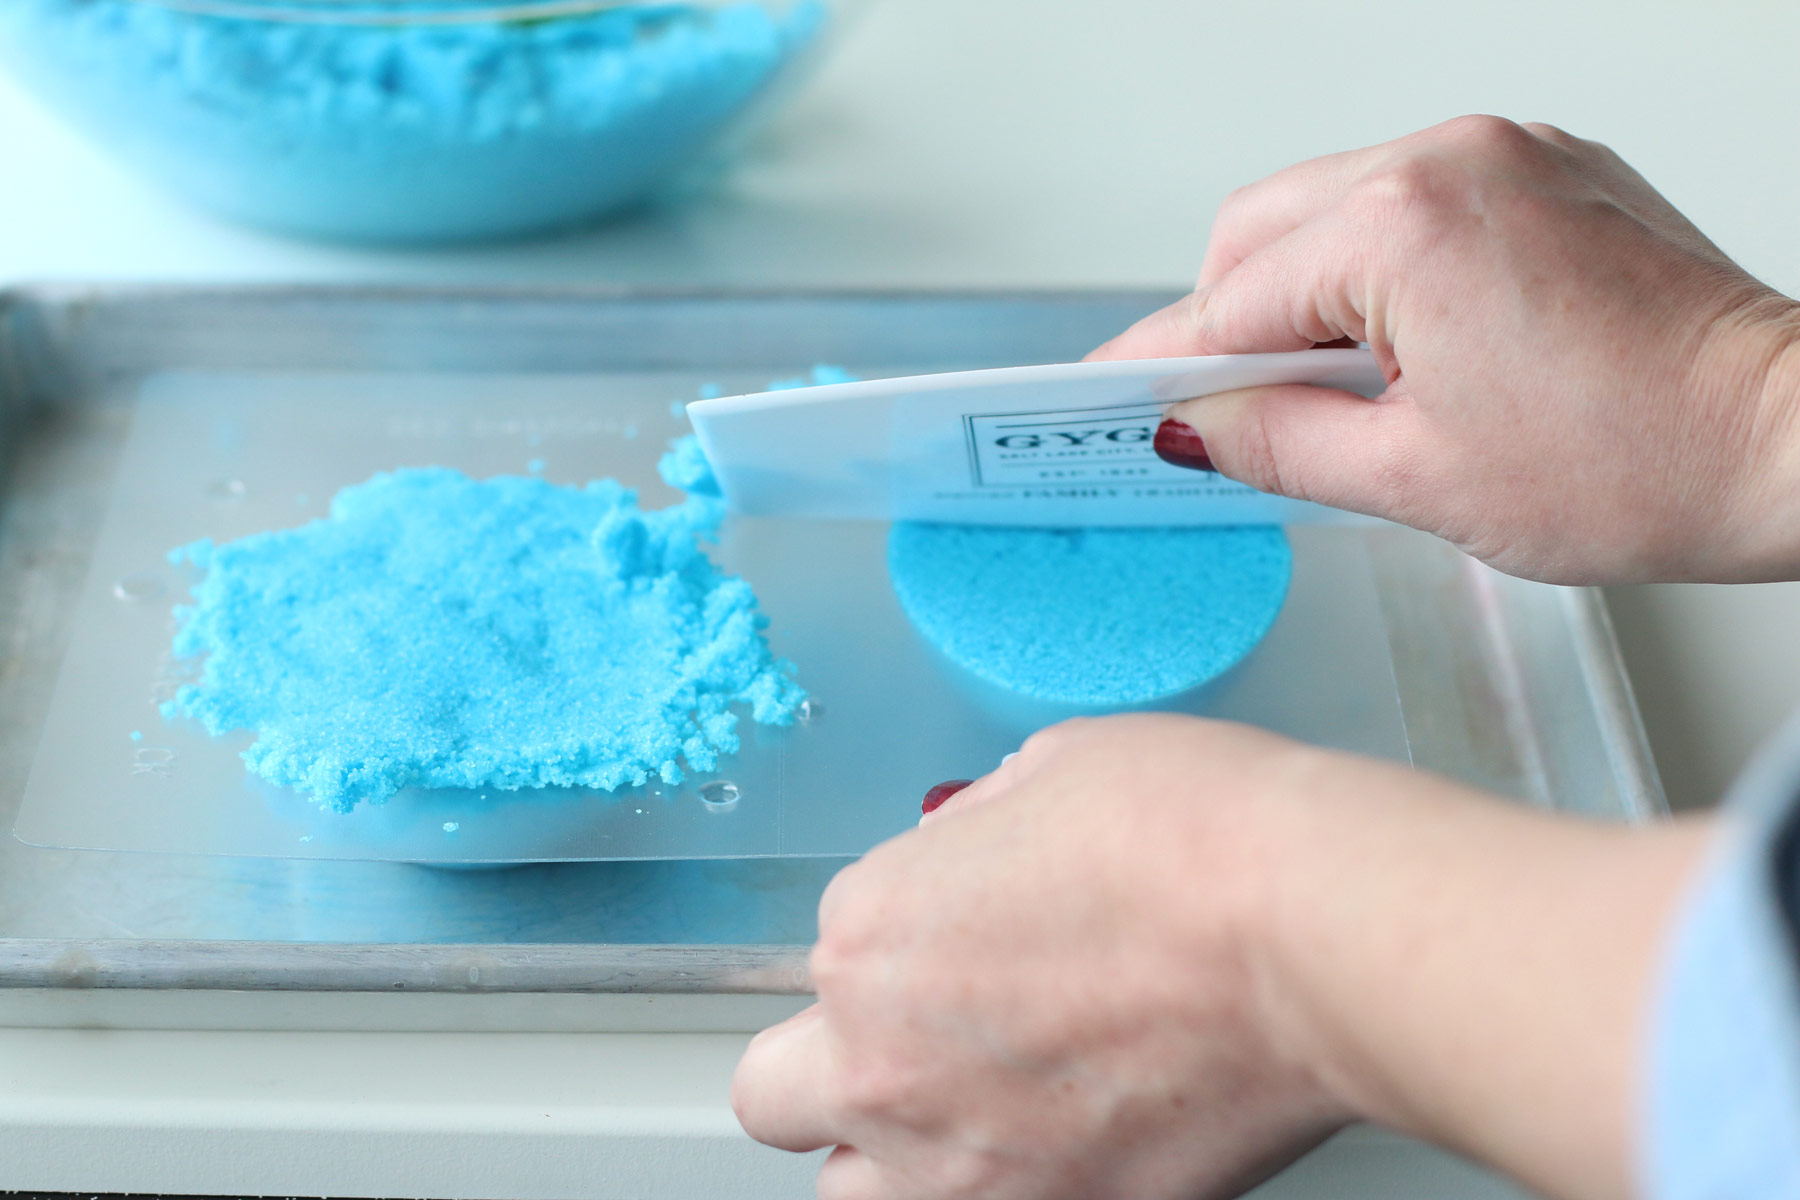
Next, use a baking sheet or a piece of cardboard and place on top of the mold. Brace one hand under the baking sheet and one hand securely on the bottom side of the mold. Quickly flip the mold up-side-down so that the mold is resting on top of the baking sheet. Gently remove the mold, leaving your two sugar egg halves on the baking sheet. Allow each half to dry for about 1 hour before scraping them out.
Gygi Pro Tip
To prevent the sugar egg from cracking when you begin scraping out the center, place a small piece of damp paper towel on the flat side (the panoramic window) of the egg shell.
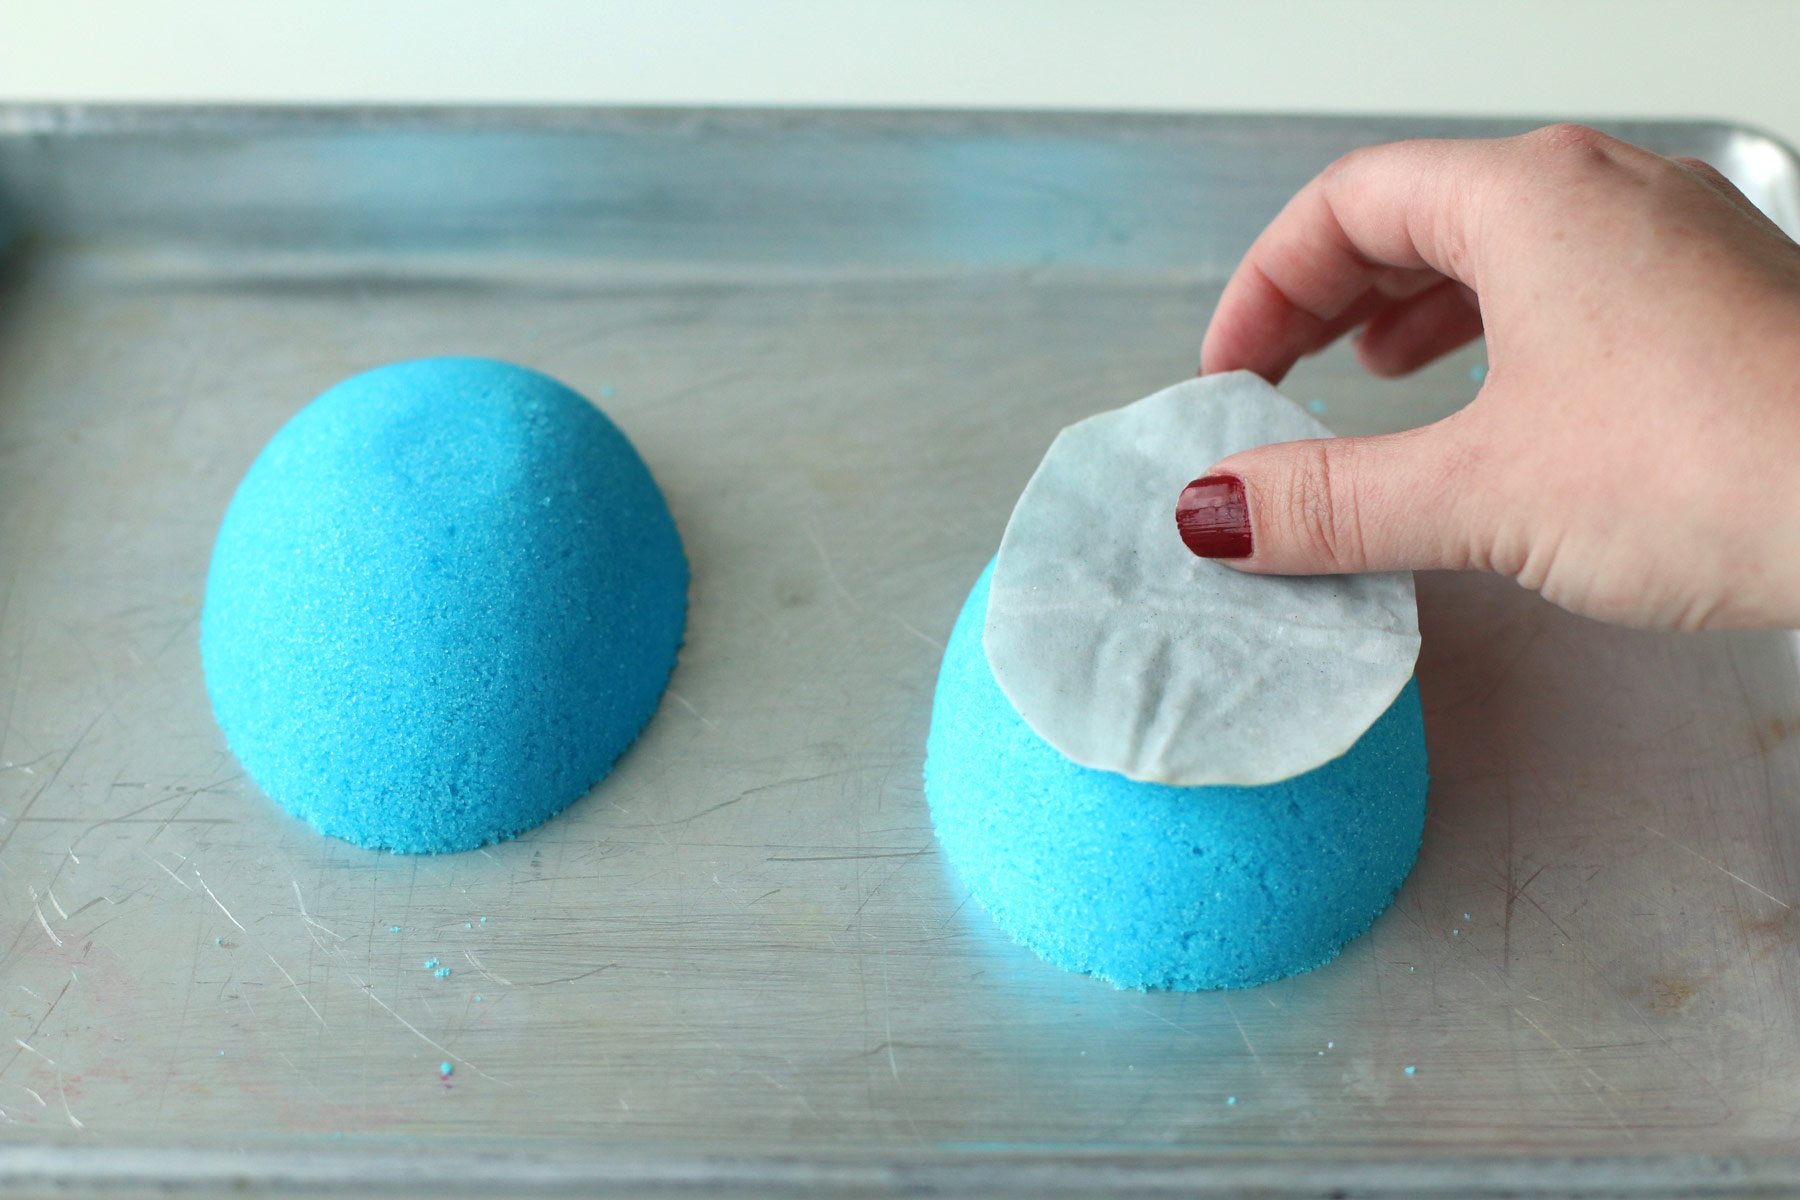
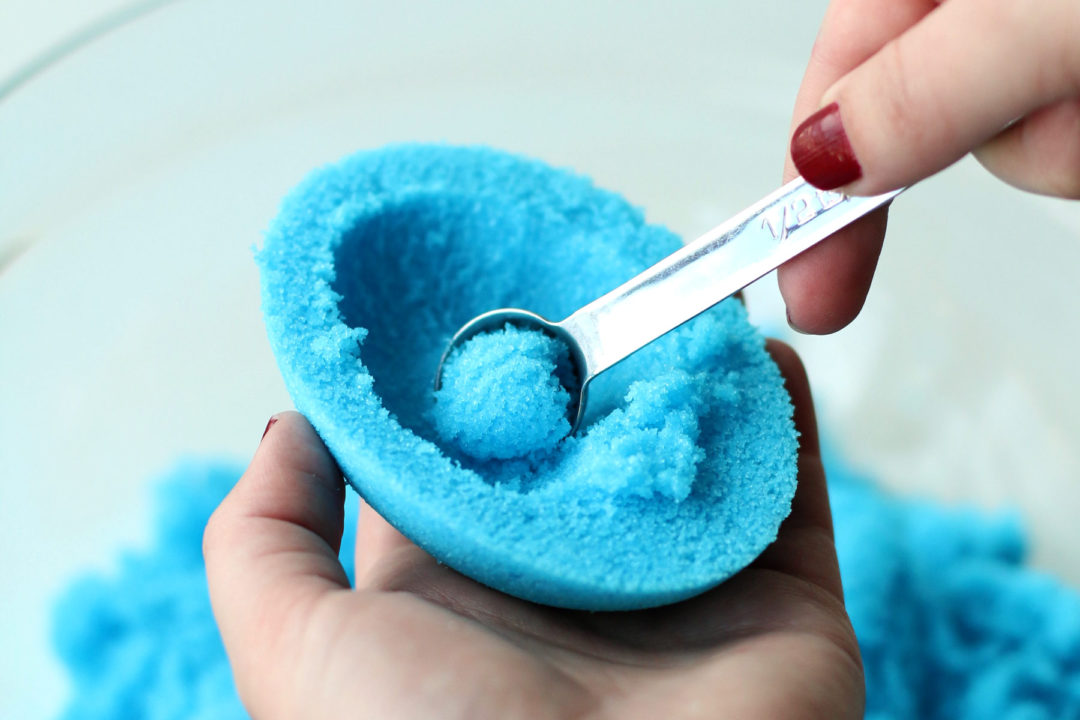
Once the outside is set and dry enough to hold it’s shape (about an hour), it’s time to hollow out your eggs. Using a teaspoon measuring spoon, start with the half with the flat panoramic side (the one with the damp paper towel). Turn it over in your palm and allow the curve part of the egg to fit your palm. Start to scrape out the center of the egg until you have a sugar shell that is about 1/2-inch thick all the way around.
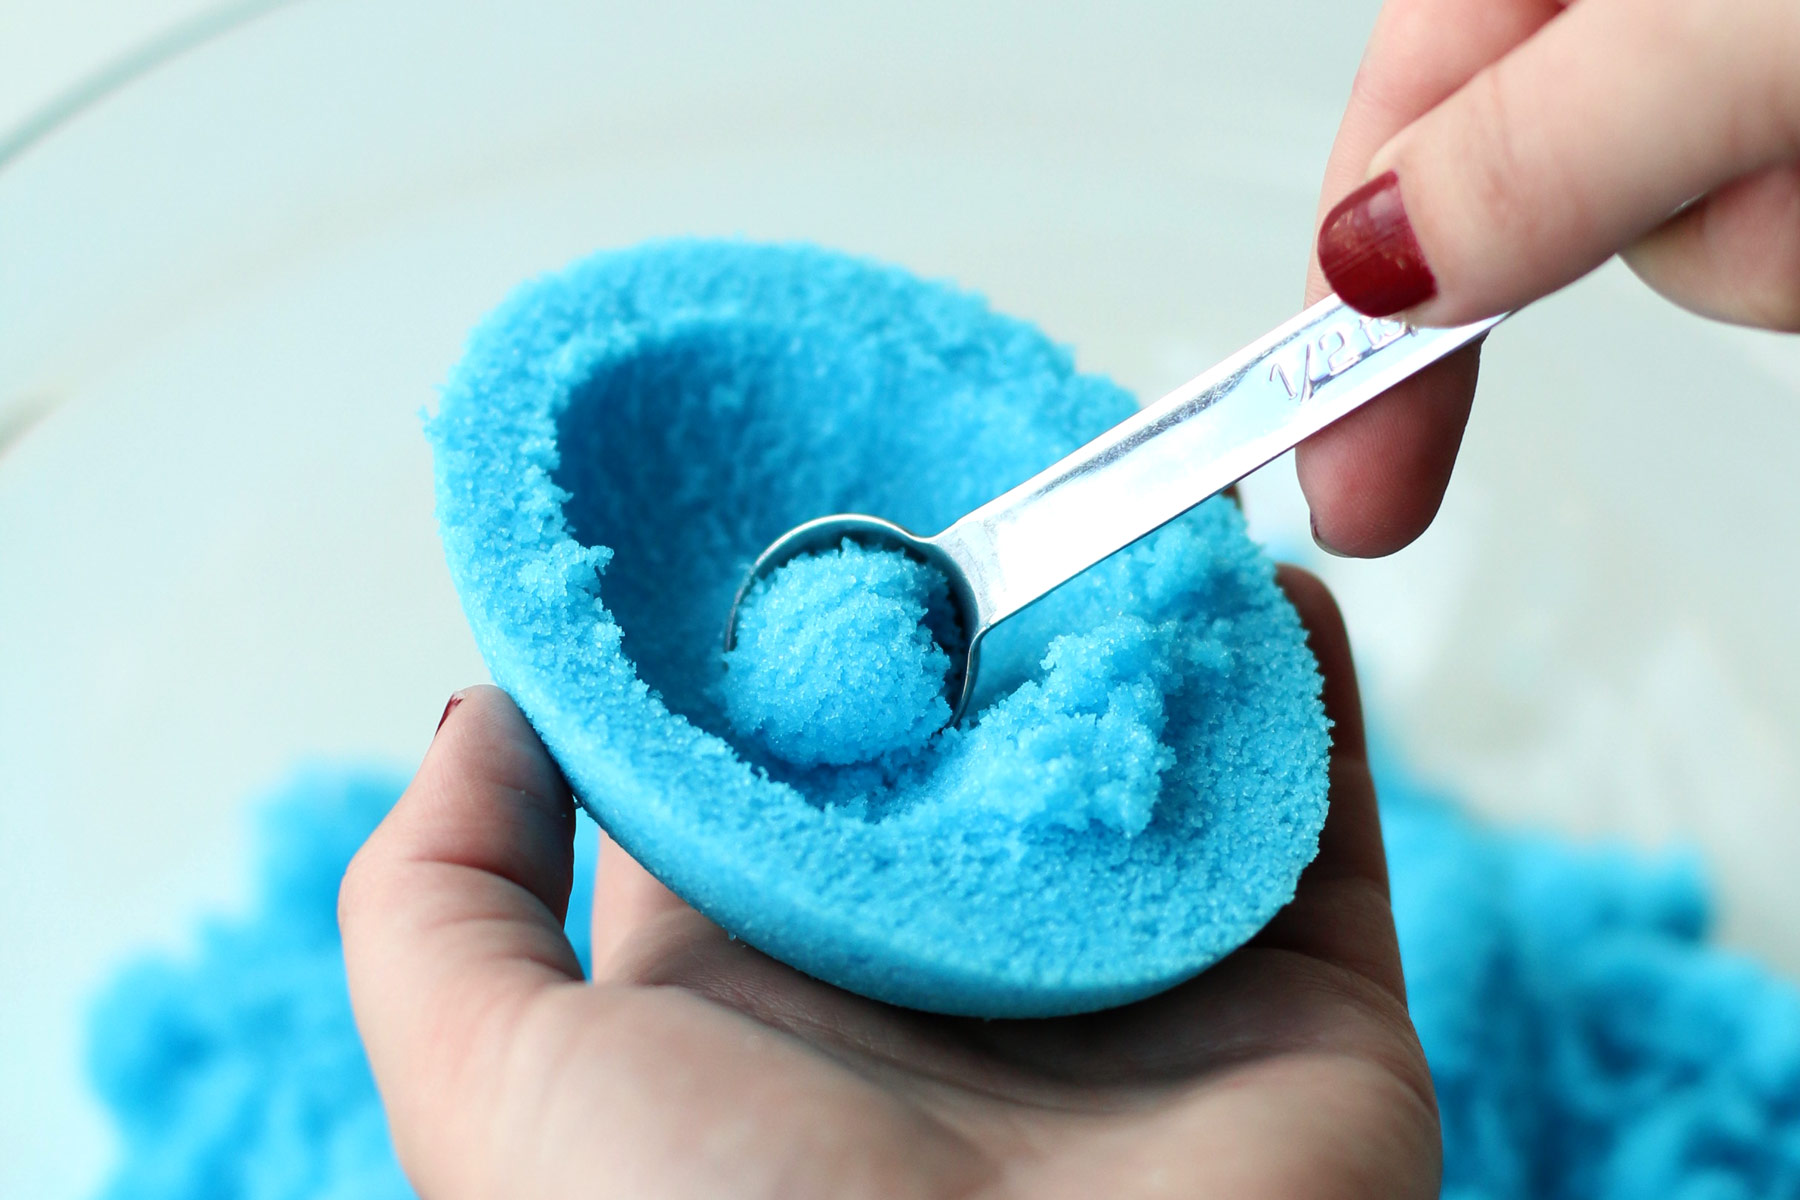
As you scrape towards the flat panoramic center, it should start to crumble, naturally with the curve of the flat surface. Remember to save all the excess sugar to be able to make 4 eggs from this one recipe.
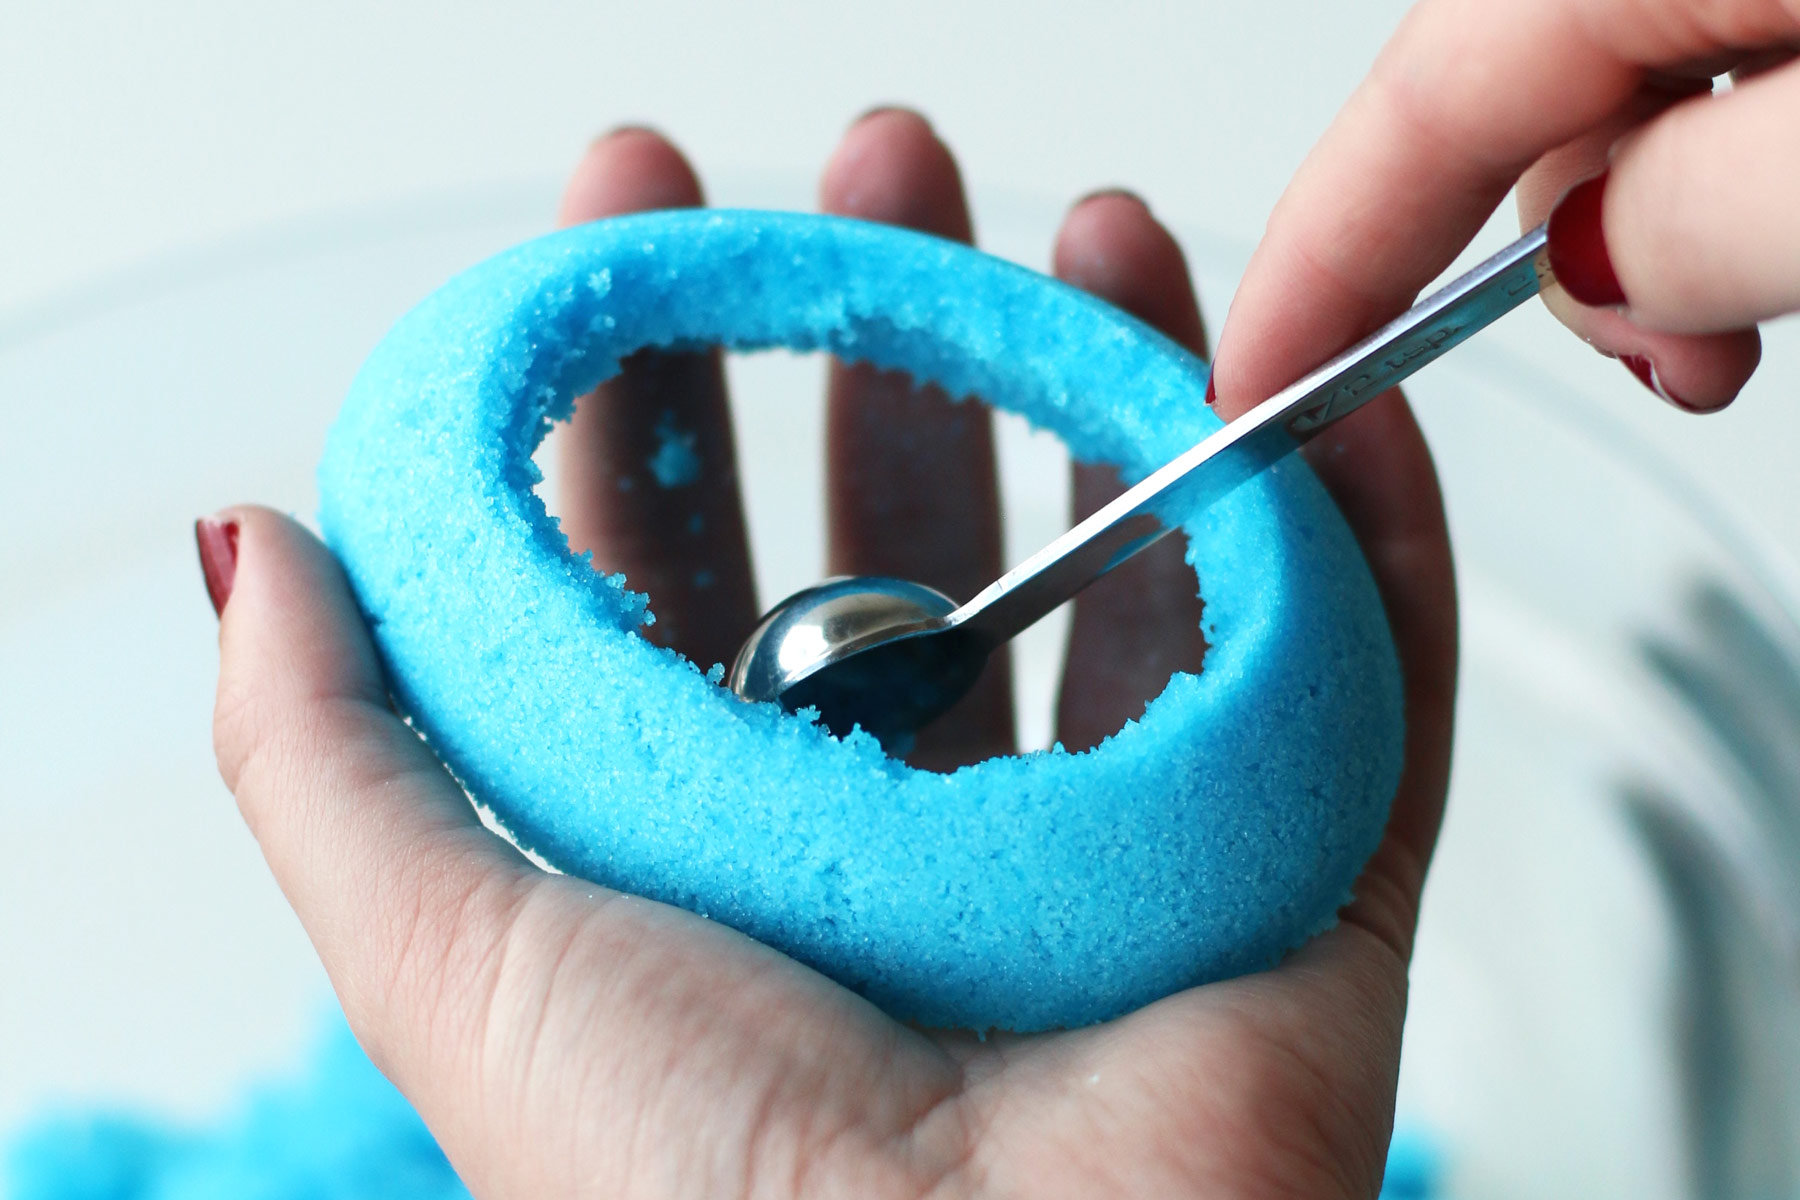
Scrape out the other half using the same technique, however, you’ll want to leave a 1/2-inch thick back on the egg. Only the flat panoramic window should be hollowed all the way through. Place them back on the cookie sheet to finish drying, about 3-4 hours. Once dry, they are ready to decorate!
Now read our second post all about how to decorate, embellish, and seal your sugar eggs.

