We speed cleaned the @orsongygi fridge. And we finished off an entire jar of pickles in the process.
Cleaning out your entire fridge is a daunting task. There’s no way around it. But we used these streamlined steps that helped us focus and get things done as quickly as possible.
Our goal was to complete the task in 20 mins. It took closer to 30… but we still feel so good about it!! It’s shiny and fresh and pretty.
Cleaning your fridge in 20 minutes (or so):
1.Empty the fridge.

Take everything out. Check the expiration dates and throw away anything that is past its prime. If you don’t want it to go back in your fridge, get rid of it now.
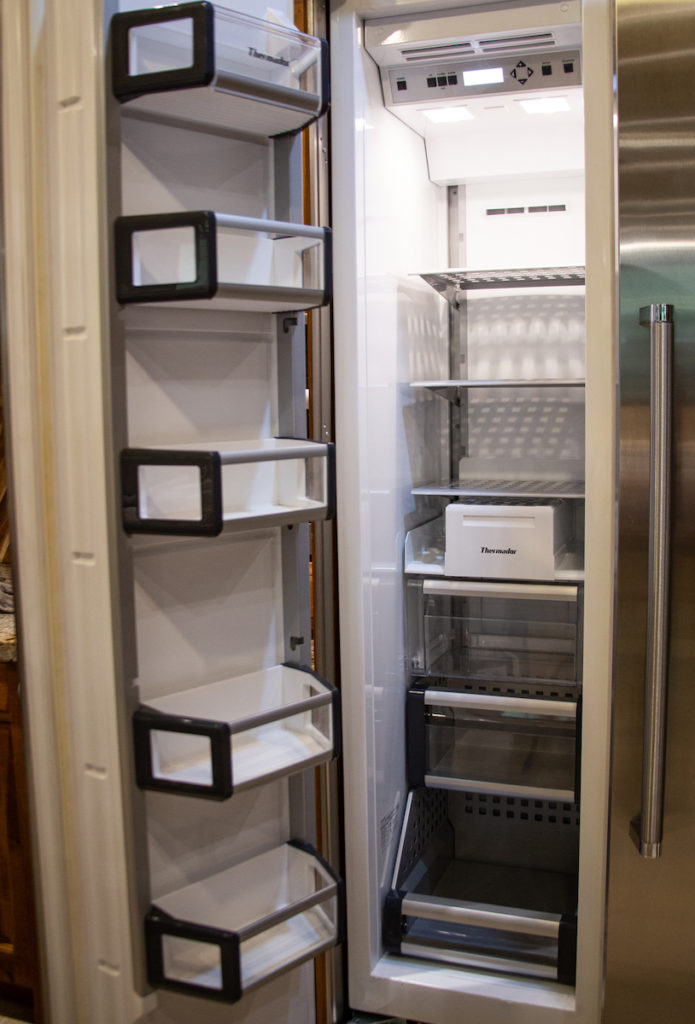
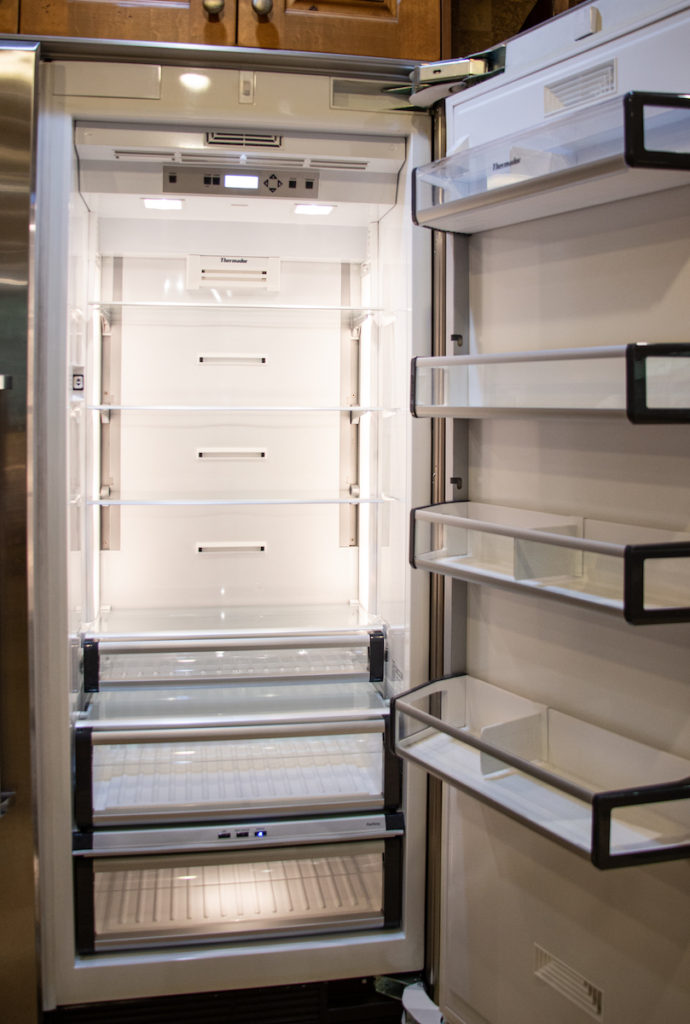
2. Remove the drawers and shelves.
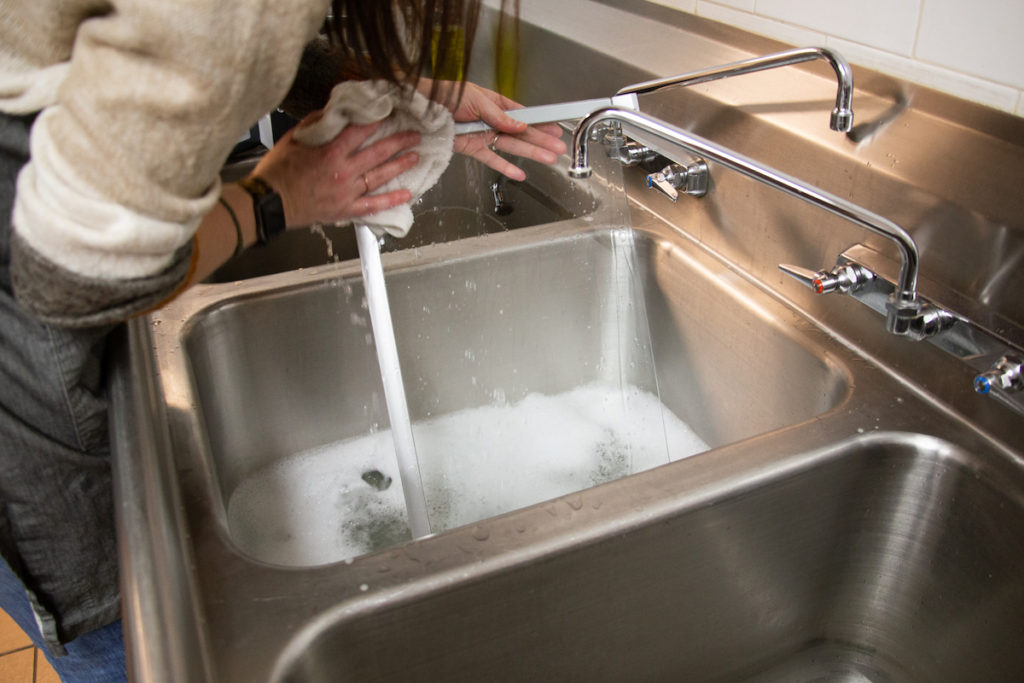
Fill a sink with warm, soapy water. Soak the shelves and drawers for a few minutes to soften and sticky messes. Wash and dry.
3. Wipe down the inside of the fridge.

Use a dishcloth with warm soapy water to clean the interior of the fridge. For stubborn food, place a wet paper towel over the sticky spot for 10 minutes to allow it to soften. You can also use a plastic scraper to remove stuck on food.

Don’t forget to clean the gasket around the door. A simple wipe with a wet towel is sufficient to spruce it up.
4. Return the shelves and the food.
Replace the shelves. Wipe down bottles and containers as your return the food to the fridge. Look below for a few tips on how to store your food in the fridge.
5. Clean the outside of the fridge.
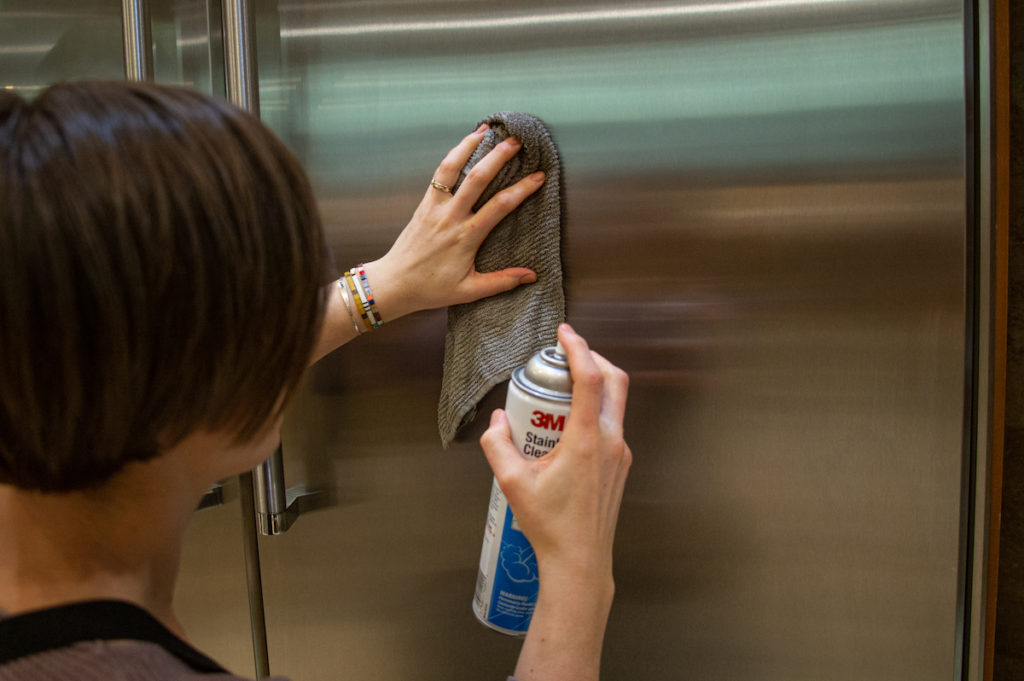
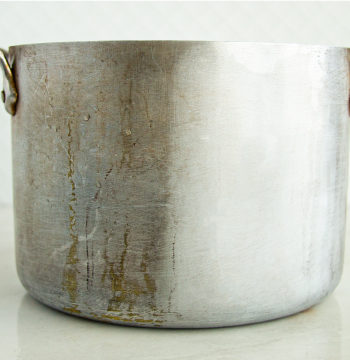
Use a wet, soapy dish cloth to clean the exterior of the fridge. If you have a stainless refrigerator, use this stainless steel polish to keep it shiny and clean.
Cleaning Extra Credit:
If you have a few extra minutes (and you’re feeling ambitious), get your fridge extra clean by vacuuming the coils. If you’re fridge is a built-in, you may be able to access this from the front. Check with your user manual. If your fridge is not built-in, you should be able to access the coils from the back. Either way, use a brush attachment on your vacuum to clean of and lint, hair, dust, or debris from the coils to keep your fridge functioning at its best.
TA DA!
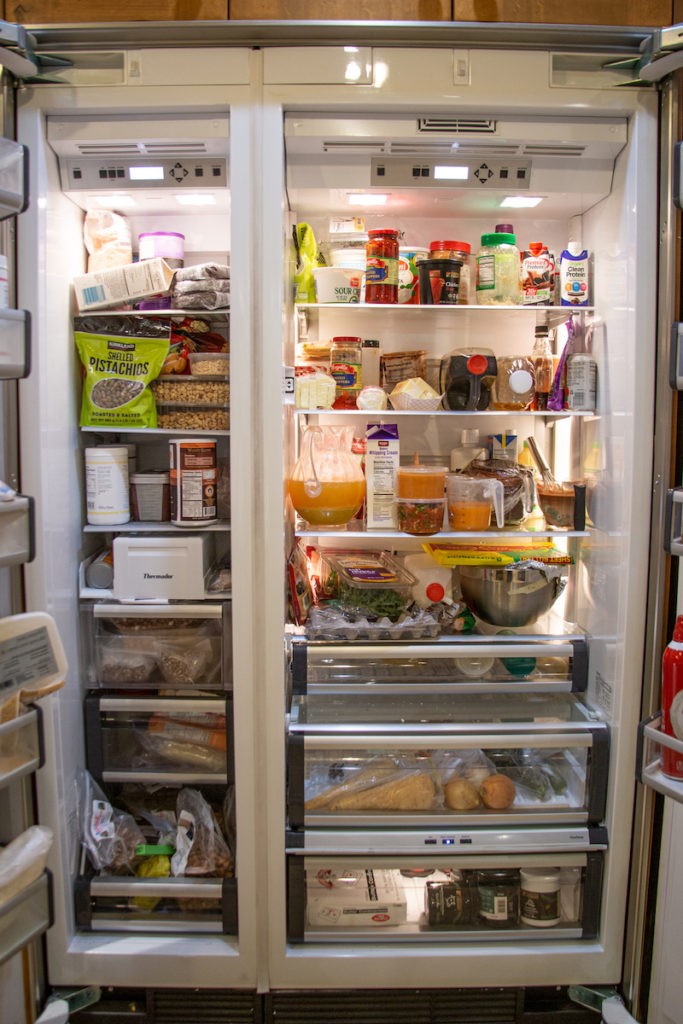

A before and after feels so satisfying! We highly suggest taking a few pics! Then give yourself a pat on the back!!!
CLEANING SUPPLIES:

Shop our favorite cleaning supplies at Gygi.com.

Storing food in your fridge:
It can certainly be frustrating to put fresh produce in the fridge and pull it out just a few days later and find moldy, rotten, food. Storing your produce correctly can help preserve its life!
A good rule of thumb:
Low humidity for foods that rot. High humidity for foods that wilt.
Low Humidity (foods that rot) – More Air Flow
Leave your fridge drawer open, which allows the ethylene gas to release from the drawer, thereby preserving the fruit for a longer period of time.
- apples
- avocados
- bananas
- cantaloupe
- figs
- honeydew melon
- kiwi
- mangoes
- papayas
- pears
- plantains
- stone fruit (apricot, nectarine, peaches, plums)
High Humidity (foods that wilt) – Less Air Flow
- broccoli
- brussel sprouts
- cabbage
- carrots
- cauliflower
- cucumbers
- eggplant
- green beans
- herbs (cilantro, dill, parsley, thyme)
- leafy greens (kale, lettuces, spinach, Swiss chard, water cress
- okra
- peas
- peppers
- strawberries
- summer squash
- watermelon
We loved this Infographic from Realsimple.com. No more second guessing how long things are good for! Just print this off and store it with your recipes or in your pantry.

When you’re ready to tackle the next task, join us here!