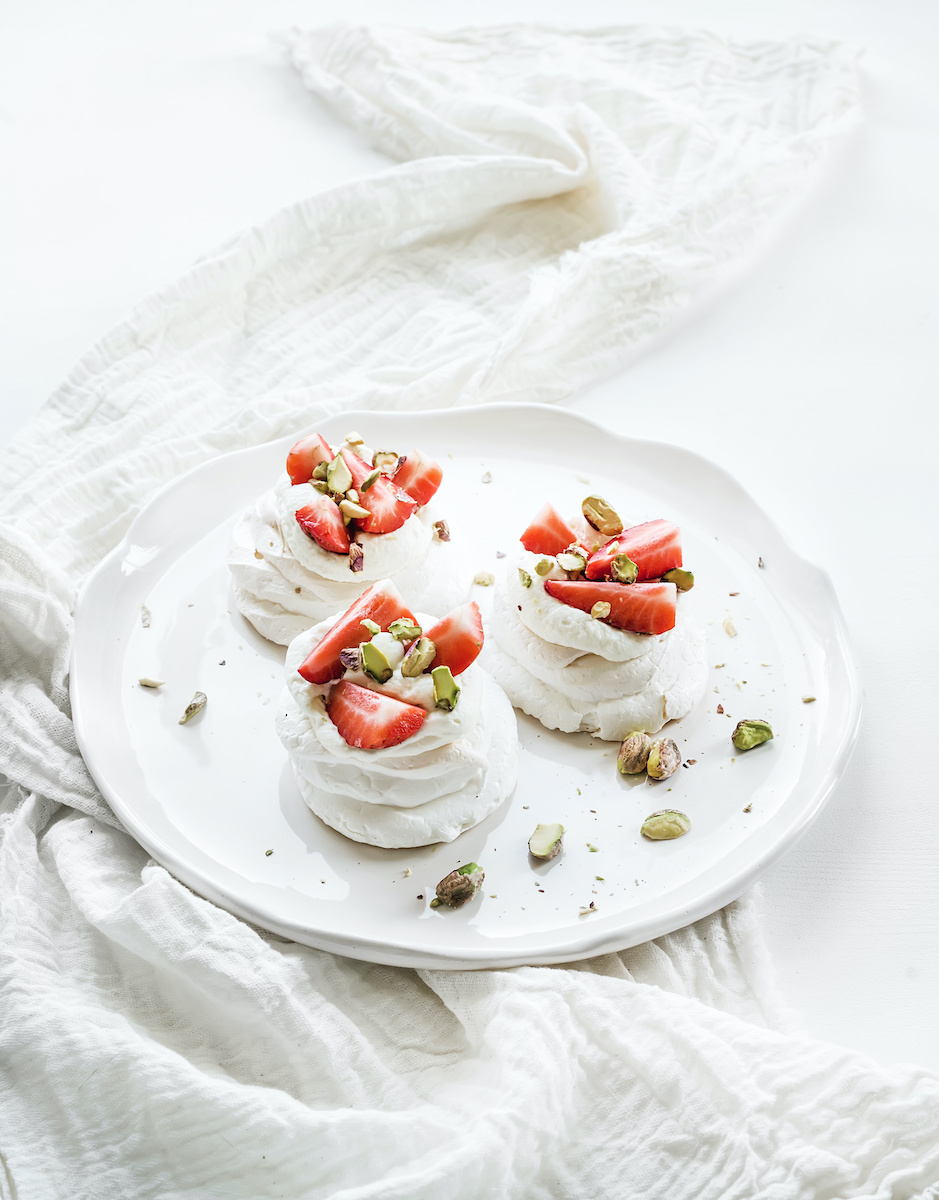
Ahhh, the Pavlova. If you’re a fan of meringue and delicious texture, this dessert is for you! The official dessert of New Zealand whose namesake comes from a ballerina, the Pavlova is a delicate, classy dessert. You would never guess it’s made with only six ingredients!
Now, don’t get us wrong. It’s a delectable dessert that is pretty simple to whip up, but the bake is unlike your typical cookie or cake. A pavlova bakes on a low temperature for almost an hour, and then has to cool down on your oven to prevent weird textures inside its shell. Overall, this is a slow process that is well worth the preparation.
Before you embark on your pavlova-making journey, we do have a few tips for you!
- Make sure your mixing bowl is super clean! After making cookies and cakes and whatnot, your mixing bowl might have a little residue leftover from butters or oils. Fats are the enemy of a pavlova! Any residues on your bowl will cause your meringue to not set up very strong. To clean your bowl thoroughly, use a paper towel barely moistened with lemon juice or vinegar to wipe out the whole inside of your bowl. This is super simple to do and SO important.
- Allow your egg whites to reach room temperature before whipping. Eggs that are too cold can easily break during mixing and won’t set up as strong as eggs that have been given time to warm up to room temp.
- Add your sugar slowly and gradually after soft peaks are reached. Too much as once will break your peaks and too slowly will cause your eggs to set up quicker than the sugar will dissolve. Slow and steady wins the race!
- You don’t need to use meringue powder for stabilization! It is great yes, but if you don’t have it, a pinch of salt will do the trick.
- Use a food disher for consistently sized mounds of meringue. We love using a #6 scoop for individual portions of pavlova.
- Finally, make sure to create a small pocket in your pavlovas with a spoon before baking to create a nice little area for cream and fruit for serving!
Now go… Go and bake meringues topped with all the cream and berries and chocolate and and… whatever your heart desires. Enjoy!
An airy dessert that has a crispy exterior and marshmallowy, gooey interior. Top with whipped cream, berries, chocolate or caramel. Or eat plain. You do you! The possibilities are endless! Preheat your oven to 300 degrees. Line baking sheet with parchment paper. Beat together the egg whites and salt in the bowl of an electric mixer with the whisk attachment, starting at a slow speed and increase to medium/high. You can also use a hand-held mixer, but it may take more time. You want to beat the egg whites until stiff peaks form. After soft peaks are achieved and while the mixer is still running, slowly add sugar in a slow, steady stream, beating the meringue until it is stiff and glossy. Sprinkle in the cornstarch, lemon juice and vanilla. Gently fold to combine. Mound the meringue on a parchment lined cookie sheet using a #6 food disher. Note the mounds will spread a bit while baking so be sure to give them 3-4 inches of space between each one. This recipe will make 4 individual sized mounds. If you prefer to make large sized meringues for slicing and sharing, scoop the meringue into two-eight inch circles on your cookie sheet. Use a rubber spatula to spread the meringue out towards the edges. Place baking sheet in the oven and immediately reduce the temperature to 250 degrees. Baking for 45 minutes to 1 hour, until the edges tapped with your finger sound light and crispy. Turn the oven off and prop the oven door open with a wooden spoon. Leave the meringues in the oven to cool completely, about 1 hour. Once completely cooled, serve topped with whipped cream, chocolate shavings and fresh fruit. Pavlova
Ingredients
Instructions


Albertina
September 29, 2020 at 1:06 amI love how well you explain everything it gets really easy for beginners like me to execute the recipe and the tips which you shared are very helpful. Also, the picture is amazing. Thank you!
Melissa
September 26, 2020 at 7:47 pmWe love pavlova and I appreciate all the tips you have shared. PLEASE make a change that will allow your recipes to be printed with a darker ink, or bolder font. Is it just my computer? Each time I try to print a recipe from your website, the print is so light it is very difficult to read. Thanks!!