Every year when we get ready for our Annual Grilling Gala, we try to think of something fun we could throw on the grill or smoker to prove that you can cook juuuuuuust about anything outside.
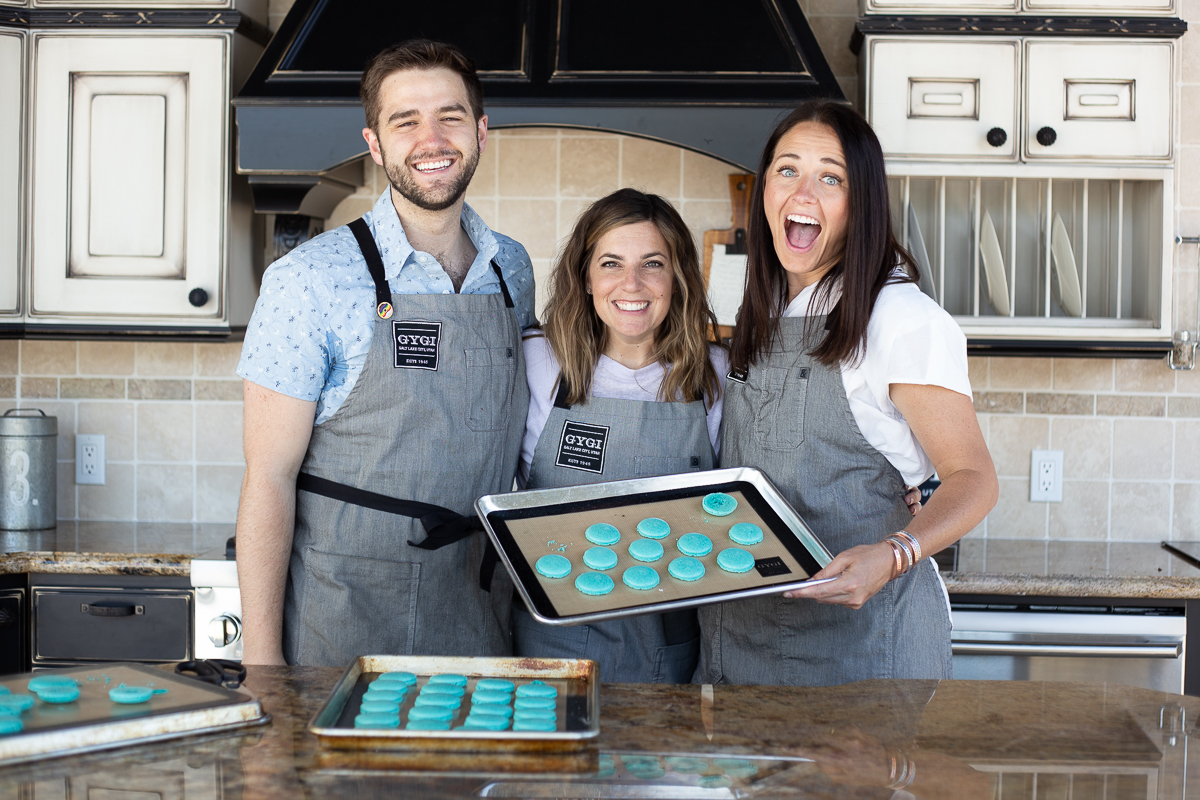
This year we are so pleasantly, thrilled to share the smashing success that came from our mash-up with Barb from The Sweet Mac Shop and the Traeger. Now presenting: Macarons on the Smoker!
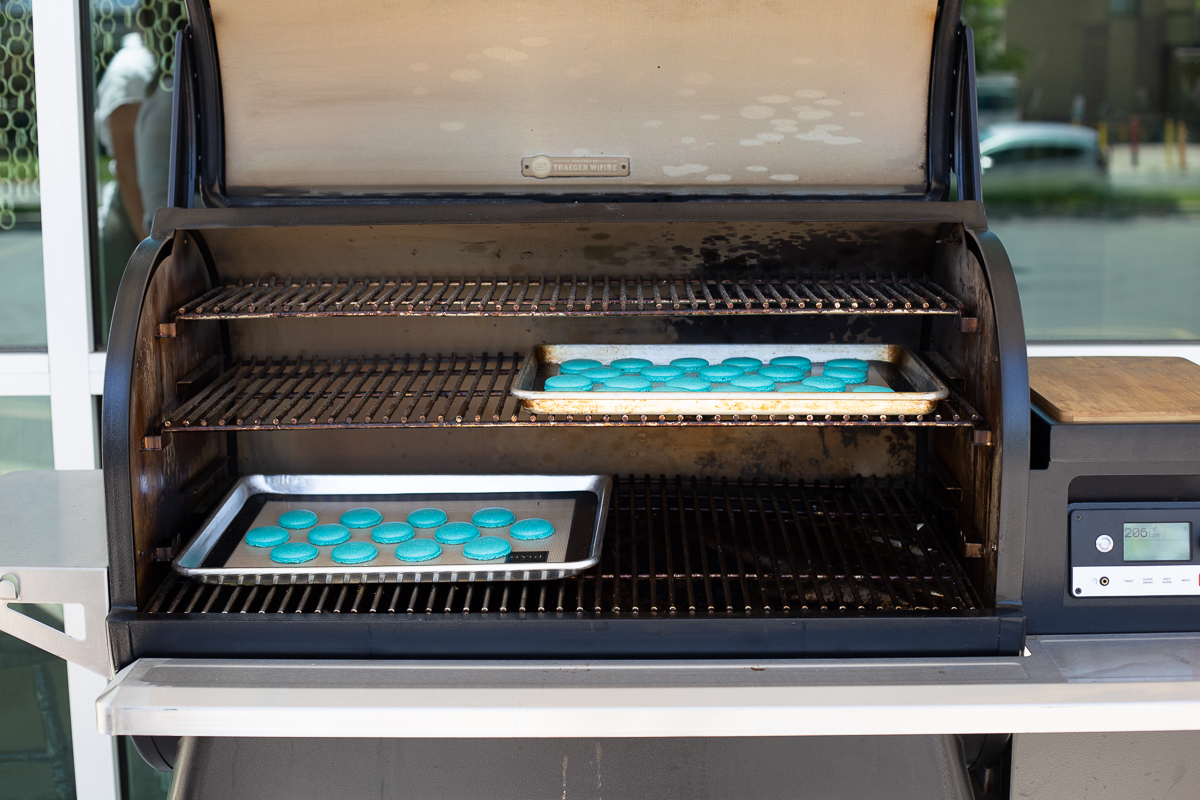
We used Barb’s classic macaron shell recipe, and baked them on the Traeger for 20 minutes at 285°F. Just make sure to get the Traeger good and hot before throwing those delicate confections in there.
Watch the Full Virtual Class here:
These tasty little treats are made extra special when baked on a Traeger. Preheat your smoker to 285. Let it preheat for at least 15 minutes. Measure out your granulated sugar in a small bowl; set aside. Measure powdered sugar, almond flour together, then use a sifter to combine. This will make them smooth and lump-free. Set aside. Place your bowl on the surface of your food scale. Hit the "tare" button to zero out the weight of the bowl. Now measure the room temperature egg whites into the bowl of your KitchenAid stand mixer. Add the clear vanilla extract. Place bowl on mixer stand (this recipe is for the KitchenAid mixer), and attach the wire whisk beater. Set timer for one minute. Turn mixer to Speed 4, and slowly add sugar to egg whites, shaking it in a little at a time during that first minute. When timer goes off, set mixer to Speed 6, and set timer for 2 minutes. When timer goes off, set mixer to Speed 8, and set timer for 1 and 1/2 minutes (90 seconds). Coloring may be added just before this last mixing. Egg whites should look silky, yet stiff enough to hold the peak. Now we'll make the macronage: blend in dry ingredients, by moving a flexible spatula around the bowl, then cutting down through the middle, making sure to scrape the bottom for the flour and incorporate it into the meringue. You know you are done when the batter rolls off the spatula in a continuous ribbon. Batter will be thick...but can flow like a ribbon. BAKER'S NOTE: I have several videos of making macronage in my Instagram Highlights. Insert Wilton #12 tip into the small opening of your piping bag. Scoop the macronage into the bag, filling only half-way full, leaving room to twist the top closed in order to keep the batter from spilling out the top. Pipe the macrons by applying pressure until the batter flows out and just reaches the inner rim of the marked circle on your mat. Immediately release pressure and swirl tip to incorporate point back into the center of the cookie. See my tips on Instagram Highlights. NOTE: if you will be using parchment paper -- search for online -- then download a template of circles and place underneath your parchment paper. You'll remove this before baking. Once the full pan is piped, gently (or aggressively--no judgement here) bang the pan down onto the counter to release air bubbles. I usually place a towel on the counter before banging the pan. Use your scribe or toothpick to pop any large bubbles, in order to create smooth shells. PREP FOR BAKING, METHOD ONE: Place your parchment paper or silpat mat on the bottom of an upside-down baker's half sheet. Pipe your circles. Let rest about 5 minutes, bang (see above) then place them to bake in a pre-heated oven. PREP FOR BAKING, METHOD TWO: Place your parchment paper or silpat mat on the inside of a baker's half sheet (like normal). Pipe your circles. Let rest until your finger can glide across the top of the mac without stickiness, often up to 30 minutes. Bang (see above), then place them to bake in a pre-heated oven. Bake for 20 minutes. Once out of the oven, DO NOT -- I repeat -- do not remove from pan until they are completely cooled. This recipe yields 36-42 completed cookies (about 72-84 shells). First: I always add the granulated sugar in within the first minute of beating the egg whites. See the recipe for the speed to use.
Second: I ALWAYS measure everything down to the gram. Yep, gram! I always measure everything before I begin, call it a habit.
Third: Add your coloring in the last minute of baking. Sometimes, If I am adding more than 30 drops, I’ll start adding the color in the last 30 seconds before I switch my mixer to Speed 8. This just makes sure everything is well incorporated before I add in the dry ingredients.
Fourth: I add the dry ingredients to the KitchenAid bowl, not the other way around.
Fifth: When macronaging you want the batter to flow off your spatula in a V-shape. It doesn’t have to flow fast, just continuous.
Sixth: I pipe from the top to the bottom, but somedays I pipe like a hungry mom in a grocery store, all over the place. See my Instagram Highlights for more videos and tips.
Macarons on the Smoker
 (No Ratings Yet)
![]() Loading...
Loading...Ingredients
Instructions
Notes
Filling the Macs
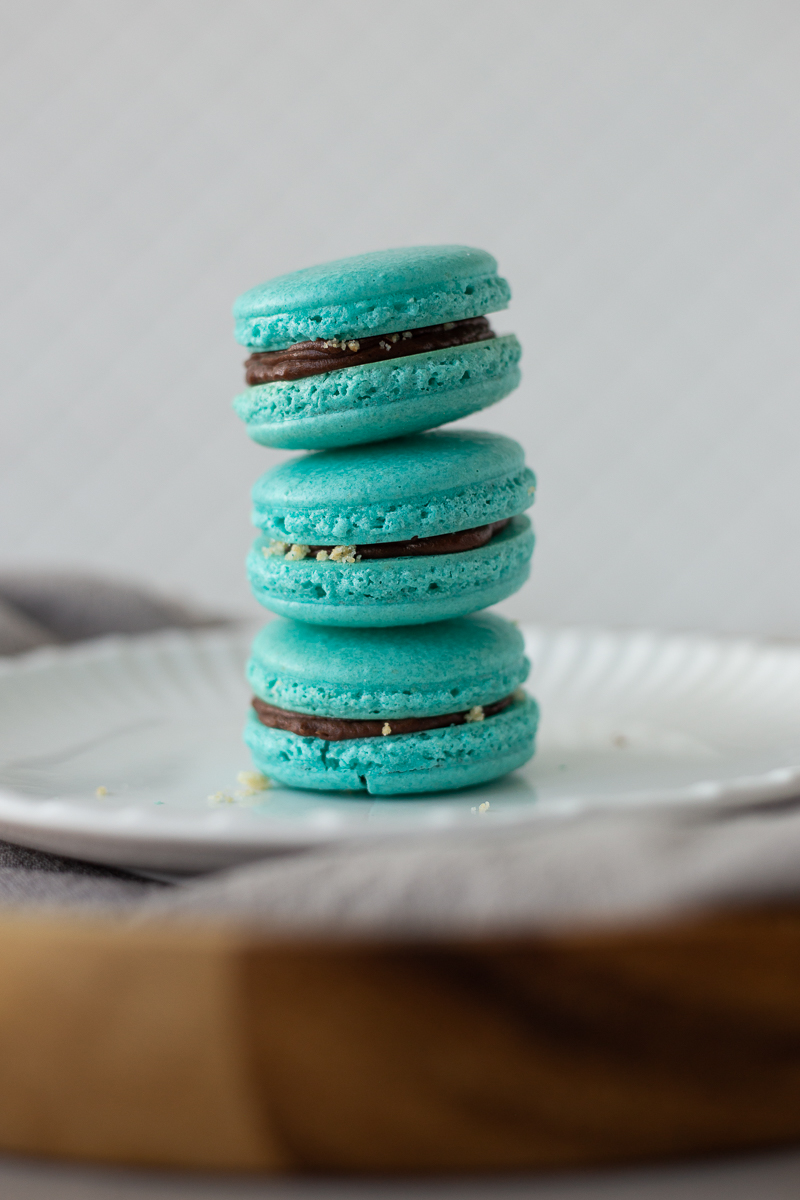
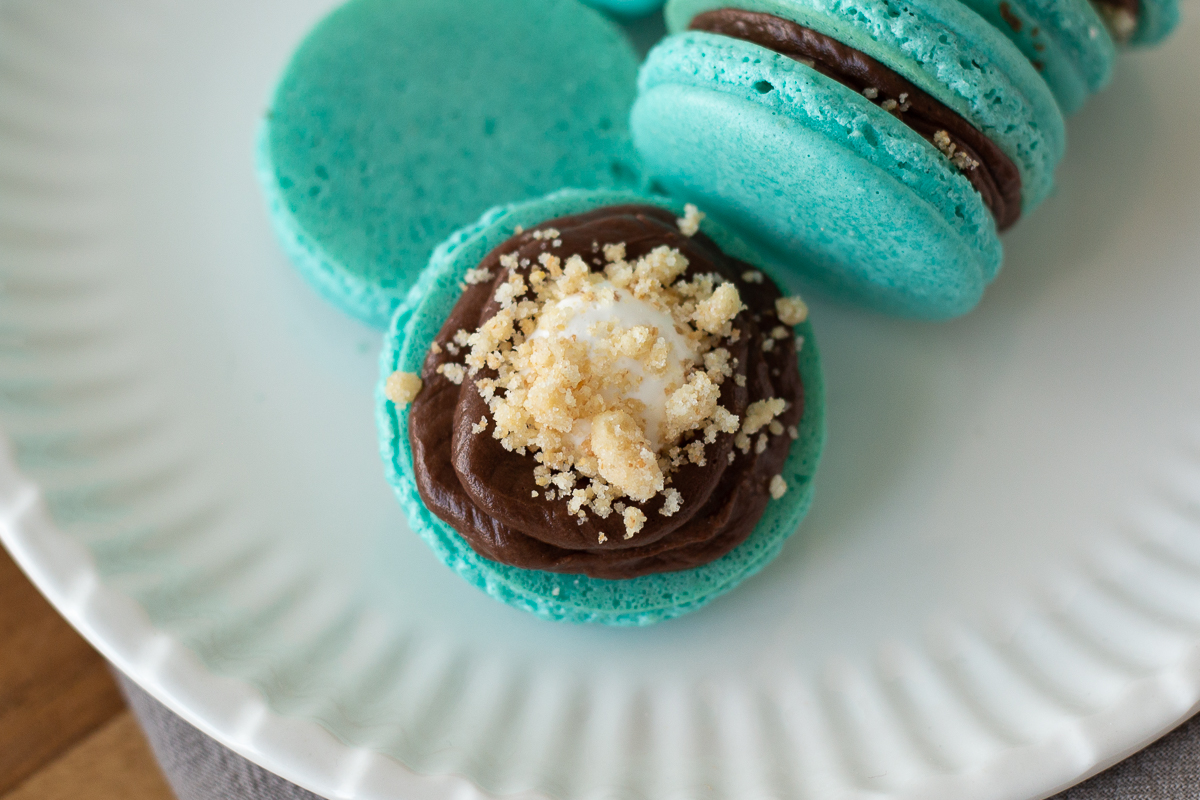
We then filled the classic shells with some fun flavors.
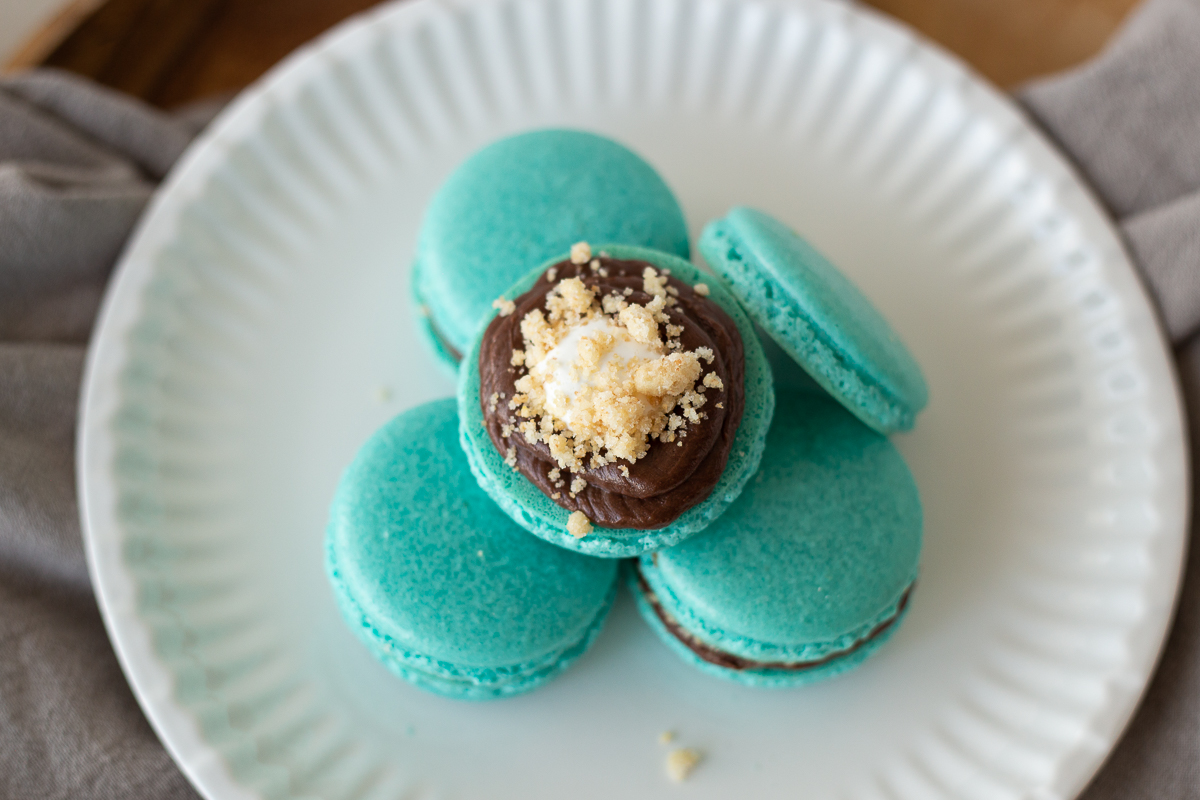
First, we piped on some chocolate ganache, a dollop of marshmallow cream and a sprinkling of graham cracker. Now you’ve got the most delicious Smoked S’mores Macaron. Classy and tasty.
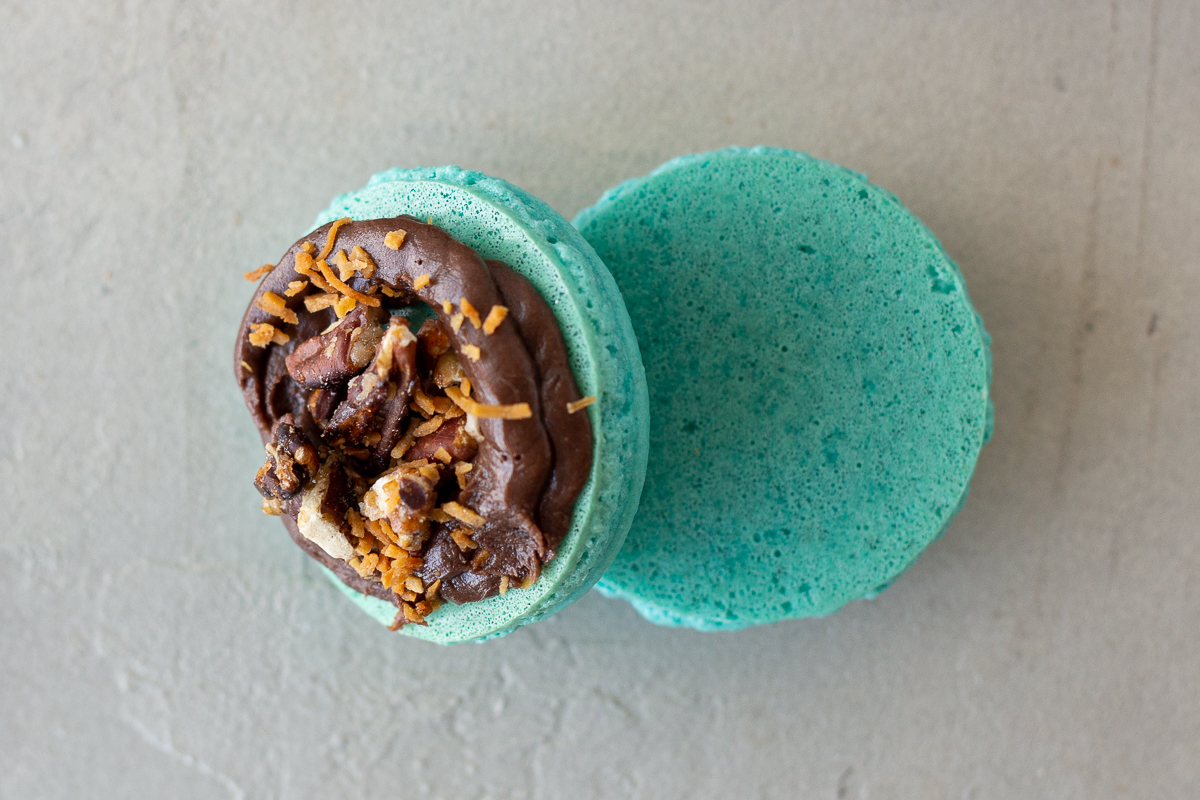
Second, we used the chocolate ganache and swirled it around the cookie, then added some roasted pecans with some candied orange zest. These were so fun with that subtle smoky flavor.
This was such a fun experiment with Barb. When we threw the idea out to her, she happened to have a batch of macarons in the mixer (which is no surprise, she’s always making them!) and she put them on the smoker immediately. We weren’t surprised, but we were thrilled to see them look so gorgeous after being cooked outside.
This further helps our mission to prove that the Traeger really is just like a smoky, outdoor oven. Allllmost anything you’d cook inside, can be put on the Traeger. We love that!
Check out Barb’s blog for more recipes and ideas. And if you haven’t connected with her on Instagram, she is a great time over there, too!
This class is part of our 2021 Grilling Gala. To catch all the classes, check out this post.
No Comments