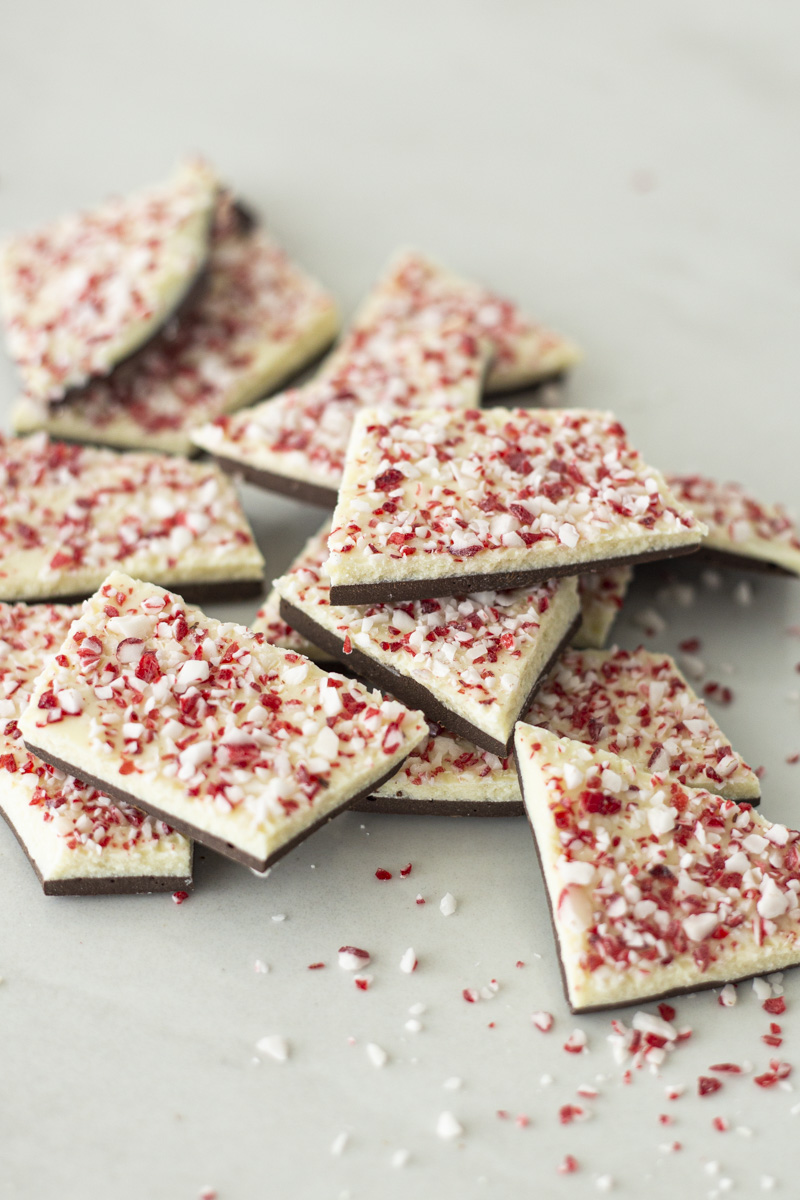
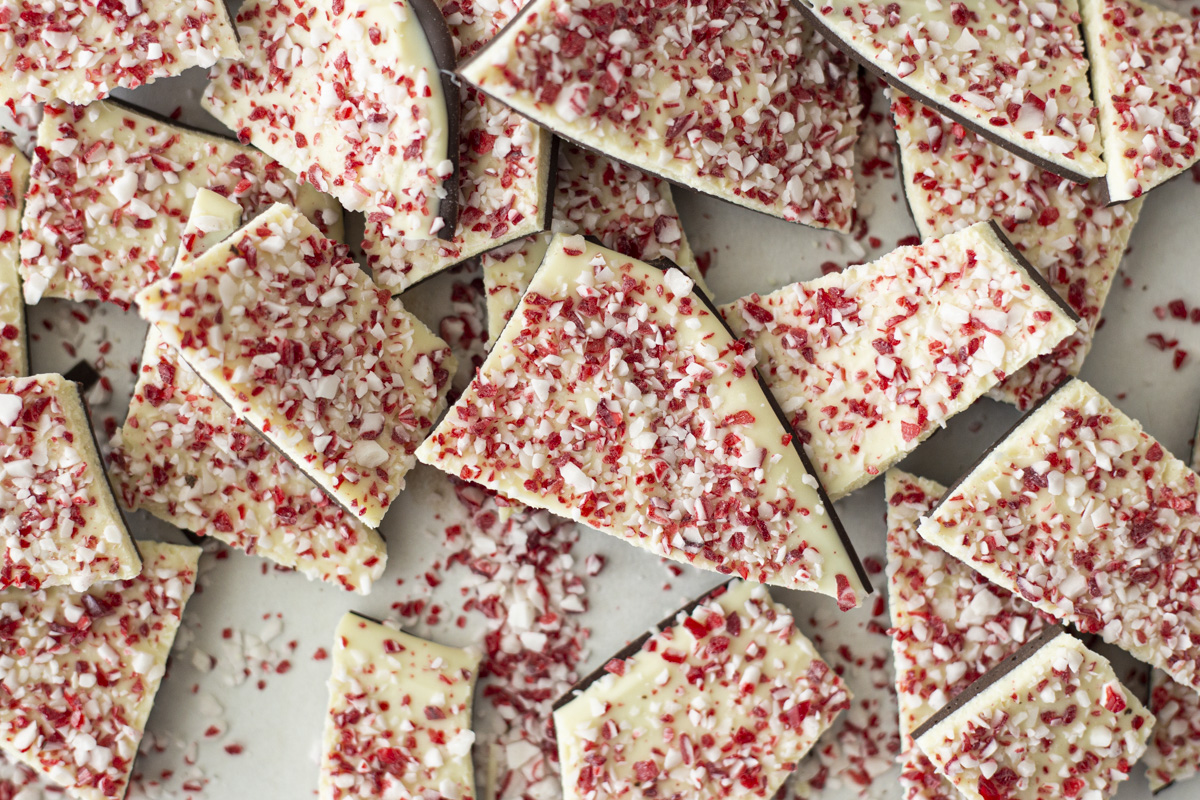
You can’t beat the classic holiday flavor combining chocolate and peppermint. It just makes us want to hang our stockings and light the fire.

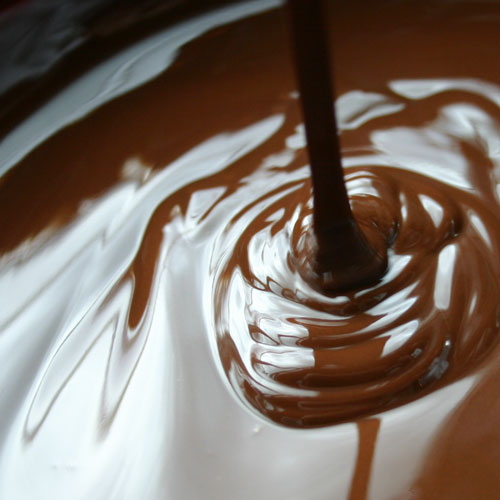
We were lucky to snag some time with Pastry Chef Rebecca Millican to learn her secrets to the tastiest Peppermint bark you’ve ever had. She reminds us that the first secret is to temper couverture chocolate, as this is where you’ll find the biggest difference in taste and texture. She helped us understand why our chocolate layers sometimes separate (you let the bottom layer cool too much!) and what you can do to fix it (score the bottom layer of chocolate before pouring on the top!)
Check out her recipe, try out her skills, and you can even watch this little clip from her class to hear a few more secrets. Happy Peppermint Barking, friends!
Temper the white chocolate and add the peppermint extract. Taste, and adjust strength of flavoring if necessary. Temper the dark chocolate and add the peppermint extract. Taste, and adjust strength of flavoring if necessary. Scrape the tempered dark chocolate onto the prepared cookie sheet and spread with an offset spatula into an even thickness, approximately 3/16”. Put the tray in a cool place until the chocolate begins to harden. (The refrigerator works well, but only leave the chocolate for 3 or 4 minutes.) Do not let the chocolate harden completely. Spread the tempered white chocolate evenly on top of the dark chocolate. Scatter the crushed peppermint candies over the surface. Put the tray in a cool place to harden. When completely set, break the bark into irregular pieces.Homemade Peppermint Bark
 (No Ratings Yet)
![]() Loading...
Loading...Ingredients
Instructions
To learn more about TEMPERING chocolate, check out this post complete with videos to help you along the way.
Here are Rebecca’s Tips for Tempering Chocolate:
TEMPERING CHOCOLATE—It’s all about the cocoa butter
Chocolate to be used for enrobing and numerous other decorating techniques must be tempered. This ensures that the chocolate will set with a nice gloss and a brittle snap.
Any chocolate that you purchase has been tempered, but once the chocolate is melted it goes out of temper. It must then go through a controlled process of heating, cooling and agitating to bring it back into temper.
As melted chocolate cools, the cocoa butter begins to form crystals. Cocoa butter can crystallize into six different forms, known as I, II, III, IV, V, and VI.
The tempering process produces Form V, the desired crystal, as it is the only one that will result in a hard, stable, and shiny end product. The lower forms of cocoa butter crystals are considered unstable, as they may create spots or streaks, and may be dull and somewhat soft. (Form VI is not created during tempering; it occurs over time as Form V crystals transform into Form VI.)
The tempering process has strict temperature requirements. It is helpful to use an accurate digital thermometer.
To temper via Seeding:
Step 1—MELT: Cut the chocolate into small pieces, and reserve 25%. Place the remaining chocolate in a dry, clean bowl, and melt over a pan of simmering water. (Alternatively, melt in microwave on 50% power for short increments of time.) Stir from time to time until completely melted. Heat to 120 degrees F for dark chocolate (115 degrees F for white or milk chocolate).
Step 2—COOL: Add the reserved chocolate and stir until it is completely melted. The temperature should be between 85-86 degrees F (80-83F for white or milk chocolate.)
If, after the seed chocolate has melted, your chocolate is still too warm, you must add more seed and stir to melt it. Be careful not to add too much seed at this point because it may not all melt out. If your chocolate is lumpy from unmelted seed, it is necessary to remove any bits of unmelted chocolate.
Step 3—RE-HEAT: Bring the chocolate into a very narrow temperature windowknown as the Temper Zone.
You may re-heat the chocolate over a water bath, with a heat gun, or in the microwave. Re-heat in very brief time iincrements and monitor the temperature carefully. If you exceed the maximum temperatures below, the chocolate must be re-melted and re-tempered.
DARK CHOCOLATE Hold: 87-91 degrees F
WHITE OR MILK CHOCOLATE Hold: 84-88 degrees F
*TEST: Spread a thin, even layer of the chocolate on the back of a metal spatula or knife and allow the chocolate to dry. As it sets, observe the appearance. If the chocolate has been properly tempered, it will set evenly over the entire surface.
*MAINTAIN: While working, monitor the chocolate and re-warm when the temperature approaches the low end of the Temper Zone.
NOTE: Do not allow the chocolate to exceed the maximum temperature. If this happens, the chocolate will no longer be in temper and must be re-tempered.
To temper via Tabling:
The same temperature guidelines apply as for seeding.
On a clean work surface (marble, granite, or stainless steel), pour out one-half to two-thirds of the heated chocolate.
Work the mass back and forth with a large offset spatula, and use a scraper to bring the chocolate from the outer edges to the center, ensuring a uniform temperature. When the chocolate thickens slightly, return it back to the work bowl.
Stir to combine. Your chocolate should be in the temper zone. If it is a little too cold, warm it to bring it back into the temper zone. If it is still too warm, table a portion of the chocolate again.
Test the temper before proceeding, and maintain the temperature during use.
Helpful Hints:
Temper more chocolate than you need. Having a greater mass of chocolate in your work bowl means that your chocolate will stay within the temper zone for a longer period of time. Smaller amounts of chocolate will change temperature much more quickly, leaving you with little time to work before having to re-heat, and running the risk of over heating the chocolate.
This recipe is part of our Annual Gygi Chocolate Extravaganza. Check out all the classes (hands on, demo and virtual options!)