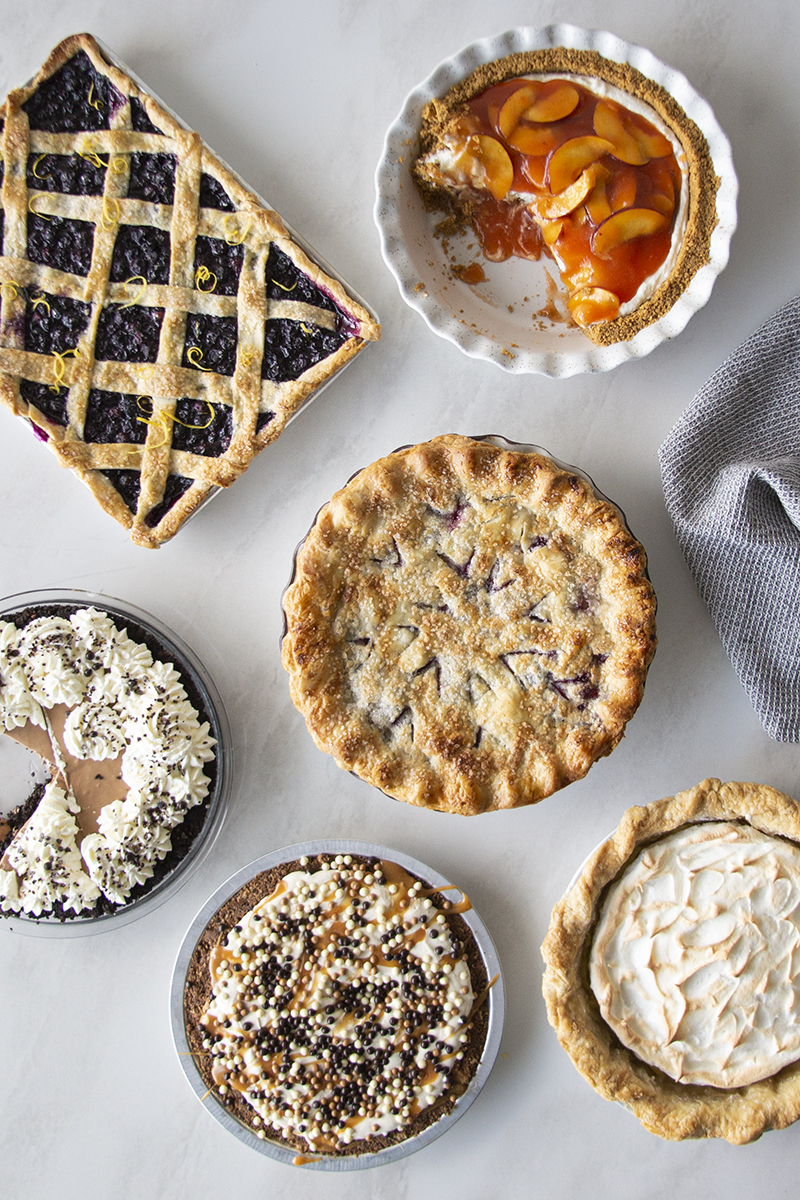
It’s the American standard! Can’t beat the flaky layers, with delicious fillings. There’s never a wrong time for a slice of pie.
But if you’ve struggled with pie, then you know the pain. Follow our Gygi Guide to Pie for tips and trick for successful pies. Stock up on a few new tools to make your life easier. And you can move forward knowing life really can be easy as pie.
Pie Crust
Pie is only as good as its crust. So, let’s start there.
The number one rule of pie crust is to be gentle! Pie crust is a delicate pastry and requires a delicate touch. You shouldn’t ever smoosh or squish the dough into a smooth ball. Unlike bread or roll dough, pie crust should never be kneaded into a smooth dough. Using a pastry blender allows you to cut the dough perfectly, without being over worked.
The second rule is to keep your ingredients cold. Chill your butter or shortening before making the crust. Only add cold water to the dough. You can make cold water by making a mixture of water and ice to measure from. After the dough is made, chill in the fridge for an hour before rolling it out. The secret here is that the cold fat will melt more slowly. leaving you soft, flaky pockets in your pie crust.
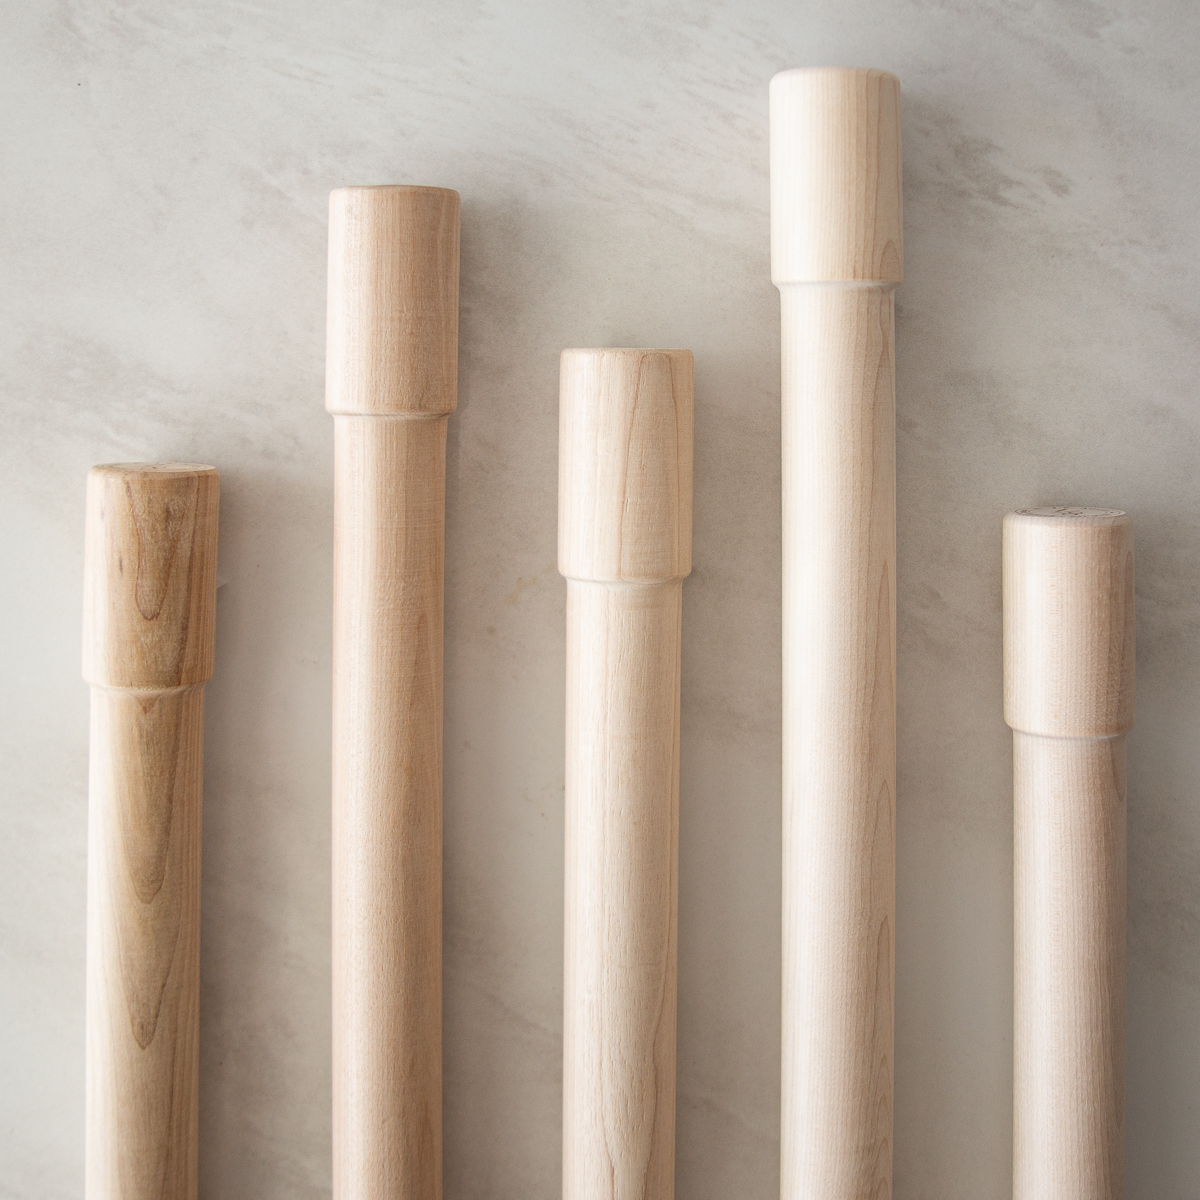
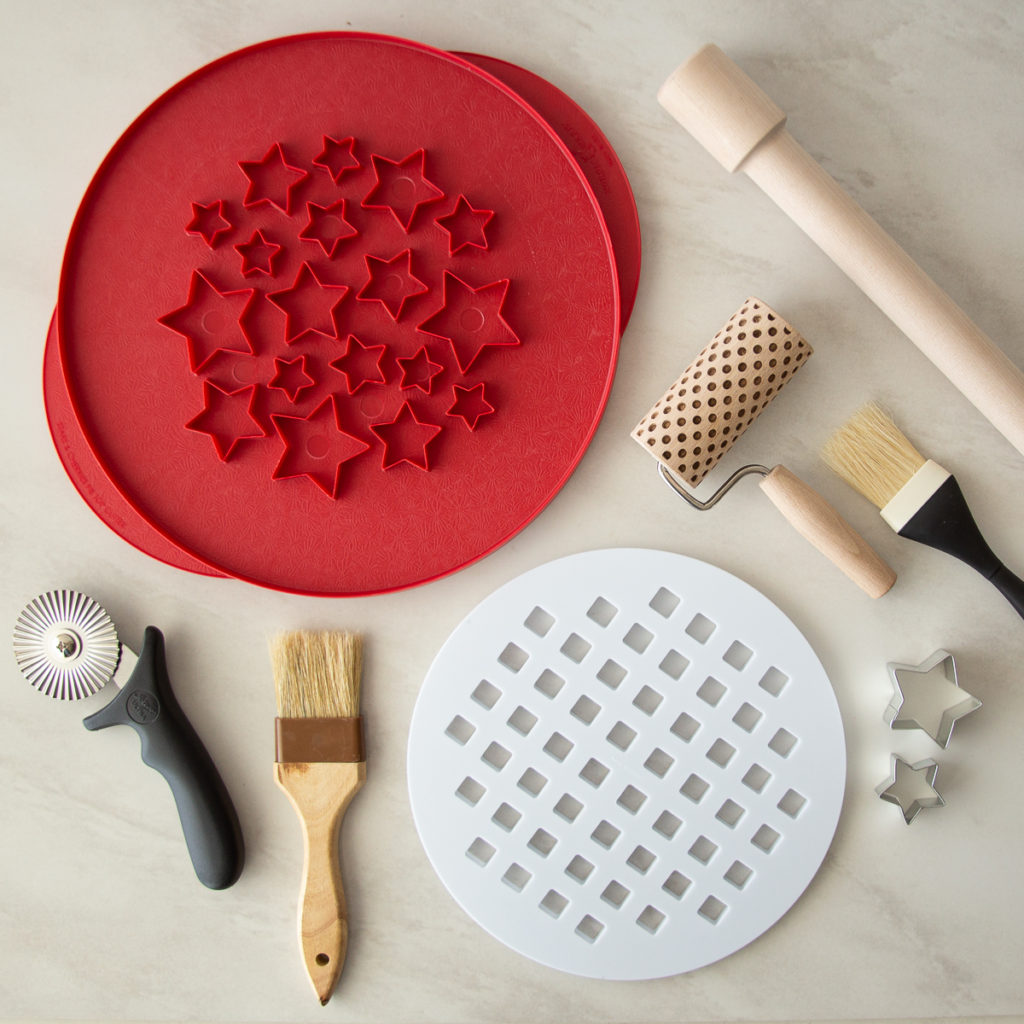
When it comes time to roll out your dough, we have a few tools that make the work much easier to do. First, is a silicone pastry mat. This makes a wonderful surface to roll your crust and then transport to your plate.
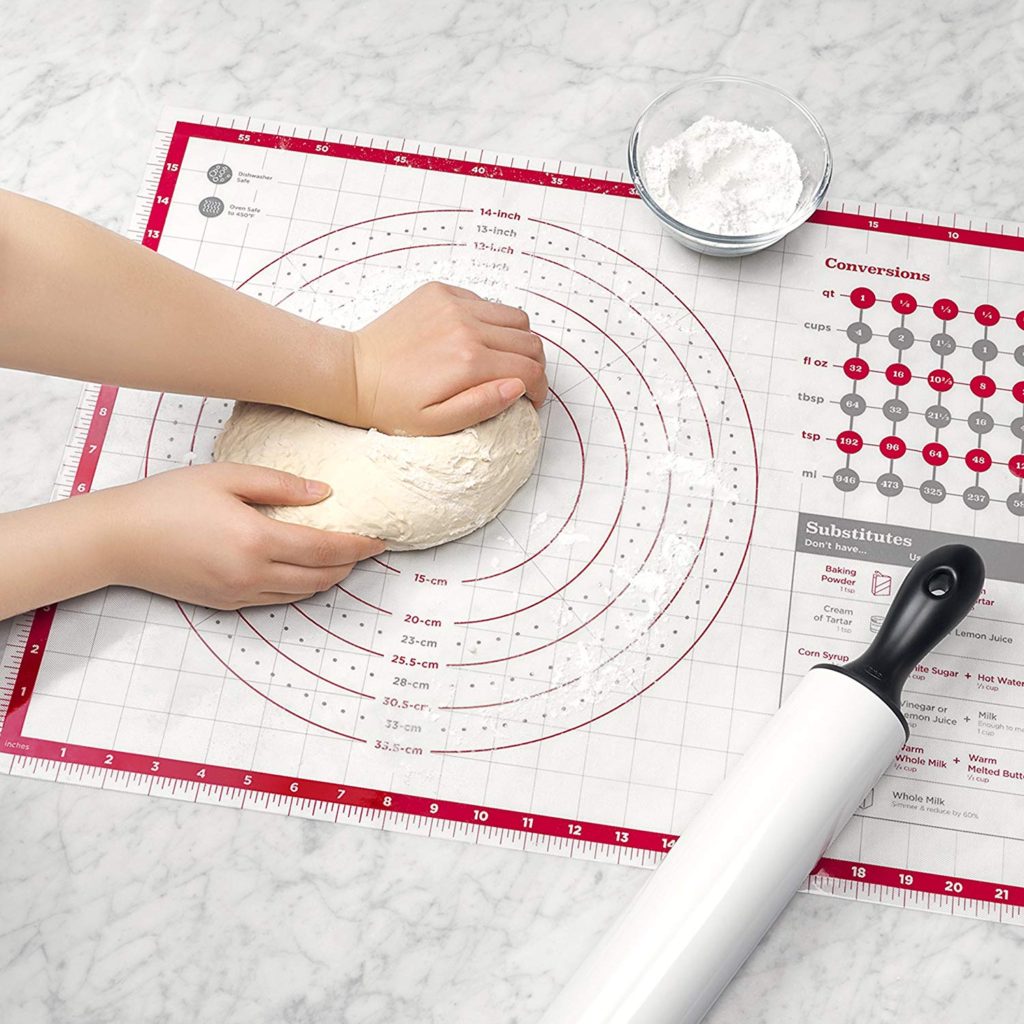
Pastry Mat 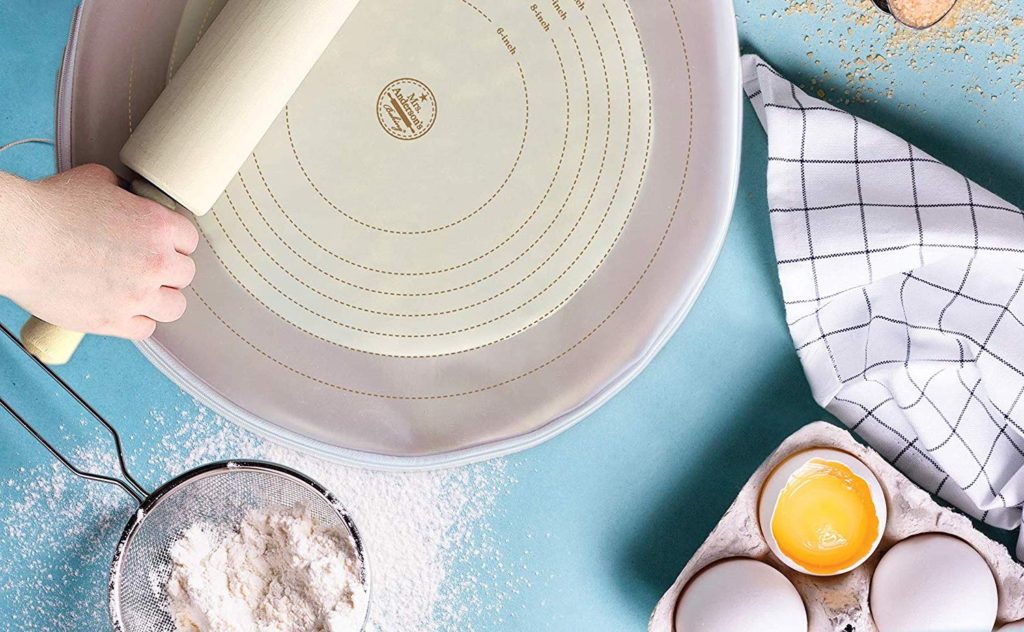
Pie Bag
We also recommend using a pie bag for rolling your dough. To use this, you’ll dust the bag with flour, place the dough in the center, and then roll your dough out to an even circle. The bag helps keep the dough a similar thickness and it is easy to make the perfect sized circle.
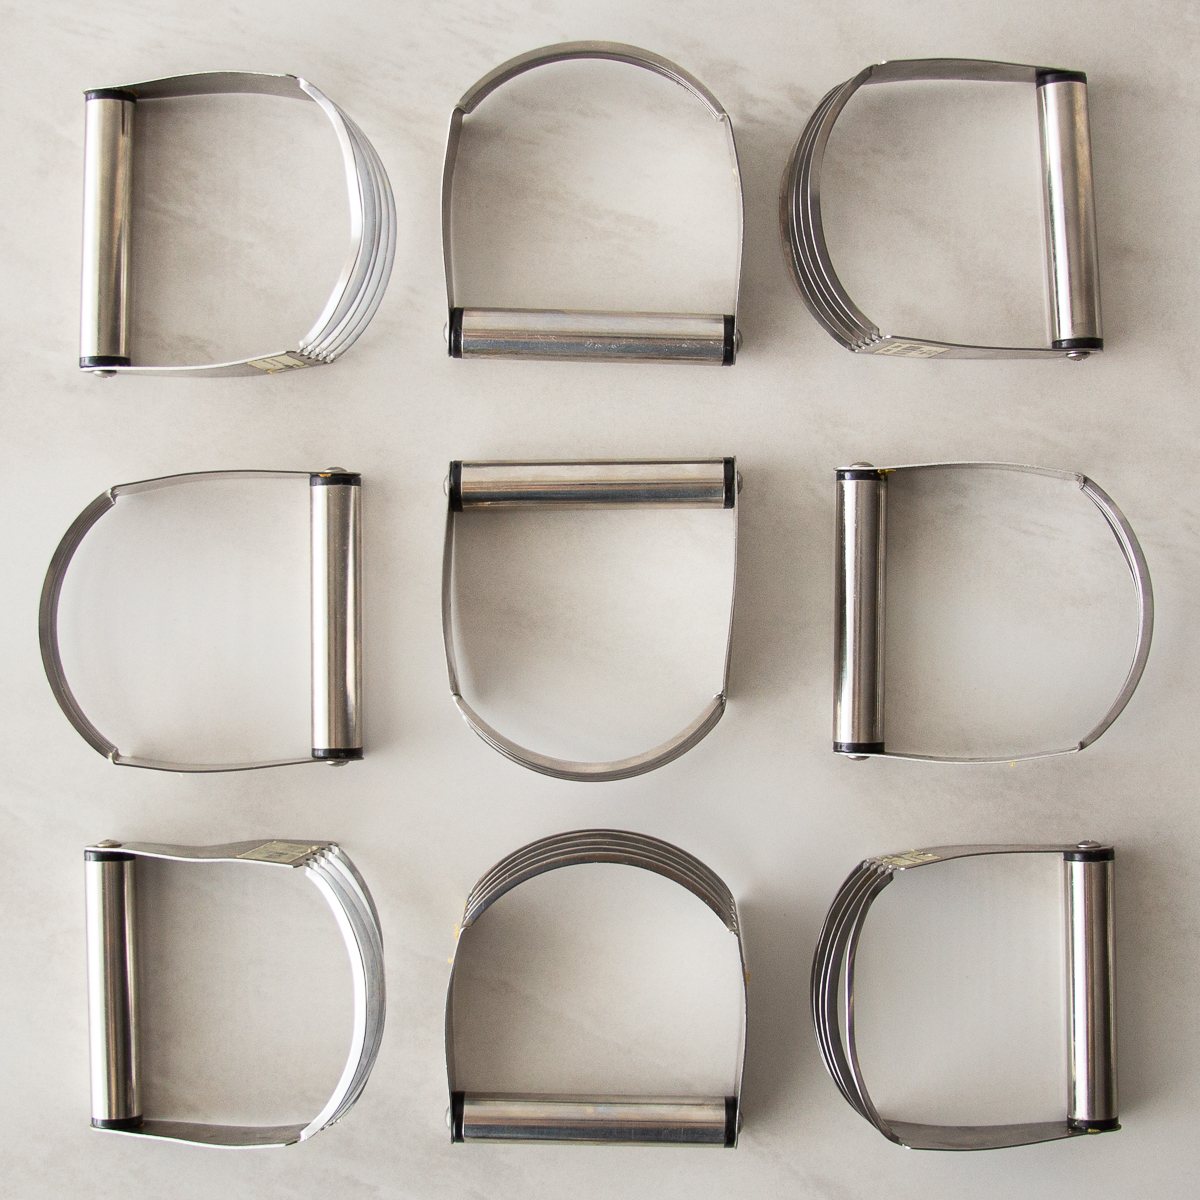
When it comes time to prepare the top crust, we love these pie top cutters for a quick and easy decoration. You can also use these pastry cutters or small cookie cutters for cute decorations. If you want to add little crust cut-outs, simply attach them with a bit of raw egg!

Finally, when you’re ready to clean up your pie crust mess, a bench scraper is the easiest way. Simply gather the stray flour into a pile and swipe into a garbage bowl or garbage can. The bench scraper will remove any crusty bits of dough with out creating a yucky paste of flour, like a dishrag would do.
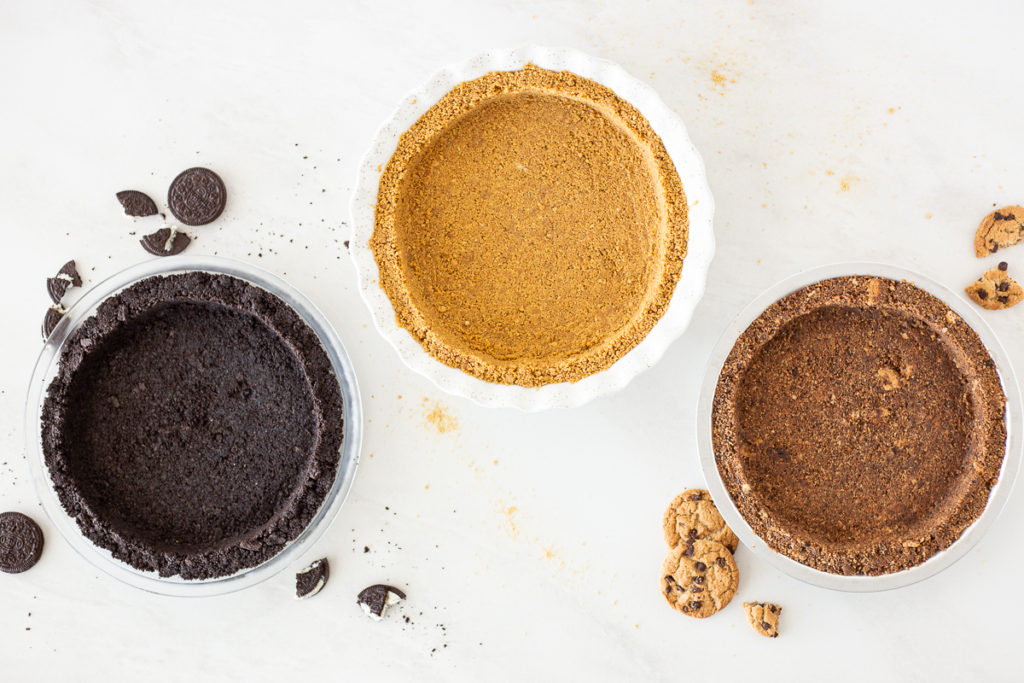
Pie Crust Recipes
Every baker has their favorite recipe for their pie crust. We tested a few options, and learned some interesting features of each type of crust.

Essential Tools for Baking a Pie
We’ve got all the tools compiled in one spot. Read about the essentials and a few little gadgets that are kind of fun to have around when you’re baking up your next pie.
Tips for Baking the Pie:
To roll the dough:
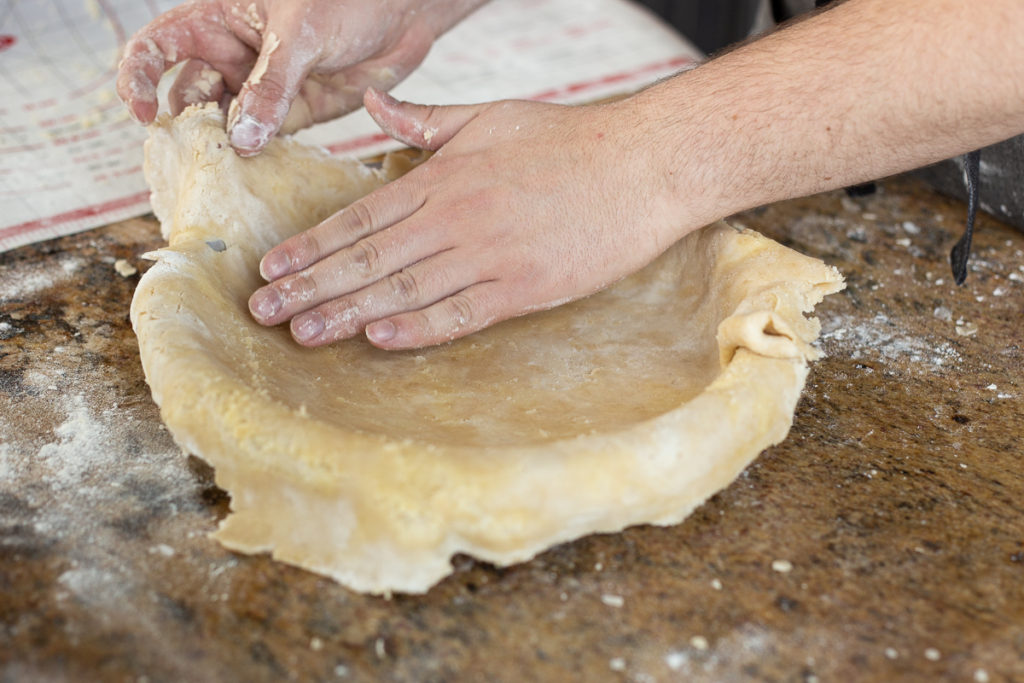
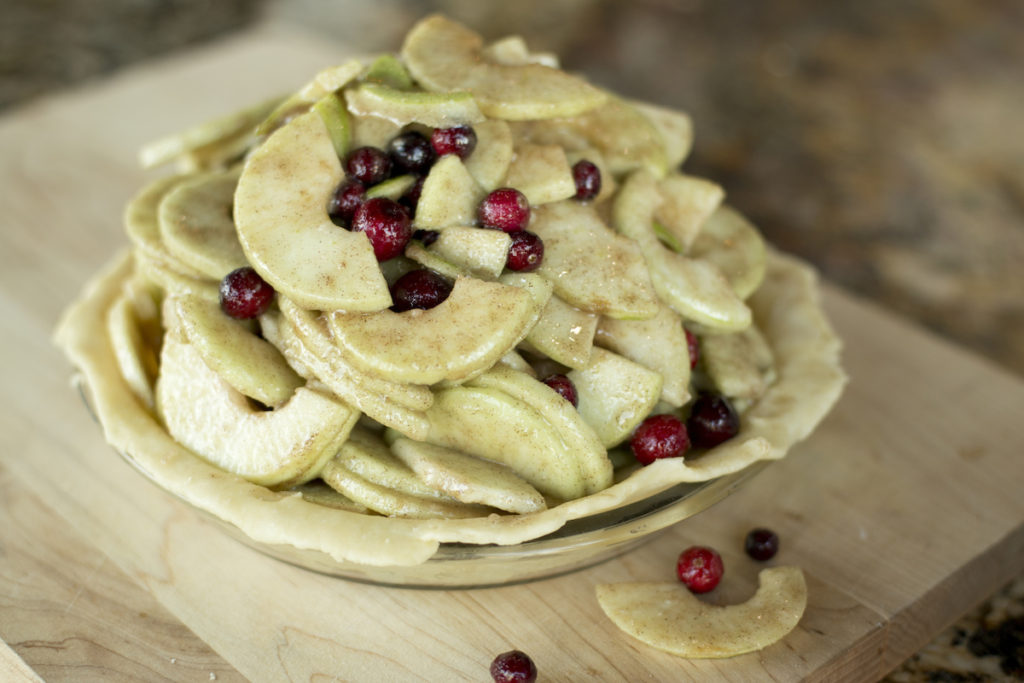
Sprinkle some flour on the work surface, pastry mat or pie bag. Sprinkle a little more on the rolling pin. Flatten the ball of dough into a disk using your hand. Use a rolling pin, and start at the center rolling outward until the dough is about ¼ inch thick. Rotate the dough while rolling to avoid sticking, and to get a nicely rounded pie crust. Hover the pie plate over the crust so you can check the sizing, you’ll need about 2 ½ inches of overhang to cover the plate and give you some dough to crimp around the edges.
To transfer the dough:
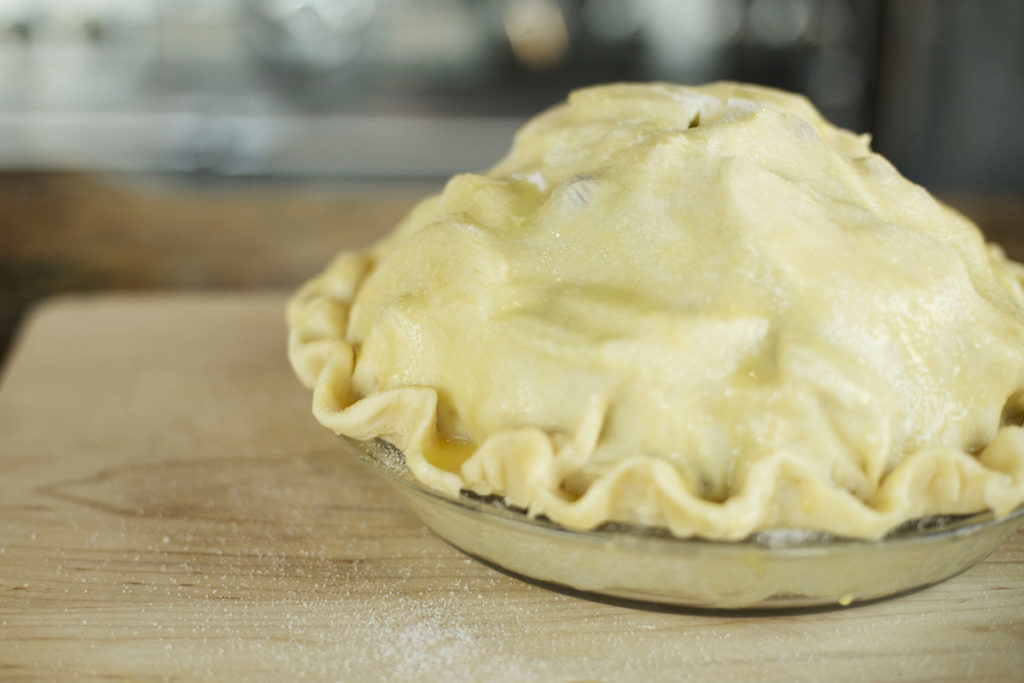
There are a few methods for transferring the dough, you can use a pastry mat or pie bag to lift the crust and gently lay it over the pie dish. Another option is to use the rolling pin, and gently roll the dough onto the pin, then uncurl it onto the pie dish. The last option is to carefully fold the crust in half, and then in half again. Take your wedge of dough, and place it over one quarter of the pie dish, and then unfold the dough over the dish.
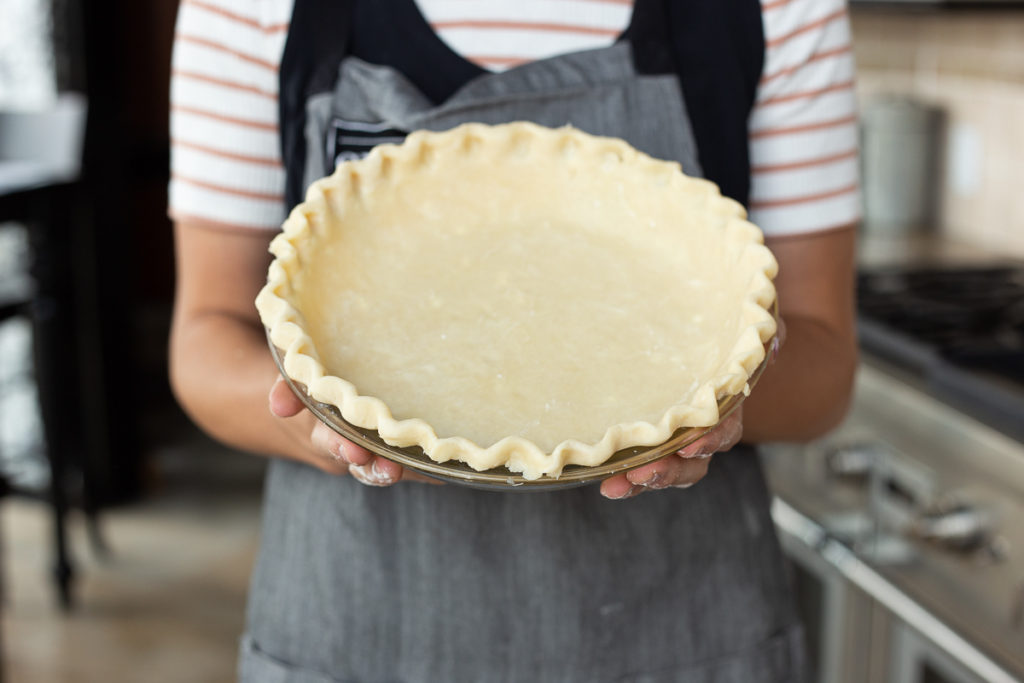
To crimp the edges:
For a single crust, use scissors to trim away any excess dough, leaving about an inch hanging over the edge of the pie plate. Tuck the dough underneath, and use your fingers or a fork to crimp the dough.
For a double crust, press the top and bottom crusts together then trim the excess dough around the edges. Tuck the dough underneath and crimp using your fingers or a fork.
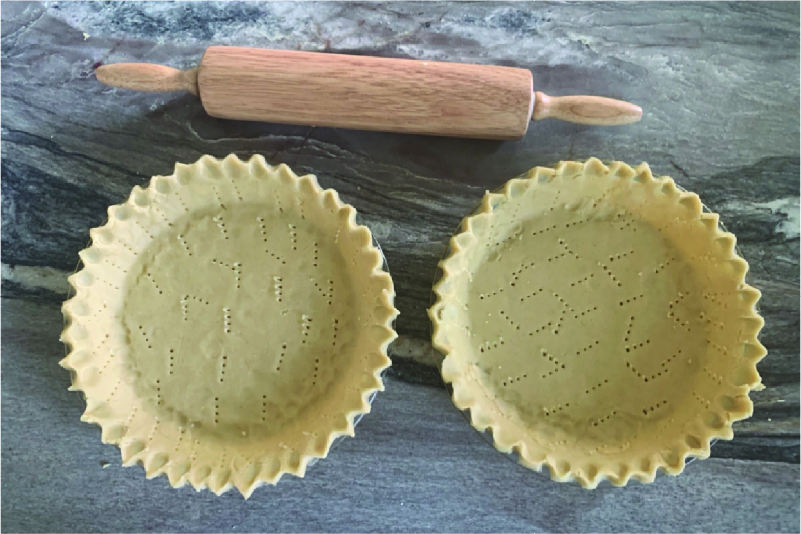
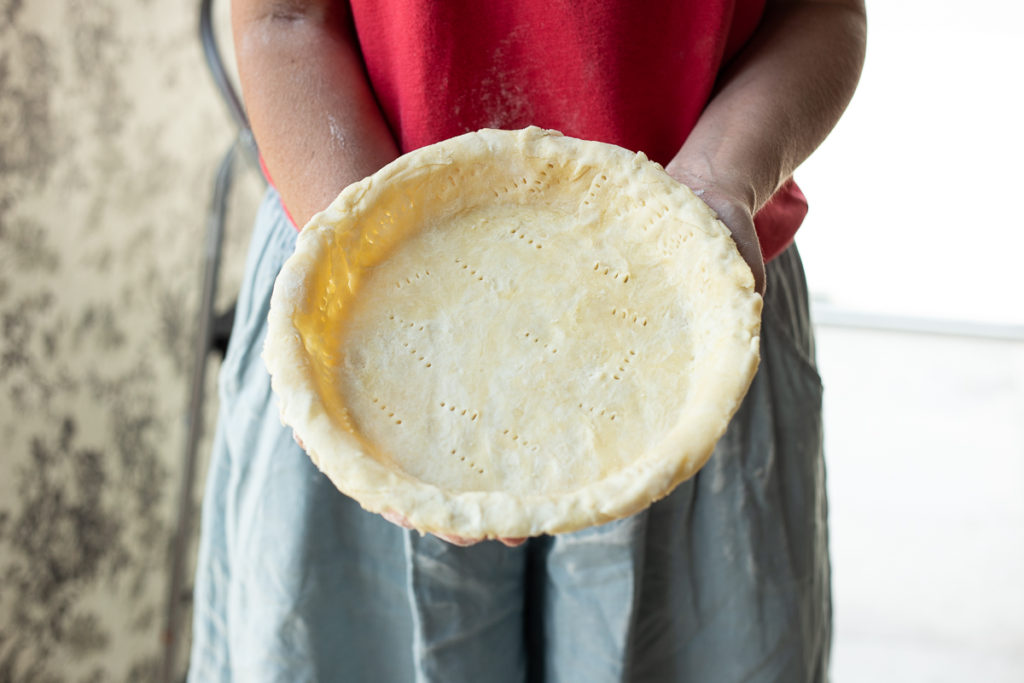
To par bake or blind bake:
This method is for baking a crust without the filling (cream or pudding pies, etc) To avoid shrinkage, use a square piece of parchment paper and press it into the bottom of the pie plate. Use pie weights (ceramic balls, beans, or rice) and fill the pie crust with the weights. Bake at 450° for 12-15 minutes. Carefully remove the parchment paper and pie weights. For a par-baked crust, bake for 2-3 more minutes to help dry the bottom of the crust. To blind-bake the dough, continue baking 5-7 more minutes until the crust is golden brown.
If you don’t have pie weights, you can blind or par-bake by piercing the dough with a fork all around the bottom and sides of the pie crust. Then bake at 500° for 8-10 minutes, checking frequently. There will be a little more shrinkage, but less work!
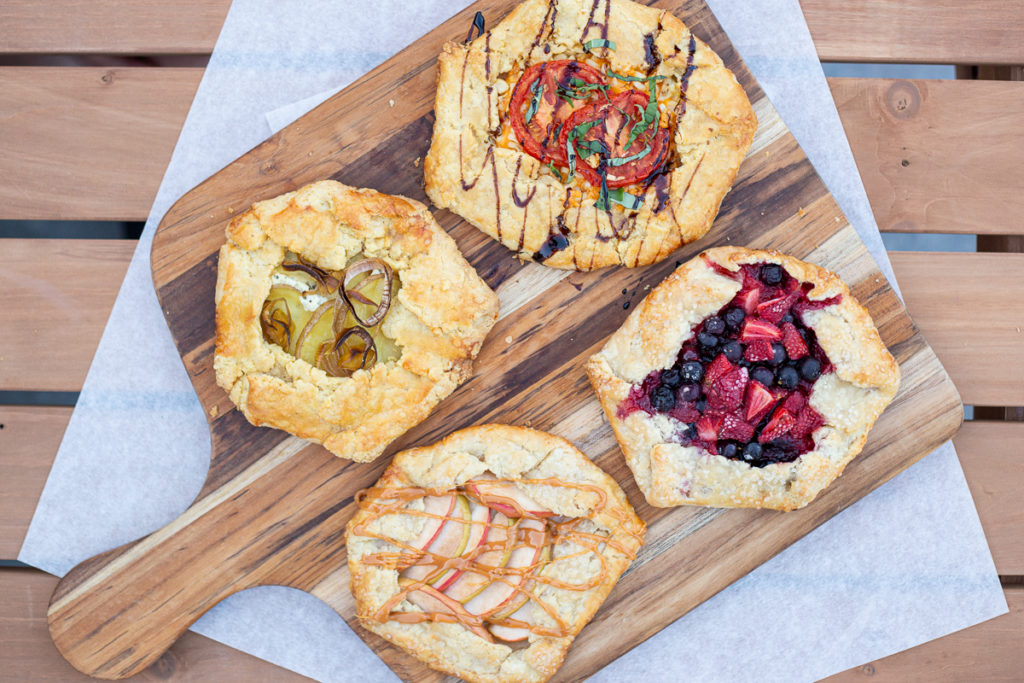
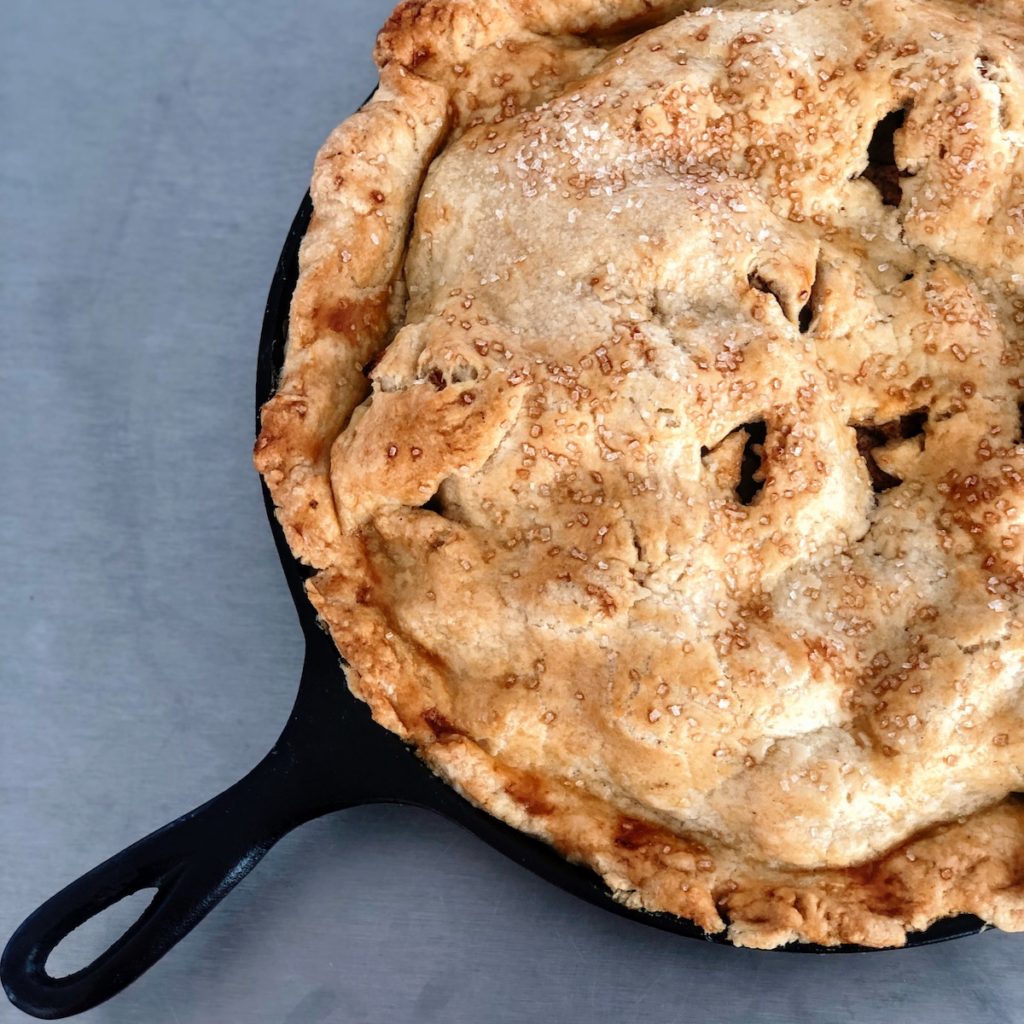
Slab pie:
Next time you’re making a pie, double the crust recipe and turn your pie into a slab pie. You simply press the crust into a baking sheet, and layer the filling. Add a full top crust or lattice, or you can do a crumb crust on top. Bake like normal, and serve. This variation gives you a higher crust to filling ratio (which some of us love) and is a fun way to serve pie to a big crowd. Give it a try next time you whip up some pie.
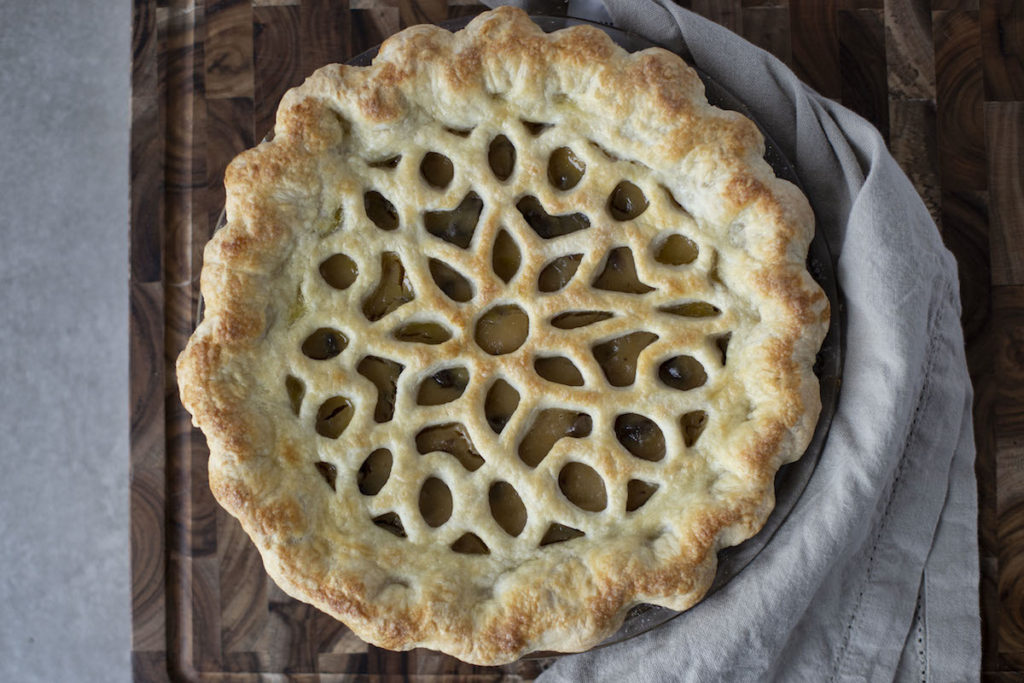
Top Crust:
The Top crust is the crowning glory for your pie. This is where your personality can really shine. We love pie top cutters (which are basically a big cookie cutter for your top crust) for a quick and easy decoration. You can also use cookie cutters to add adornment. Simply attach your little cut outs with a bit of raw egg. Or you can gently lay a top crust over the pie, and slice a couple vent holes for a traditional pie look.
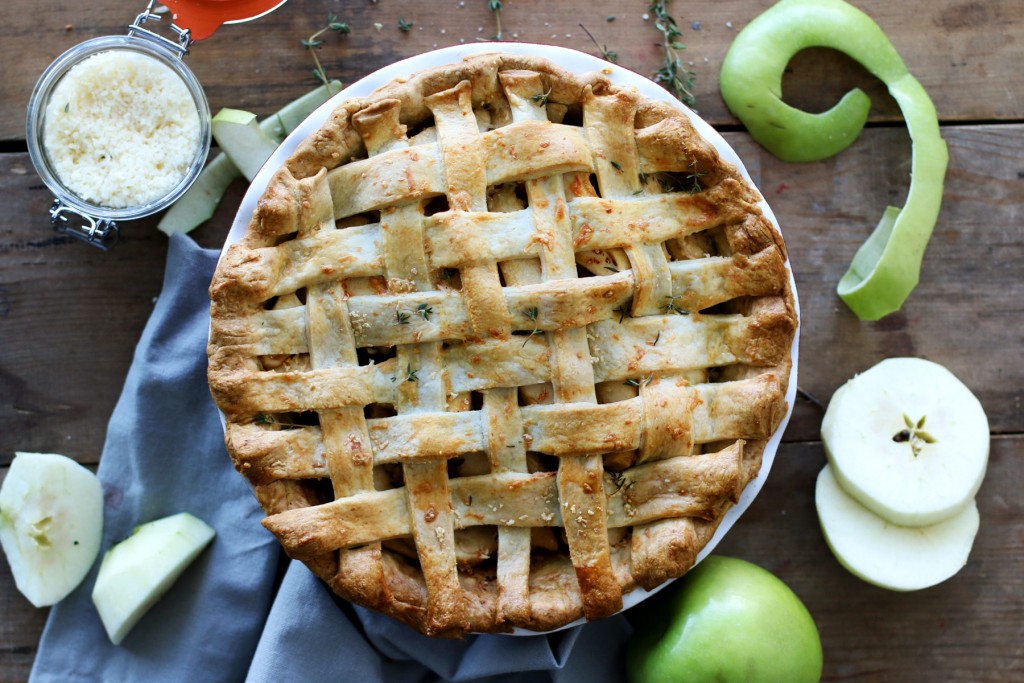
Lattice Top Crust:
The lattice top crust screams classic pie. To achieve this timeless look, start by rolling your top crust into a circle, then use a pizza or pastry cutter to cut into 12 even strips. Lay 6 evenly spaced on top of the pie filling. Fold every other strip back, so they’re barely on the pie. Lay one of the 6 unused strips perpendicular on the top. Unfold the three vertical strips back over. This time take the other 3 vertical strips and fold them back, lay one of the 5 remaining extra strips across, and fold the 3 vertical back over. Continue this pattern until all the remaining strips are used. Use the excess dough around the edges to fold over the edge of the pie, and tuck the lattice underneath, then crimp the edges.
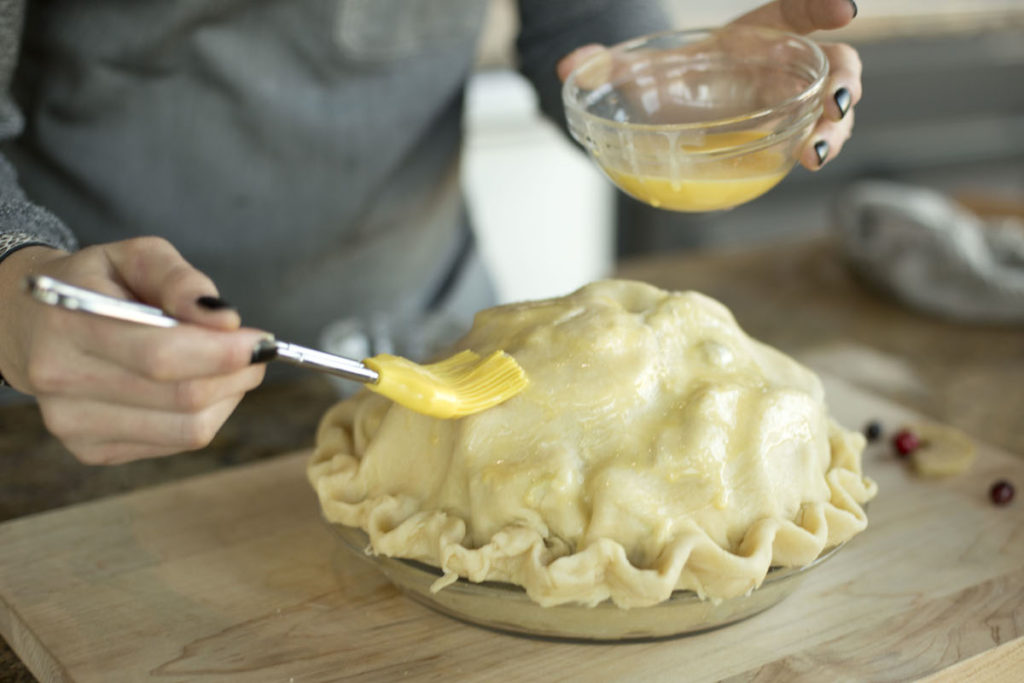
Egg Wash:
Whisk an egg with 1-2 Tbsp water, and use a pastry brush to cover your crust with a little egg wash. This helps your crust gain that shiny, golden brown color. For a sweet pie, we like to add some coarse sanding sugar to add a little sparkle.
To bake a pie:
Be sure to follow the specific pie recipe instructions. Preheat your oven for at least 15 minutes after the oven has reached the desired temperature. Bake on the lower ⅔ of the oven for a golden bottom crust.
Decorating your Pie
We’ve got a few tips for making the cutest (and tastiest) pie using some simple crimping techniques. Read more about them here.
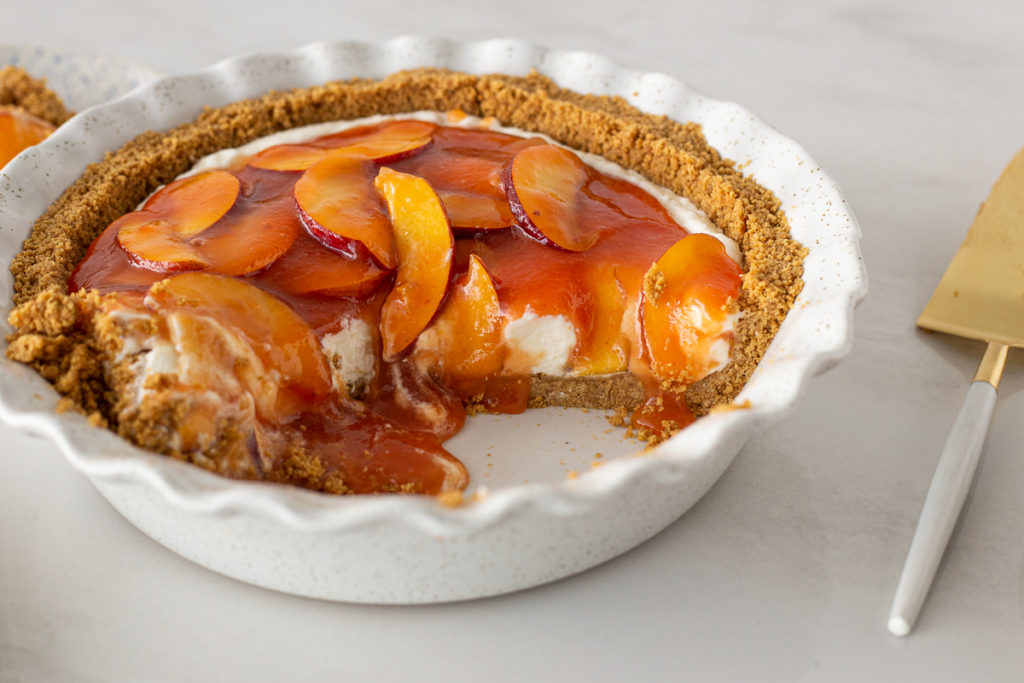
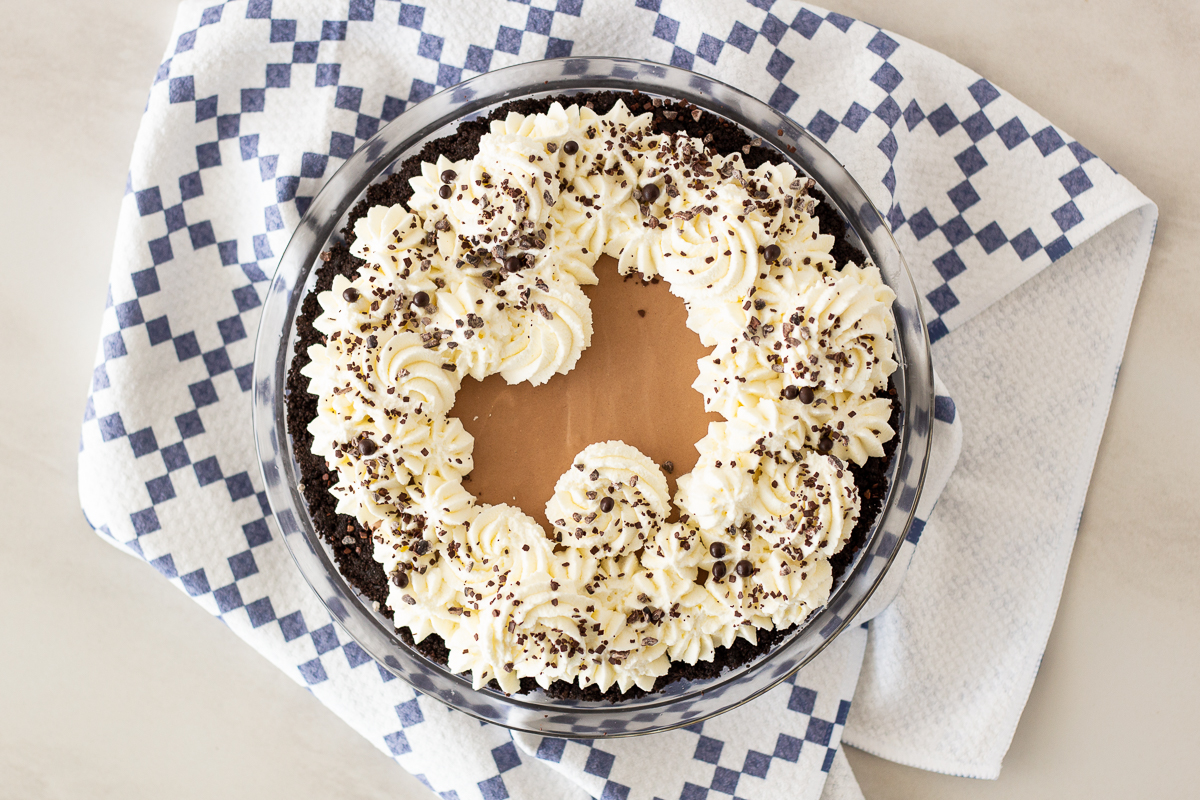
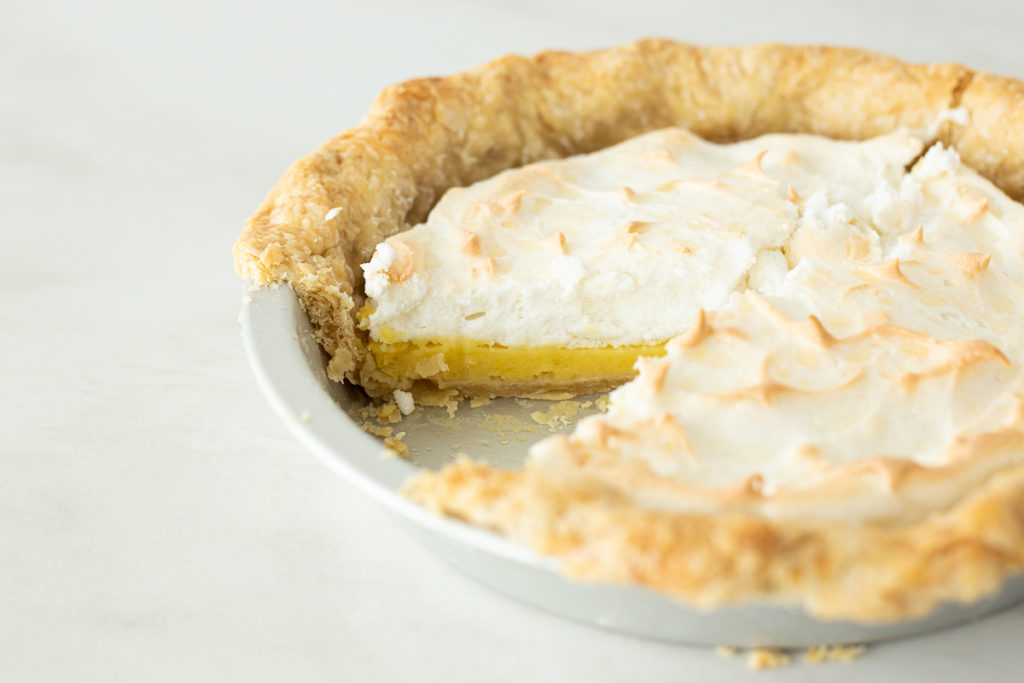
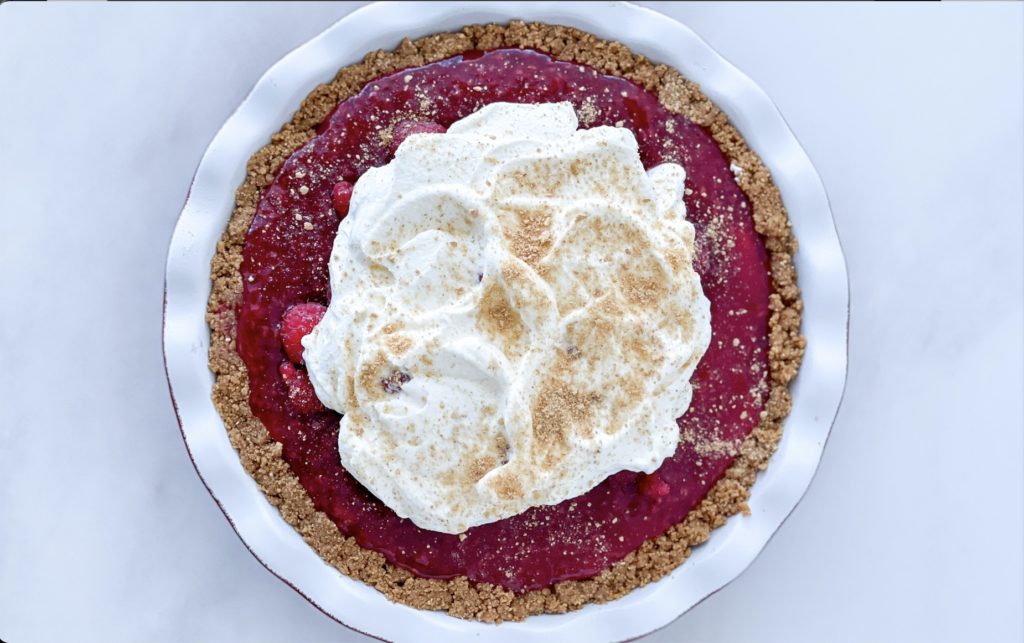
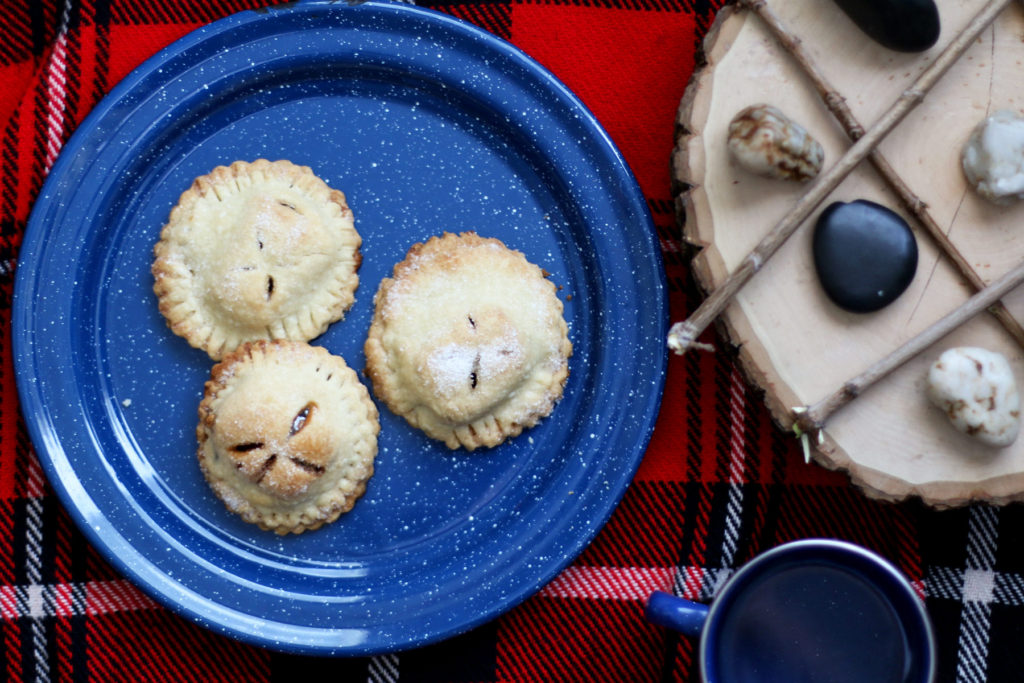
Pie Recipes
We have A LOT of favorite recipes here at Gygi! Click through these recipes to find a new favorite for your next pie craving!


Come Chat about PIES with some of our favorite Bakers!
We gathered some local PIE BAKERS and chatted with them about their best tips, recipes, and ideas for making pies. This is a fun conversation you can catch anytime!
Come learn from the professionals at Crust Club, June Pies, and Pie Fight SLC!