We’ve used Peter’s Caramel for years now. We’ve definitely learned a few things to make your caramel experience much more rewarding. Find our best tips and tricks all about caramel right here!
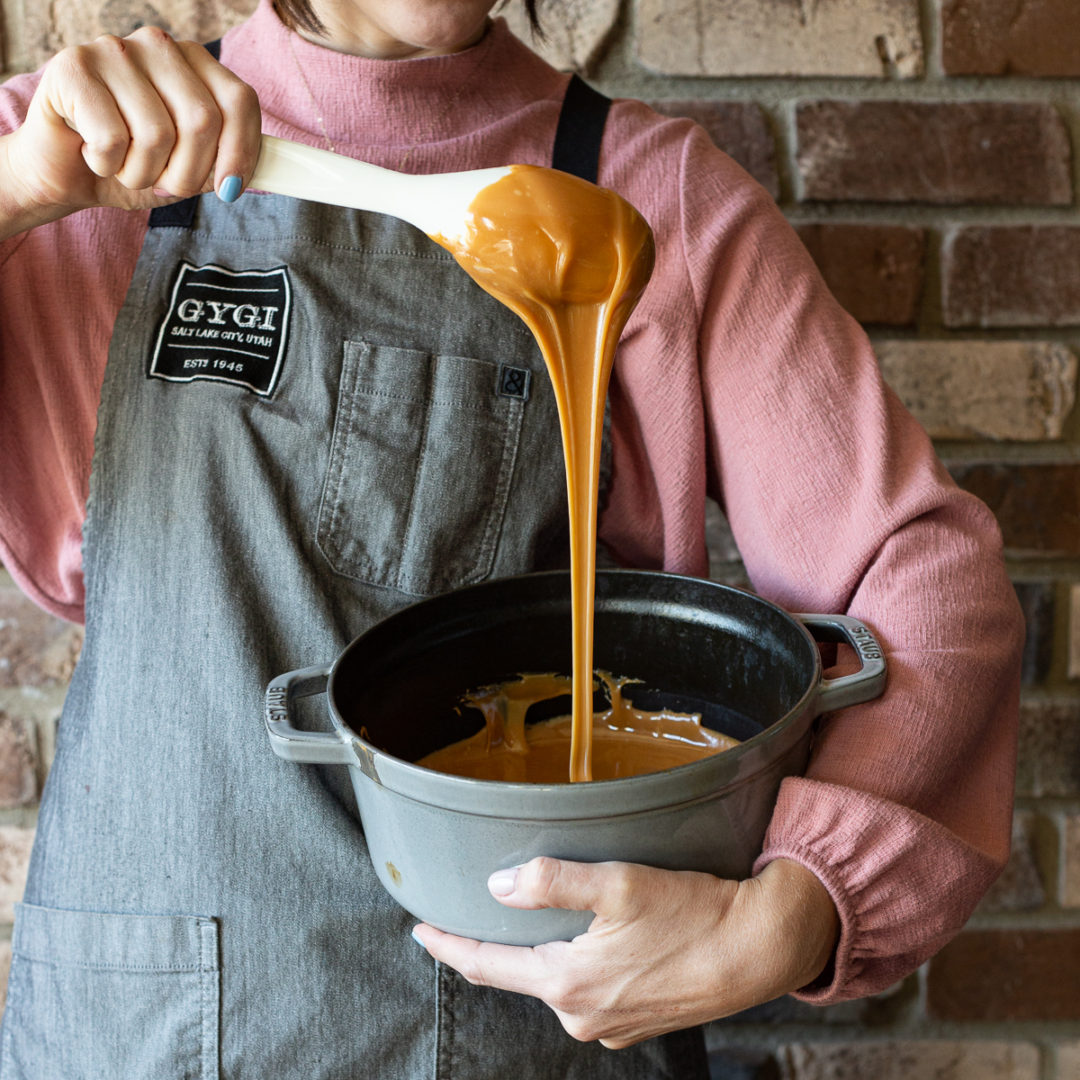
Melting Caramel:
- The melting point of caramel is 150-170 degrees and makes it the perfect consistency for pouring or dipping. If it gets much hotter than that, it will cook the caramel causing it to harden and crack upon cooling.
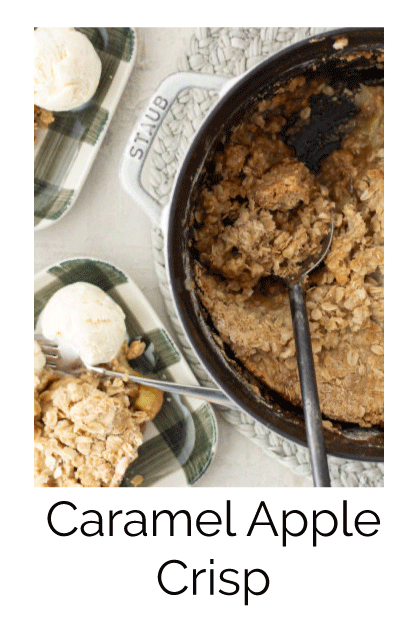
- Oven (our preferred method): Turn oven to lowest setting (200 degrees F) and place caramel in a French Oven (We LOVE Staub). Caramel will take approximately 90-120 minutes to melt completely. Watch this quick video for more help.
- Stove Top: Warm slowly and keep caramel temperature within the melting point temperatures.
- Microwave: Place your caramel in a microwave-safe dish and cook on high for 1 minute. Stir the caramel to ensure equal melting. Continue at 50% power in 30 second intervals until thoroughly melted. Be careful to avoid scorching by always watching your caramel and stirring at each cooking interval.
- Crock Pot: The “warm” setting on a crock pot is approx 165 degrees F. Now that you know this, you can melt the caramel in the crock pot, but not for a long amount of time. To keep the caramel from burning, you’ll need to work quickly. Stir, stir, stir: Just like melting caramel over a double boiler on the stove top, it needs to be continually stirred in a crock pot to keep it from burning.
Other uses:
- Peter’s caramel loaf is soft and pliable. It can be melted or rolled out, cut and shaped.
- To Thicken: Add 1/2-1 oz. Confectioners’ sugar to 1 lb. of melted caramel until desired thickness is reached.
- To thin: Adding a splash heavy cream to the melted caramel will make it a little thinner. Also adding one can of sweetened condensed milk and one cube of butter to the 5 lb. loaf of caramel will make it thinner. (Note: Adding these are not necessary for rich, smooth caramel. The Peter’s caramel loaf already is rich and smooth, this just helps to thin it out).
- Chocolate Caramel: Add 1 – 2 oz. of melted Chocolate liquor, until desired taste is achieved, to 1 lb. of Peter’s Caramel.
- Dyeing Caramel: Add a few drops of gel paste food coloring to melted caramel to achieve any color! Because the caramel is already so dark, it works the best with darker colors.
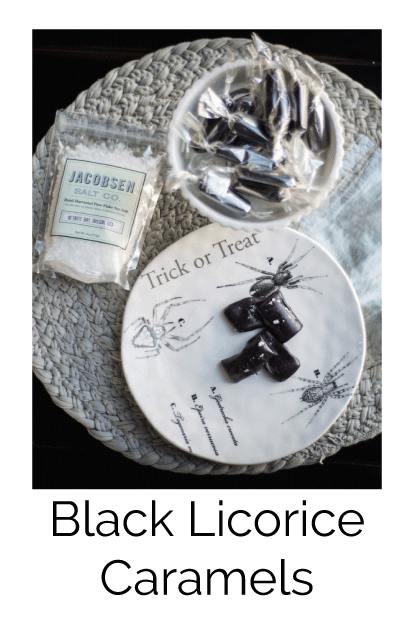
- Flavoring Caramel: It’s really easy to add a slight flavor to your caramel by adding a few drops of your favorite extract or flavoring and stirring it into melted caramel. Think black licorice, pumpkin, raspberry, chocolate, coconut. Mmmmm. Try these black licorice or apple cider caramels for a fun spin on the basic flavor.
Storage and Shelf Life:
- Store your caramel in an air-tight container in a cool, dry place. Don’t put in the fridge or freezer! We like to put our extra caramel in a plastic bag, and then we can just peel it off when we’re ready to use it again.
- If stored properly, Peter’s caramel loaf will last a little over 1 year.
One loaf of Peter’s Caramel will cover:
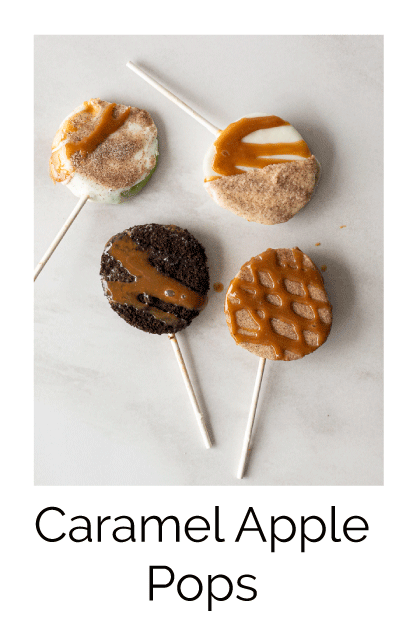
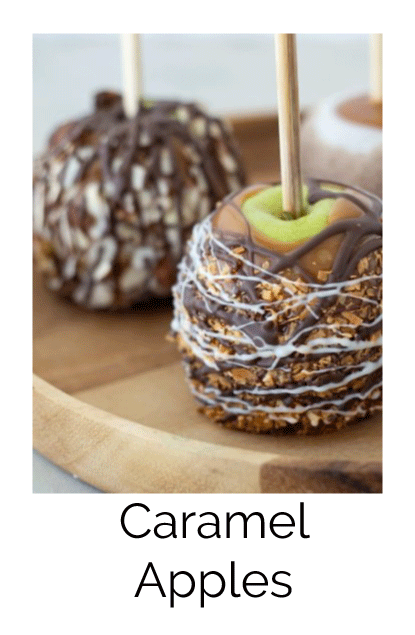
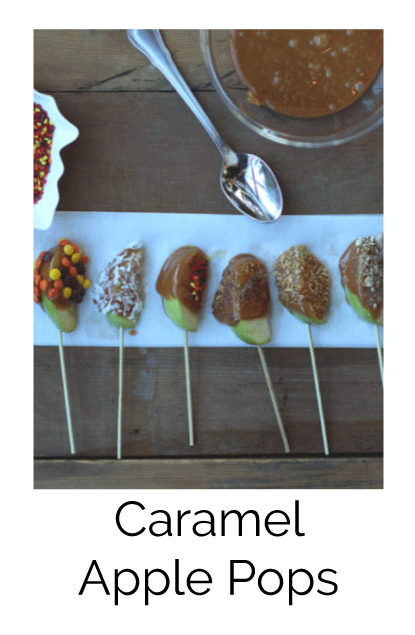
- Approximately 25 medium-sized apples
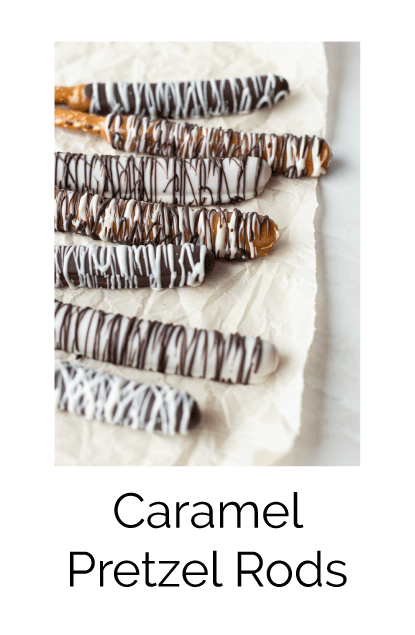
- Approximately 40-60 pretzel rods (only half dipped)
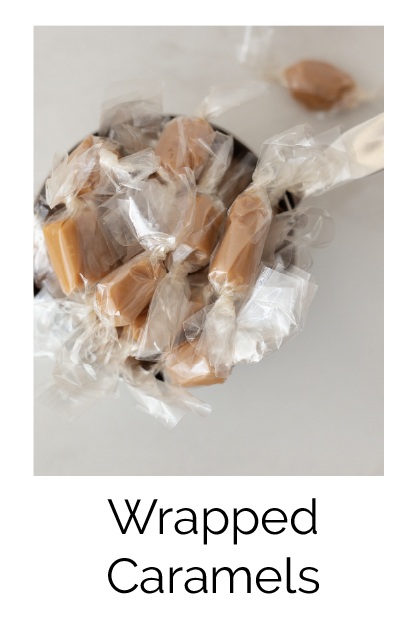
Wrapping Caramel:
- Gygi 5×5 caramel wrappers make wrapping, and sharing caramel as easy as 1-2-3!
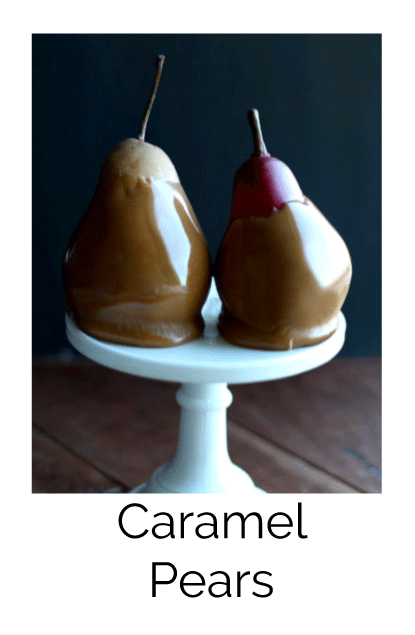
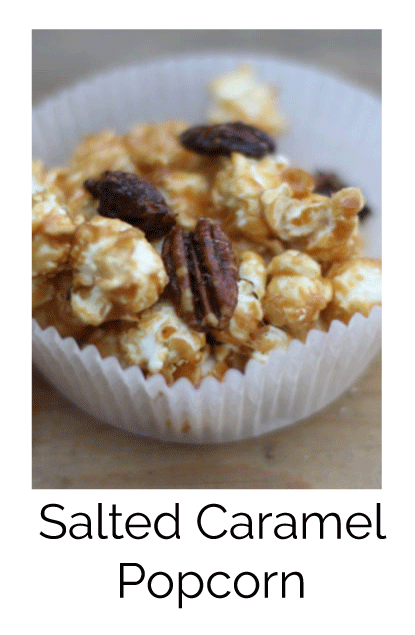
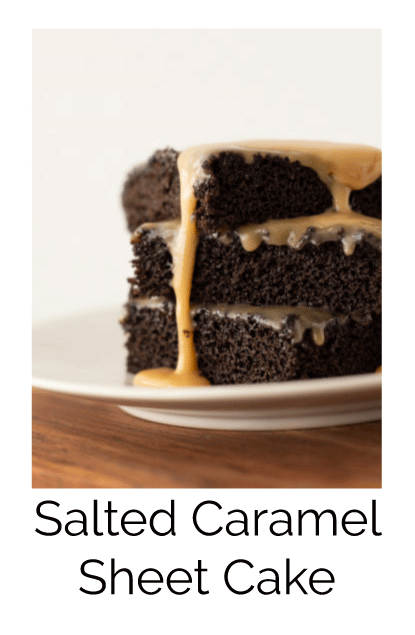
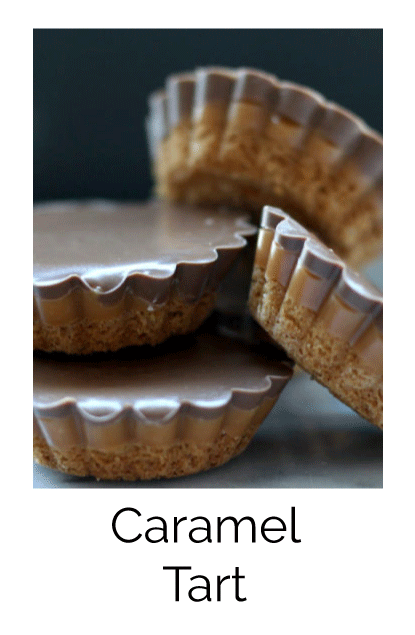
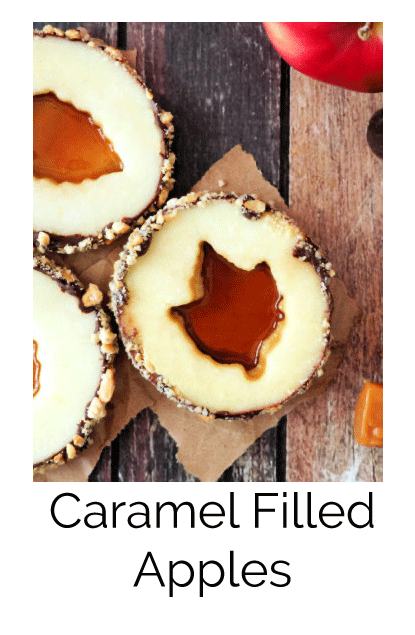
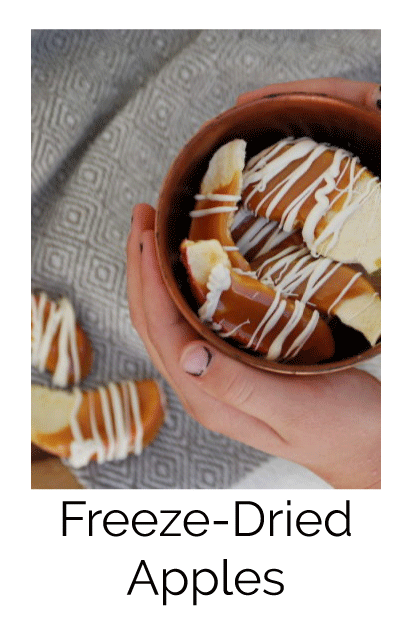
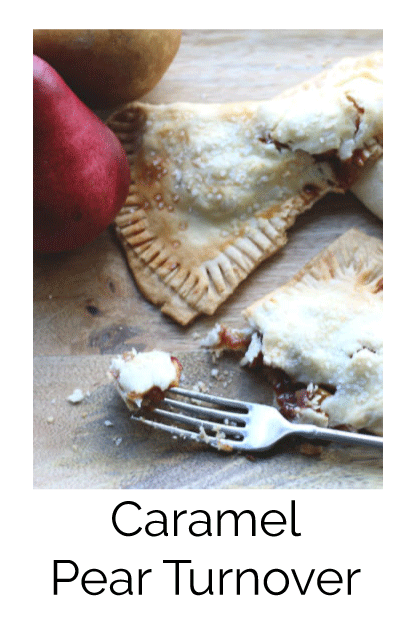
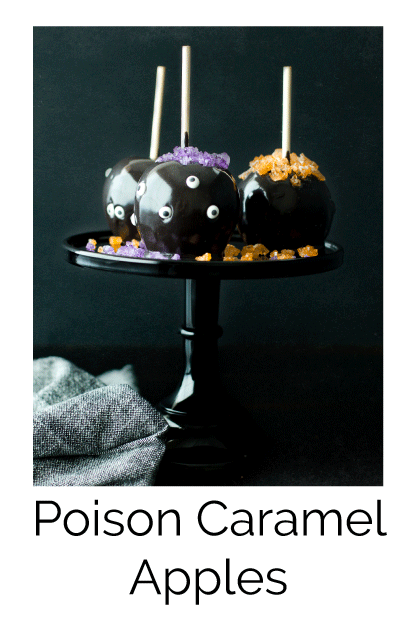
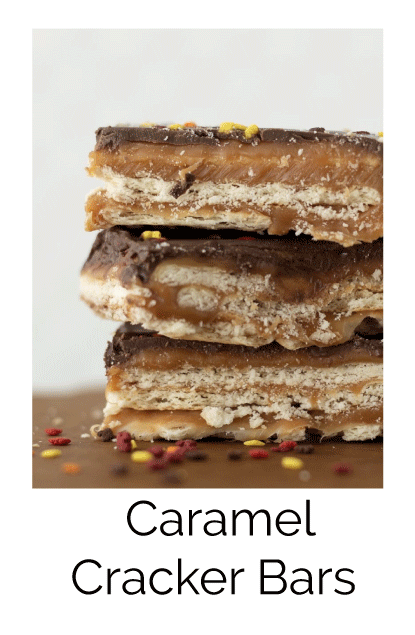
Caramel Recipes:


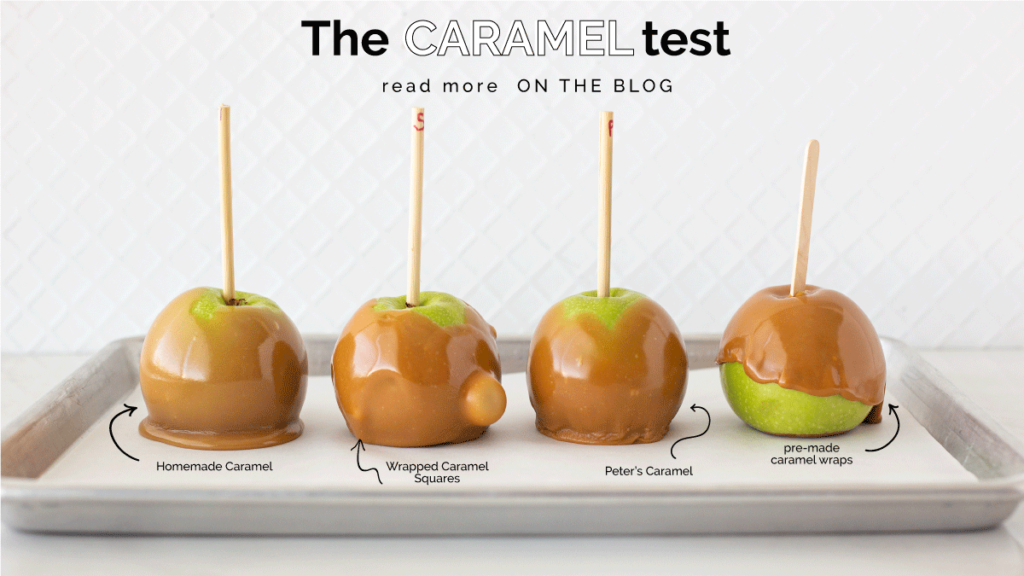
Interested in using other types of caramel?? We were too. Check out the results of our Caramel Test.
Jenny Melton
November 8, 2022 at 12:41 pmAny pointer on how to stop caramel from coming off the apples the next day. They look great the first day but by day 2 most of the caramel has fallen off.
Whitney
November 15, 2022 at 2:51 pmWe recommend cleaning your apples to remove the wax and make sure they are thoroughly dried before dipping. It can also help to place the apples in the fridge prior to dipping so that the caramel can more quickly solidify against the cold apples. From there, it’s best to dip them in chocolate or roll them in toppings to encourage the caramel to stay in place. Plain caramel, no matter which brand, will run off the apple eventually. A plain caramel apple is the most difficult to make because of this.
Patt Mann-Berry
October 7, 2021 at 2:12 pmI love to make caramel apples and this year I’m selling them to benefit PEO scholarships for women.
Problem: No matter how well I scrub the apples, or chill them, the caramel tends to slide down the apple after a while. Any pointers on that?